

Coffee splatters on your favorite silk tie during an important meeting. Wine splashes across your patterned neckwear at dinner. Suddenly, that $120 accessory looks ruined, and you’re facing expensive dry cleaning bills or replacement costs. Here’s what most people don’t know: with the right technique, you can safely wash most ties at home without professional help. This guide reveals field-tested methods to rescue silk, polyester, cotton, and wool ties—saving you money while preserving your wardrobe investment.
Before you panic and toss your stained tie, understand that 80% of tie disasters happen from improper cleaning attempts. The key is matching your cleaning method to your tie’s specific fabric and construction. You’ll learn which ties can handle water, how to tackle specific stains without damage, and professional-level techniques for maintaining that crisp, structured look. Whether you’re dealing with a vintage heirloom or yesterday’s impulse buy, these steps will restore your tie to wear-ready condition in under 30 minutes.
Identify Your Tie Fabric Before Washing

Why Silk Ties Demand Special Handling
Silk ties lose their luxurious sheen when exposed to improper cleaning methods. The protein-based fibers weaken when wet, causing permanent texture changes and limpness. Never machine wash silk ties—the combination of water, detergent, and mechanical action creates irreversible damage. Even hand washing requires extreme precision: water temperature must stay between 70-80°F, and you must avoid twisting or wringing. For expensive silk ties, consider professional cleaning if the stain is severe or the tie is vintage.
Polyester and Cotton Tie Washing Guidelines
Polyester ties withstand more aggressive cleaning but still need caution. The synthetic fibers can melt under high heat, so stick strictly to lukewarm water only. Cotton ties offer the most washing flexibility—they handle water well but can lose their crisp shape without proper reshaping during drying. Check the interlining material too, as cotton ties sometimes contain wool interlinings that shrink dramatically when wet. Always test colorfastness first, especially on patterned cotton ties where different dyes may react differently.
Hidden Construction Elements That Fail When Wet
Your tie’s professional appearance depends on delicate internal components that hate moisture. The interlining—usually wool, cotton, or synthetic—provides structure but shrinks when wet, causing permanent distortion. The tipping fabric at the back may bleed dye onto the main fabric during washing. Even the bar tack stitches at the ends can loosen when wet, causing the tie to lose its shape permanently. Always support the entire tie during washing to prevent these failures—never let it hang by one end.
Pre-Wash Inspection: Critical First Steps
How to Identify Stain Types Correctly
Hold your tie under bright light to determine exactly what you’re dealing with. Coffee rings appear as brown circles with darker edges spreading outward. Grease stains create darker patches that feel slightly stiff to the touch. Protein stains from sweat or blood may show yellowing, especially near the narrow end. Ink spreads in spider-web patterns that worsen with improper treatment. Using the wrong cleaning method for your specific stain type can set it permanently—coffee needs vinegar solutions while grease requires powder absorption.
Essential Colorfastness Testing Procedure
Find the care label first—usually sewn into the narrow end. Even if it says “hand wash,” test colorfastness on the tie’s back near the keeper loop. Dampen a white cotton cloth with cool water, then gently rub an inconspicuous area for 30 seconds. If any dye transfers, stop immediately and head to the dry cleaner. For multicolored patterns, test each color separately as different dyes may have varying degrees of colorfastness. This 30-second test prevents catastrophic color bleeding that ruins your tie.
Hand Washing Silk Ties: Step-by-Step Method
Create a Silk-Safe Washing Station
Clear your bathroom counter and cover it with white towels to prevent dye transfer. Fill a clean basin with water at precisely 70-80°F—test with your wrist; it should feel barely warm. Add one teaspoon of silk-specific wash or baby shampoo per gallon of water. Regular detergent strips silk’s natural proteins, so never substitute. Keep a second basin ready for rinsing with vinegar solution. Create a lint-free workspace because silk picks up fibers easily during washing.
Proper Silk Washing Technique (10 Minutes Max)
Submerge the tie completely for exactly 10 minutes—set a timer. Using both hands, slide the tie between your palms in one downward direction only. Never twist, scrub, or wring. For stains, apply gentle pressure with your fingertips, moving with the fabric’s grain. Rotate the tie slowly to clean all areas evenly. If water becomes colored, stop immediately—your tie isn’t colorfast. For stubborn stains, apply a small amount of cornstarch to grease spots before washing.
Silk Rinsing Protocol to Maintain Shine
Empty the basin and refill with clean, lukewarm water. Add one tablespoon of white vinegar to the final rinse—this restores silk’s natural pH and maintains shine. Support the tie completely while rinsing, never letting it hang under its own weight. Gently squeeze water through the fabric without wringing. Change rinse water until it runs completely clear. This vinegar step is non-negotiable for preserving silk’s luster.
Machine Washing Sturdy Ties: When It’s Safe
Polyester Tie Machine Washing Conditions
Only consider machine washing for polyester ties with “Machine Washable” labels. Use a mesh laundry bag or white pillowcase tied shut. Select the delicate cycle with cold water only—never warm or hot. Add mild detergent formulated for delicates, avoiding bleach or fabric softeners. Set spin cycle to lowest speed or skip entirely. Wash the tie alone to prevent tangling. Remove immediately when cycle ends—never let it sit damp. Even with these precautions, machine washing should be your last resort for heavily soiled ties.
Drying Without Destroying Shape: Critical Steps
Water Removal Methods That Prevent Damage
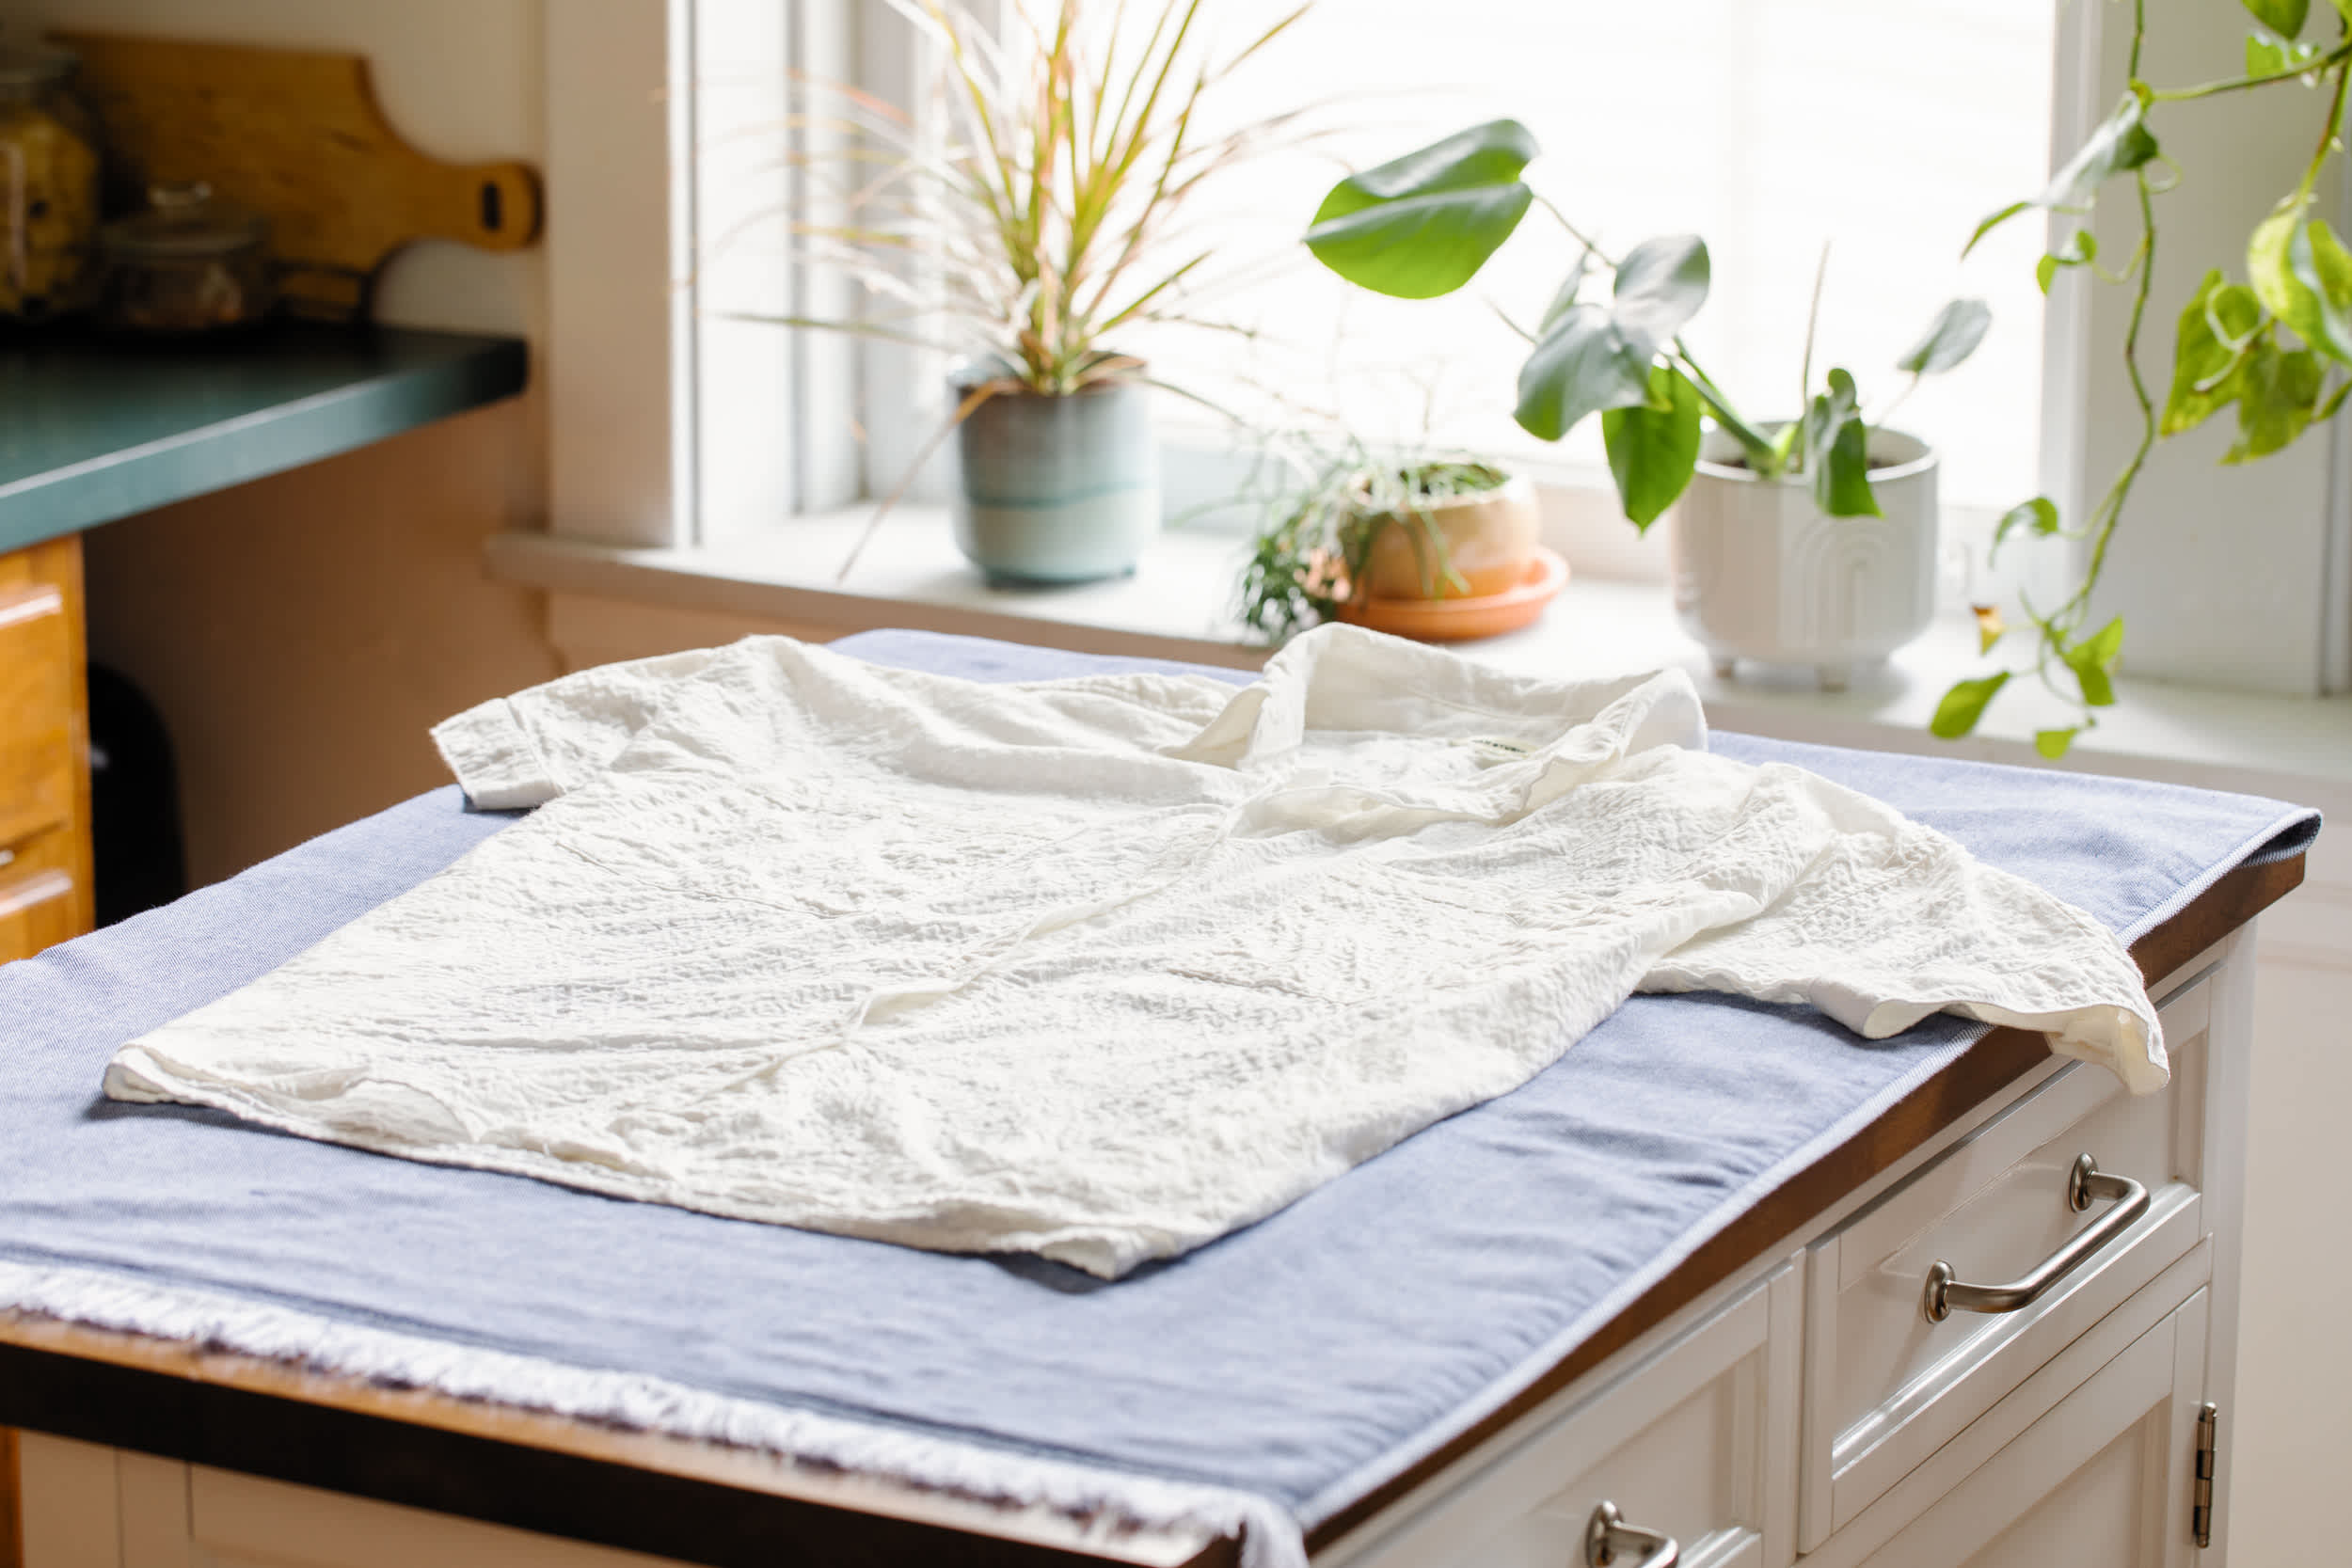
Lay the tie flat on a clean white towel. Roll it up like a jelly roll, pressing gently to absorb water. Unroll and repeat with a dry towel. Never wring or twist—this creates permanent creases. For silk, lay flat on a dry towel away from direct sunlight. For sturdier fabrics, drape over a padded hanger, ensuring full support along the entire length. The first 5 minutes of drying determine whether your tie keeps its shape—handle with care.
Shape Restoration Process for Professional Results
While damp but not dripping, begin reshaping. Lay the tie flat and smooth it into original form with your fingers. Recreate the pointed ends by pinching and shaping. For knit ties, gently stretch lengthwise to restore dimensions. If the interlining shifted, manipulate it back through the outer fabric. Roll loosely from narrow to wide end and store for 24 hours to set the shape. This step separates amateur attempts from professional results.
Final Wrinkle Removal Without Shine Marks
Once completely dry (12-24 hours), use a handheld steamer held 8 inches away. Move in downward strokes following the tie’s grain. Never let the steamer touch the fabric directly. For stubborn creases, place a white pressing cloth over the area and use a cool iron. Test on the back first to prevent shine marks. Never iron silk ties directly—this causes permanent damage to the delicate fibers.
Stain-Specific Treatment Guide for Common Accidents

Coffee and Wine Emergency Protocol
Blot fresh stains immediately with a white cloth—never rub. Mix one part white vinegar with two parts cool water. Dab from the stain’s edge toward center using a clean cloth. Rinse with cool water by dabbing. For red wine, cover fresh stains with salt for 15 minutes to absorb liquid, then shake off and treat with vinegar solution. Act within 30 minutes for best results—delayed treatment makes stains permanent.
Grease and Oil Removal Without Damage
Blot excess oil with paper towels without spreading. Cover the stain with cornstarch or talcum powder for 30 minutes. Brush off gently and assess. If needed, apply one drop of clear dish soap, gently working it in with fingertips. Rinse by laying flat and pouring cool water over the area, then wash normally. Multiple applications may be necessary for stubborn grease stains from food or cosmetics.
Long-Term Tie Maintenance: Extend Your Investment
Proper Storage Techniques That Prevent Creases
Store clean, dry ties by rolling loosely from narrow to wide end. This maintains the natural curve without creasing. Alternatively, hang on a proper tie rack with 2-inch spacing between ties. Never use wire hangers or overcrowd drawers. Keep silk ties in breathable fabric bags away from sunlight to prevent fading. Add cedar balls for wool ties to repel moths. Proper storage prevents 90% of tie damage between wears.
Between-Wear Care Routine for Professionals
Hang ties on proper hangers for 24 hours after wearing to release wrinkles naturally. Avoid wearing the same tie two days running. Address spills immediately by blotting with a white cloth. Keep a stain pen designed for delicates at your office for emergencies. Document cleaning dates to establish a maintenance schedule based on wear frequency. This simple routine extends your tie’s lifespan by 3-5 years.
Most tie disasters happen from rushing the process or using improper methods. Take your time, test everything first, and when in doubt, choose the gentler method. Your ties will reward you with years of sharp, professional appearance—without the dry cleaning bills. Remember: the most expensive part of tie maintenance isn’t the cleaning; it’s replacing a ruined $100 silk tie because you tried to save five minutes with the wrong technique. Treat your ties right, and they’ll maintain their crisp look through countless important meetings and special occasions.


