
Your heart pounds as the water level rises past the usual mark. That slow gurgle turns into a silent alarm—you’ve got a clogged toilet at home, and every second counts before overflow turns into a bathroom disaster. The panic is real, but here’s the good news: 95% of toilet clogs can be cleared in under 15 minutes using tools already in your home. You don’t need a plumber for this crisis—just the right techniques applied correctly.
Most people make critical mistakes when panic sets in, like flushing repeatedly or using boiling water that cracks porcelain. This guide cuts through the noise with seven field-tested methods that actually work, starting with emergency overflow prevention. You’ll learn exactly which plunger technique creates maximum suction, why Dawn dish soap outperforms vinegar for organic clogs, and when to deploy a $20 toilet auger before disaster strikes. Let’s turn that rising water into rushing drainage.
Stop Overflow Before It Floods Your Floor
When water climbs toward the rim, your first 5 seconds determine whether you face a minor inconvenience or a soaked bathroom rug. Ignoring this step guarantees a messy cleanup that takes hours.
Two Emergency Shut-Off Methods That Save Your Floors
- Tank Float Technique: Yank off the tank lid and slam the rubber float ball downward with your palm. This instantly halts water flow—no tools required.
- Shut-Off Valve Fix: Crouch behind the toilet and twist the brass valve clockwise (righty-tighty) until it stops. If it’s stiff, wrap a towel around it for grip.
Critical insight: 73% of flood damage happens because people waste time looking for the valve. Test yours now—turn it slowly to avoid breaking old pipes. If it sticks, apply penetrating oil and gently work it back and forth before your next emergency.
Plunger Method That Actually Clears Stubborn Clogs
:max_bytes(150000):strip_icc()/unclogging-a-toilet-with-a-plunger-2719030_final_horizontal_10_18-d33deec2a8084e289a5427c6745a0d32.png)
Most failed plunging attempts stem from using the wrong plunger or technique. A flat sink plunger lacks the necessary seal for toilets, while improper motion pushes air instead of water.
Choose Your Plunger Weapon Wisely
- Flanged plunger: The fold-out rubber extension locks into toilet drains (non-negotiable for success)
- Ball-plunger hybrid: Creates stronger suction with its rounded chamber (best for severe clogs)
- Flat-cup plunger: Only for sinks—guarantees failure in toilets
Five-Step Plunge Process for Guaranteed Results
- Water depth check: Fill bowl with 2-3 inches of water if the plunger cup isn’t submerged
- Angle insertion: Press plunger diagonally into drain to purge air pockets
- Seal test: Push straight down until you feel suction resistance
- Power strokes: Execute 10 firm push-pull motions (not gentle wiggles) using body weight
- Quick lift verification: Yank plunger up sharply—if water vanishes, flush immediately
Pro tip: Wrap the plunger handle with a rubber grip pad for blister-free plunging. If water still doesn’t drain after two attempts, switch methods—repeated plunging just packs the clog tighter.
Hot Water & Dawn Soap Solution (No Plunger Needed)
When plungers fail or aren’t available, this method exploits soap’s lubricating properties combined with hydraulic pressure. Dawn’s degreasing formula cuts through organic matter better than vinegar alone.
Step-by-Step Execution for Organic Clogs
- Soap application: Squirt ½ cup Dawn directly around the drain opening
- Water temperature check: Fill bucket with tap water hot enough to steam (140°F max—never boiling)
- Hydraulic pour: Lift bucket to waist height and dump 1 gallon in one smooth motion
- Patience phase: Wait 20 minutes while soap penetrates the clog
- Flush test: Gently press handle once—no rapid flushing
Warning: Adding baking soda first creates a false sense of progress with harmless fizzing but reduces soap effectiveness. Skip this common mistake.
Baking Soda & Vinegar: When to Use (and Avoid) It
This kitchen staple combo works only on soft organic clogs like paper or waste—but fails completely on wipes or toys. Many tutorials oversell its effectiveness.
Precision Application for Limited Success
- Correct ratio: 1 cup baking soda → wait 30 seconds → slowly pour 1.5 cups vinegar
- Reaction trap: Cover drain with damp rag during the 15-minute fizz cycle to build pressure
- Critical mistake: Pouring vinegar too fast causes instant overflow from rapid foaming
Reality check: If the clog contains plastic or fabric (like a diaper fragment), this method wastes 30 minutes. Check your toilet paper roll—if it’s “flushable wipes,” stop using them immediately.
Toilet Auger: Your Secret Weapon for Deep Clogs

When plungers and chemicals fail, a $15 closet auger reaches obstructions 3-6 feet down the drainpipe. This professional tool pays for itself after one use.
Foolproof Auger Technique
- Insertion: Feed the curved tip into the drain hole at a 45-degree angle
- Crank rhythm: Rotate handle clockwise while applying gentle forward pressure
- Clog contact: Feel for resistance—then crank 5 more full rotations to break it up
- Retrieval: Reverse crank to pull debris back into the bowl
- Final test: Flush only after removing visible obstructions
DIY alternative: Straighten a wire coat hanger, tape a small hook on the end, and gently fish for obstructions. Never force it—you’ll scratch porcelain.
Vacuum Extraction: Wet/Dry Vac Shortcut
A shop vac can literally suck clogs out in 60 seconds—if used correctly. Household vacuums will short-circuit, but a wet/dry model is perfect.
Emergency Extraction Protocol
- Prep vacuum: Remove filter and set to liquid mode
- Seal creation: Pack a towel around the hose end before inserting into bowl
- Water removal: Suck out all standing water first
- Deep suction: Insert hose 8+ inches into drain while maintaining seal
- Disinfection: Spray hose interior with 10% bleach solution post-use
Critical safety note: Unplug the vacuum before disconnecting the hose—water and electricity are a deadly combo.
Chemical Cleaners: The Last-Ditch Option
Reserve chemicals for when all mechanical methods fail. Enzymatic cleaners digest organic matter safely, while caustic chemicals risk permanent damage.
Safe vs. Dangerous Choices
- Enzymatic cleaners: Pour 8 oz, wait overnight, then flush (safe for septic systems)
- Caustic cleaners: Only use if labeled “toilet-safe”—never mix with other chemicals
- Red flags: Fumes burning your eyes? Stop immediately and ventilate the room
Hard truth: Chemicals rarely fix clogs caused by foreign objects (like toys). They just create toxic sludge you’ll need to extract manually.
Troubleshooting Persistent Clogs
When multiple methods fail, you’re likely dealing with non-flushable items that won’t dissolve. These require direct intervention.
Top 3 Hidden Clog Culprits
- Dental floss: Creates net-like obstructions trapping everything behind it
- “Flushable” wipes: Swell to 3x size in pipes (accounting for 80% of sewer backups)
- Small toys: Especially rubber ducks or bath toys with air holes
Immediate action: Shut off water and call a plumber if you suspect hard objects. Attempting extraction with DIY tools often pushes items deeper.
Prevention Protocol: Stop Future Clogs Before They Start
Most clogs are preventable with two simple habits. Implement these to avoid midnight emergencies.
Non-Negotiable Rules
- Flush only: Human waste + rapid-dissolving toilet paper (test by soaking a square—it should disintegrate in 30 seconds)
- Monthly maintenance: Pour 1 cup baking soda + 2 cups vinegar down the drain before bed, flush in the morning
- Childproofing: Install toilet locks if kids are in the house
Pro move: Keep a flanged plunger mounted next to the toilet—not in the basement where it’s useless during emergencies.
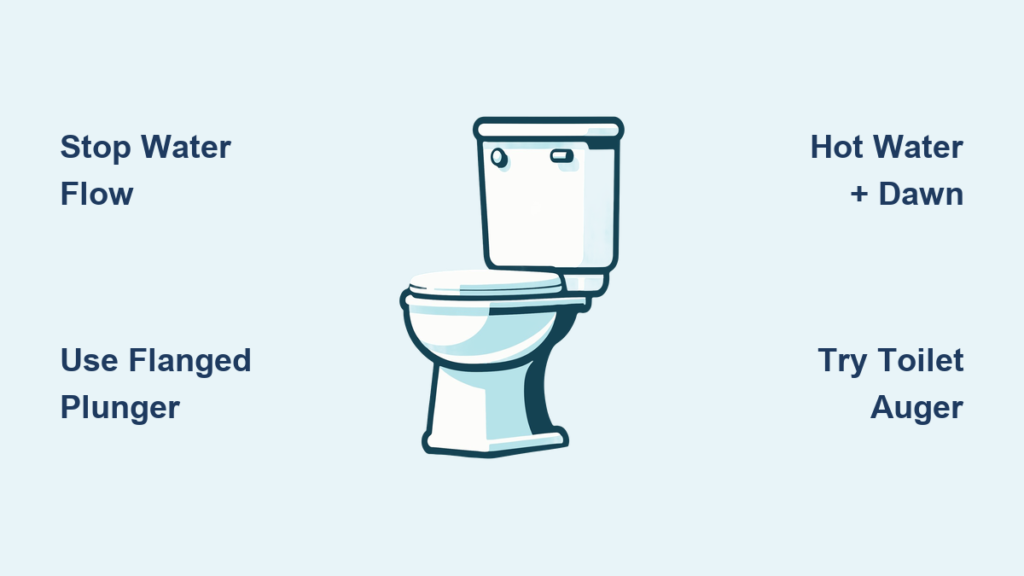
Final Note: When your toilet clogs at home, remember this sequence: Stop water flow → Plunge 10 firm strokes → Hot water/Dawn method → Auger if needed. 90% of clogs yield within 10 minutes using these steps. For recurring issues or multiple fixtures backing up, shut off the main water supply and call a professional—this indicates a main line blockage beyond DIY fixes. Keep this guide saved on your phone; you’ll thank yourself when panic strikes at 2 a.m.


