
Is your Honeywell thermostat displaying the wrong temperature or ignoring your schedule? You’re not alone—nearly 60% of homeowners struggle with thermostat programming, leading to uncomfortable homes and higher energy bills. Mastering how to set Honeywell home thermostat properly transforms your heating and cooling system from a confusing wall gadget into a precision comfort tool. This guide covers every model type, from basic manual dials to Wi-Fi smart thermostats, so you’ll gain complete control over your home’s climate today.
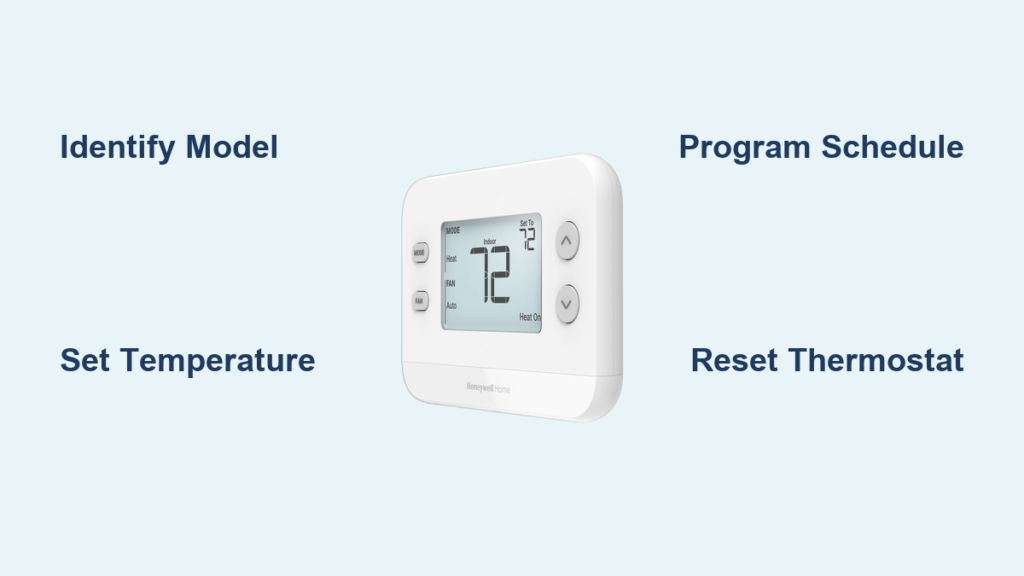
Identify Your Honeywell Thermostat Model First
Skip generic setup steps by correctly identifying your specific Honeywell model. This prevents frustration from following incompatible instructions. Look for these visual identifiers before attempting any programming.
Manual Models: The Round Dial Type
Your thermostat has a classic round design with physical components when you see:
– A temperature dial you rotate with your finger
– A physical “System” switch labeled Heat/Cool/Off
– A separate “Fan” switch marked Auto/On
– No digital display or electronic buttons
Pro tip: These models require no programming—they maintain your last setting until manually changed. Perfect for households with consistent daily routines.
Digital Models: Button and Touchscreen Variations
Modern digital units feature electronic displays with these characteristics:
– An LCD or LED screen showing temperature and settings
– Arrow buttons (↑↓) for adjusting temperature
– Dedicated “Set” or “Program” buttons
– Touchscreen capability on newer models like T5/T6 series
Critical step: Locate your exact model number by removing the thermostat faceplate. Check the back panel or battery compartment for labels like RTH221B1039 or T6 Pro. This number determines your specific setup process.
Manual Thermostat Temperature Control Made Simple
Don’t let the simplicity fool you—many homeowners accidentally set their manual thermostats incorrectly. Follow these precise steps to ensure proper operation.
Dial Adjustment Technique
Increase heat effectively:
– Turn the temperature dial clockwise until reaching your desired setting
– The thermostat activates heating when room temperature drops below this point
Reduce cooling properly:
– Turn the dial counterclockwise for lower temperatures
– The system runs cooling until room reaches your selected temperature
System and fan control:
– Set “System” switch to Heat (winter), Cool (summer), or Off
– Choose “Fan” position: Auto (fan runs only with heating/cooling) or On (constant circulation)
Warning: Never set both Heat and Cool modes simultaneously—this damages your HVAC system.
Digital Thermostat Basic Setup Steps
Digital models require specific button sequences. Using the wrong combination causes confusion and failed programming attempts.
Immediate Temperature Adjustment
Follow these exact steps:
1. Press “Heat” or “Cool” to select your active mode
2. Use ↑ arrow to raise temperature, ↓ arrow to lower it
3. New setting appears immediately on screen
4. System responds within 30 seconds to changes
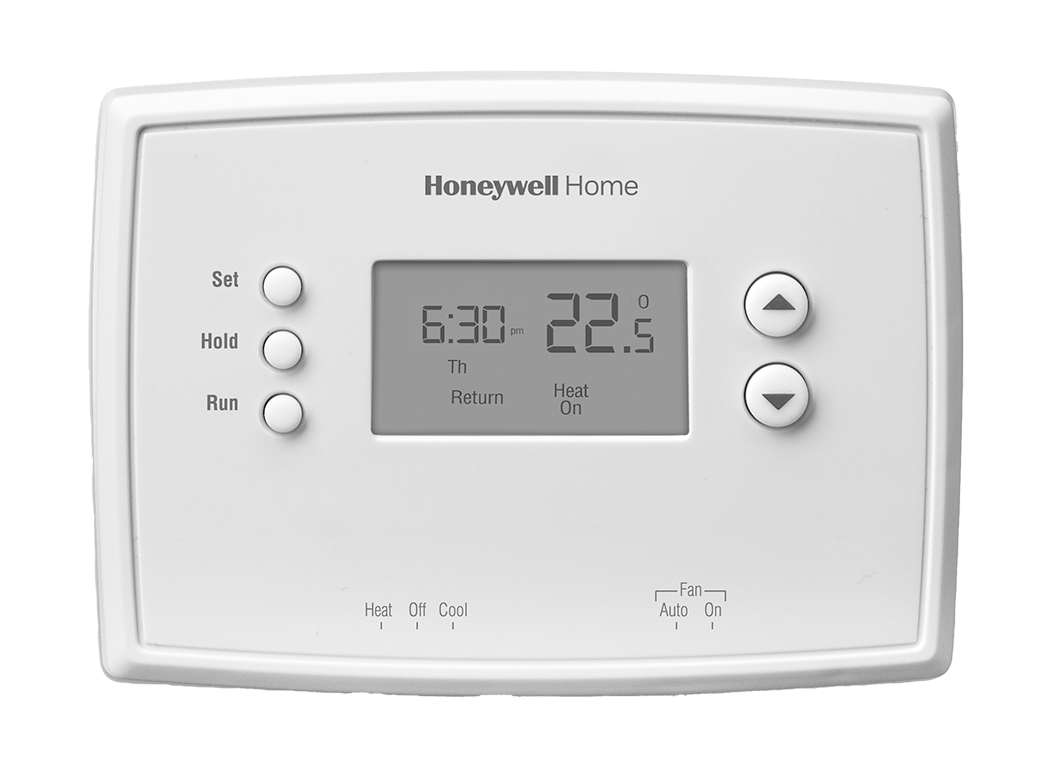
RTH221B1039 model troubleshooting:
– Verify mode matches your need (Cool for summer, Heat for winter)
– Check for lock symbol—if present, hold “Fan” button 5 seconds to unlock
– If unresponsive, remove batteries for 30 seconds then reinsert
Time estimate: Basic temperature changes take 15 seconds once you know the button sequence.
Program Digital Schedules in 10 Minutes

Most energy savings come from proper scheduling, yet 70% of homeowners never program their thermostats. Follow this streamlined process for immediate results.
Pre-Programming Checklist
Before touching any buttons, prepare these essentials:
– Your daily routine written down (wake, leave, return, sleep times)
– Preferred temperatures for each period
– Current time and date verified for accuracy
– Model-specific manual accessible for reference
Critical mistake to avoid: Programming without correct time/date settings causes schedules to run at wrong hours.
5-2 Day Programming Walkthrough
Weekday setup (Monday-Friday):
Wake period (6:00 AM):
– Heat: 70°F | Cool: 76°F
– System activates before you wake for immediate comfort
Leave period (8:00 AM):
– Heat: 65°F | Cool: 78°F
– Energy-saving mode when home is empty
Return period (6:00 PM):
– Heat: 70°F | Cool: 76°F
– System preconditions home before arrival
Sleep period (11:00 PM):
– Heat: 65°F | Cool: 78°F
– Optimal sleeping temperature with maximum savings
Weekend adjustment:
– Wake time: 8:00 AM (sleep in)
– Skip leave/return periods if home all day
– Sleep time: 11:00 PM (consistent with weekdays)
Final step: Press “Done” or “Run Schedule” to activate—your thermostat now follows this pattern automatically.
Touchscreen and Smart Thermostat Control Methods
Newer Honeywell models offer multiple programming options beyond the physical device.
On-Device Touchscreen Programming
For T5/T6 and Pro Series models:
1. Tap “Menu” on main screen
2. Select “Schedule” from options
3. Choose days (weekdays, weekends, or individual days)
4. Drag temperature bars to preferred settings
5. Tap “Done” to save changes
Visual cue: A calendar icon appears when schedule is active.
Honeywell Home App Remote Control
Set your thermostat from anywhere:
1. Open Honeywell Home app on smartphone
2. Select your thermostat from devices list
3. Tap “Schedule” → “Edit”
4. Adjust temperatures and times as needed
5. Changes sync immediately to thermostat
Pro tip: Enable geofencing on smart models—the thermostat detects when you’re 15 minutes from home and starts conditioning automatically.
Energy-Saving Temperature Settings That Work
Proper programming delivers real savings—here are the exact settings that cut costs without sacrificing comfort.
Seasonal Optimization Guide
Winter efficiency settings:
– Home: 68°F (ideal balance of comfort and efficiency)
– Away/asleep: 65°F (saves 10-15% on heating costs)
Summer efficiency settings:
– Home: 78°F (feels comfortable with ceiling fans)
– Away: 80°F+ (maximum savings when home empty)
Money-saving reality: Each degree you adjust from standard settings saves 1-3% on annual energy bills. A properly programmed thermostat delivers 10% annual savings on average.
Fix Common Thermostat Problems Immediately
When your Honeywell thermostat ignores settings, try these model-specific solutions before calling a technician.
Schedule Not Following Properly
Most common cause: “Hold” mode is activated (overrides programming)
– Look for “Hold” indicator on screen
– Press “Run” or “Cancel Hold” button
– Verify time and date display correctly
Blank screen emergency fix:
– Replace AA batteries immediately (digital models)
– Check HVAC circuit breaker for tripped switch
– Remove batteries for 30 seconds to reset electronics
No heating/cooling response:
– Confirm correct mode selected (Heat vs Cool)
– Check HVAC system power at furnace/air handler
– Verify wiring matches your system type (heat pump vs conventional)
Reset Your Thermostat Correctly

Different reset types solve specific problems—choose the right one for your situation.
Soft Reset (Fixes 90% of Issues)
Step-by-step procedure:
1. Remove batteries from thermostat
2. Wait exactly 30 seconds (critical timing)
3. Reinsert batteries
4. Reprogram time and date
5. Restore your schedule settings
When to use: Unresponsive buttons, blank screen, or minor programming glitches
Factory Reset (Last Resort)
Only perform when:
– Soft reset fails to resolve issues
– You’re moving and need to erase personal data
– Selling your home and transferring thermostat
Warning: This erases all custom settings—have your schedule written down before proceeding. Consult your model manual for specific button sequences.
Model-Specific Quick Reference Guide
6000/8000 Series (Most Common in U.S. Homes)
- Full programming capability with 5-2 or 7-day schedules
- “Set” button accesses programming mode
- Arrow keys navigate schedule periods
- No Wi-Fi capability (manual programming only)
T5/T6 Smart Models (Wi-Fi Enabled)
- Honeywell Home app control from anywhere
- Geofencing automatically adjusts when you leave/return
- Touchscreen interface with color display
- Voice control compatible with Alexa and Google Assistant
Pro Series (Advanced Features)
- Daily programming options for irregular schedules
- “Smart Response” technology learns your home’s heating/cooling speed
- Touchscreen with intuitive swipe navigation
- Professional installation recommended for complex HVAC systems
Quick Command Cheat Sheet
Change temperature immediately:
– Press Mode → Use ↑↓ arrows → New setting displays instantly
Access programming:
– Press “Set” → Select “Program” → Configure time periods
Save and activate schedule:
– Press “Done” → “Run Schedule” → Automatic operation begins
Temporary schedule override:
– Adjust temperature → “Hold” appears → Press “Run” to resume schedule
Pro tip: Take a photo of your current settings before making major changes—you’ll save hours of frustration if you need to revert.
Mastering how to set Honeywell home thermostat properly transforms your comfort control from confusing to effortless. Start with basic temperature adjustments, then progress to programming schedules that match your lifestyle. These simple steps deliver immediate comfort improvements while reducing energy bills by up to 10% annually. For persistent issues, contact Honeywell support at 1-800-633-3991 (Mon-Fri 9am-8pm CT), but most homeowners resolve problems using these proven techniques. Your perfectly controlled home climate awaits—one correctly set thermostat at a time.


