
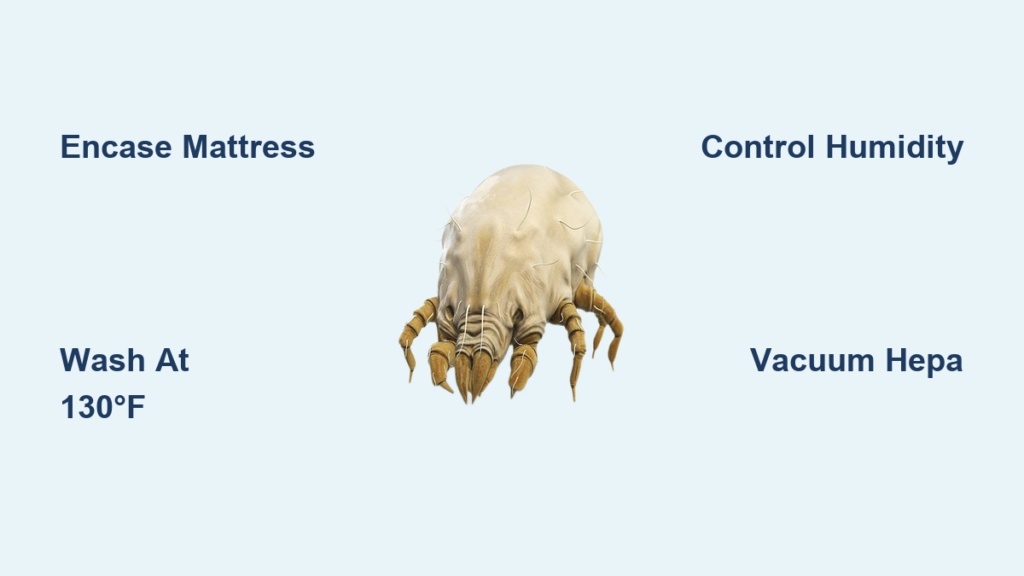
Waking up with a stuffy nose, itchy eyes, and unexplained fatigue could signal a hidden problem in your home—millions of microscopic dust mites thriving in your mattress, carpets, and soft furnishings. These invisible invaders feed on your dead skin cells and create allergens that trigger symptoms year-round. The breakthrough discovery in 1967 revealed dust mites as the primary source of house dust allergies, explaining why many suffer despite regular cleaning.
You don’t need expensive gadgets or harsh chemicals to reclaim your living space. This guide delivers scientifically proven strategies directly from allergen research, transforming complex science into practical steps you can implement immediately. By focusing on specific high-impact areas and methods, you’ll eliminate these microscopic pests and create an environment where you can finally breathe easy.
Target the Bedroom Where Mites Multiply
Your Mattress: Ground Zero for Dust Mite Colonies
Your mattress likely hosts 10 million dust mites or more—each feeding on the skin cells you shed nightly. Unlike visible pests, these microscopic invaders leave no obvious signs, making your bed the perfect breeding ground. Older mattresses (8+ years) contain the highest concentrations, especially without protective barriers.
Start by stripping all bedding and inspecting your mattress surface. While mite feces appear as invisible dark spots to the naked eye, their presence concentrates in sleeping areas where skin shedding occurs. Focus your initial efforts here since the bedroom typically contains 60-70% of household dust mites.
Pillow and Comforter Hotspots Need Immediate Action
Pillows become dust mite hotels over time, with older pillows containing up to 10% of their weight in dead mites and waste. Feather pillows generally harbor more mites than synthetic alternatives, but both require attention. Test your pillow’s age by folding it in half—if it doesn’t spring back within 5 seconds, replace it immediately.
Comforters and duvets present special challenges due to their size and cleaning limitations. Most home washers can’t accommodate bulky comforters, creating ideal mite habitats. Check care labels right now—items requiring dry cleaning should be replaced with washable alternatives to maintain proper mite control.
Implement Physical Barriers That Actually Work
Choose the Right Mattress Encasements

Select encasements made from fine woven fabric originally developed for typewriter ribbon—not plastic or unwoven materials. These specialized fabrics prevent mite penetration while withstanding 100+ wash cycles. Measure your mattress dimensions carefully to ensure a snug fit without gaps where mites could enter.
Pro tip: Look for encasements labeled “allergen-proof” or “dust mite barrier” with independent certification. Avoid cheap vinyl covers that crack within months and create uncomfortable sleeping conditions.
Proper Pillow and Comforter Protection
Encase every pillow in your bedroom, including decorative ones. Use separate encasements for pillows and shams—this double barrier significantly reduces allergen exposure. For comforters, select zippered encasements that fully enclose the item without gaps.
Installation trick: Turn encasements inside-out, slide over bedding corner-first, then flip right-side-out. This prevents fabric bunching and ensures a smooth, gap-free fit that blocks mite entry.
Optimize Your Bedding Washing Routine
Perfect Washing Temperatures for Mite Elimination

Set your washer to 130°F (54°C) for optimal mite death without damaging fabrics. Warm water removes nearly identical allergen levels compared to scalding hot cycles, making this temperature ideal for most bedding materials. Add an extra rinse cycle to ensure complete allergen removal from fabrics.
Critical mistake to avoid: Cold water washing fails to kill mites or remove their allergens. Always use warm settings for bedding, even if fabric labels suggest cold water is acceptable.
Effective Drying and Storage Methods
Dry all bedding items completely—clothes dryers kill virtually all remaining mites through heat exposure. Use high heat for at least 20 minutes minimum. Store clean bedding in sealed plastic containers or vacuum-sealed bags until use to prevent recontamination.
Weekly routine: Wash sheets, pillowcases, and blankets every 7-14 days. Set calendar reminders to maintain this critical schedule—consistency prevents mite population rebounds.
Control Home Humidity to Starve Mites

Monitor and Maintain Optimal Moisture Levels
Dust mites require 50%+ humidity to thrive. Purchase a digital hygrometer ($15-30) and maintain levels at 45% or lower throughout your home, with special attention to bedrooms where you spend 8+ hours. Brief humidity elevations enable mite survival and reproduction, so consistency matters.
Quick fixes: Run exhaust fans during showers, fix plumbing leaks immediately, and use dehumidifiers in damp areas. Empty dehumidifier reservoirs daily to prevent mold growth that could worsen indoor air quality.
Adjust for Seasonal Humidity Changes
Increase ventilation during low outdoor humidity periods—typically winter months. Open windows briefly even in cold weather to exchange moist indoor air with dry outdoor air. In summer, rely on air conditioning rather than opening windows during humid days to maintain low indoor humidity.
Regional considerations: Coastal areas require year-round dehumidification, while desert regions may naturally maintain optimal humidity levels. Adjust your strategy based on local climate conditions.
Transform Your Flooring Strategy
Eliminate Carpeting When Possible
Wall-to-wall carpeting harbors millions of mites in each square foot, making it the worst flooring choice for mite control. Replace with hardwood, tile, or luxury vinyl plank flooring wherever feasible. If removal isn’t possible, prioritize bedroom areas first since this is where you spend the most time.
Transition plan: Remove bedroom carpet immediately, then tackle other rooms as budget allows. Area rugs provide warmth while remaining washable alternatives to fitted carpets.
Select and Maintain Mite-Resistant Rugs
Choose low-pile area rugs that fit in home washing machines when carpet replacement isn’t feasible. Natural fiber rugs (cotton, wool) typically wash better than synthetic ones. Avoid high-pile rugs that trap dust and mites deep in fibers.
Maintenance schedule: Beat rugs outdoors monthly, wash quarterly, and ensure complete drying. Sun exposure during outdoor beating provides additional mite-killing benefits through UV exposure and drying.
Vacuum With Maximum Effectiveness
Choose the Right HEPA Vacuum System
Use vacuums with true HEPA filters certified to remove 99.7% of particles down to 0.1 microns—exactly the size of mite allergens. Check certification labels carefully, avoiding “HEPA-like” marketing claims. Empty canisters outdoors immediately after use to prevent allergen redistribution.
Budget options: Quality HEPA vacuums start around $150. Avoid bagless models that release dust during emptying, which defeats the purpose of filtration.
Follow Safe Vacuuming Procedures
Vacuum twice weekly minimum while wearing an N95 mask during cleaning. Leave rooms for 20 minutes post-vacuuming to allow settled dust to clear before reentering. Focus on carpet edges, under furniture, and mattress surfaces where mites concentrate.
Pro technique: Vacuum slowly—passing over each area 3-4 times removes significantly more allergens than quick passes. Remember that vacuuming disturbs dust significantly, so proper technique is essential.
Maintain Long-Term Mite Control
Create a Sustainable Cleaning Schedule
Establish weekly routines: wash bedding, vacuum carpets, dust surfaces. Monthly tasks include washing area rugs, cleaning air purifier filters, and checking humidity levels. Quarterly deep cleaning covers windows, curtains, and hard-to-reach areas where dust accumulates.
Calendar integration: Set phone reminders for each task type. Consistency prevents mite population rebounds that occur within weeks of stopping your efforts.
Track Your Progress and Adjust
Monitor symptom changes—congestion, itching, and fatigue should decrease within 2-4 weeks of implementing these strategies. Document symptoms daily using a simple 1-10 scale for each category to identify what’s working.
Warning sign: If symptoms worsen or don’t improve after 6 weeks despite consistent efforts, consult an allergist for professional testing and treatment options. Sometimes medical intervention works best alongside environmental control.
Start tonight by installing mattress and pillow encasements—the single most effective step that provides immediate 80-90% allergen reduction. Combine this with weekly warm-water bedding washes and humidity control below 45%, and you’ll create an environment where dust mites cannot survive. Within one month of consistent action, you’ll experience clearer mornings and restful nights, proving that invisible enemies can be defeated with visible, science-backed strategies. Your journey to a mite-free home begins with these first critical steps—take them tonight for better breathing tomorrow.


