
Your child’s wiggly tooth has been hanging on for weeks, and tonight it looks ready to make its grand exit. While the excitement of the tooth fairy’s visit builds, you’re wondering if it’s safe to help nature along—or if that adult molar that’s barely hanging on needs immediate attention. Understanding the difference between a naturally exfoliating baby tooth and a problematic permanent tooth could save you from unnecessary pain, infection, or a costly dental emergency.
This guide walks you through safe home removal techniques, but only when specific conditions are met. You’ll learn to identify when intervention is appropriate, master sterile techniques that prevent infection, and recognize warning signs that demand professional care. Most importantly, you’ll discover why patience often trumps intervention—and how to spot the rare exceptions.
When Home Tooth Extraction Is Actually Safe
Baby Teeth Ready for Removal
A loose baby tooth signals natural development, not dental trauma. Only attempt removal when the tooth meets these strict criteria: Grade 3 mobility (you can move it more than 2mm in any direction), minimal pain during wiggling, and visible permanent tooth underneath. The tooth should feel like it’s hanging by a thread, not firmly anchored.
Parents often notice the telltale signs: your child can rotate the tooth with their tongue, eating becomes uncomfortable, or the tooth appears longer than neighbors due to root resorption. These changes indicate the body has dissolved the root naturally, making removal straightforward and painless. If your child reports little to no discomfort when wiggling the tooth, it’s likely ready for extraction.
Adult Teeth Emergency Exceptions
Permanent teeth should never be removed at home except in documented survival scenarios. Any loose adult tooth indicates underlying pathology—gum disease, trauma, or infection—that requires professional diagnosis. The only exception comes with explicit dentist approval for specific medical cases, such as extreme immunocompromised patients where dental office visits pose greater risks.
Critical Warning Signs Requiring Immediate Care
Stop Immediately If You See These Symptoms
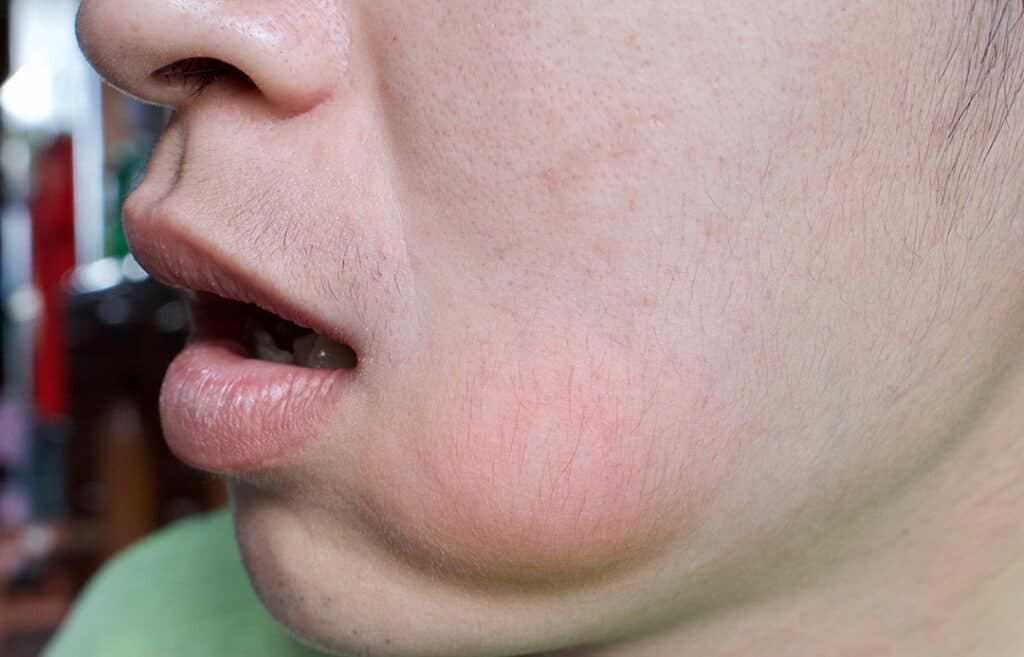
Stop immediately if you observe any of these symptoms: swelling in the face or neck, fever above 100.4°F, pus discharge, or foul odor from the tooth. Difficulty breathing or swallowing constitutes a medical emergency—call 911 or proceed to the nearest emergency department.
Other critical indicators include persistent bleeding lasting over 30 minutes, severe throbbing pain unresponsive to over-the-counter medication, or visible fracture lines extending below the gumline. Dark tooth discoloration suggests necrotic pulp, while previous root canal treatment on the tooth makes home extraction extremely dangerous. When in doubt about how to remove a loose tooth at home safely, professional evaluation is always the better choice.
Pre-Extraction Sterilization Protocol
Hand and Tool Sterilization That Prevents Infection
Your hands become the primary tool, making thorough sterilization non-negotiable. Scrub with antibacterial soap for two full minutes, paying special attention to fingernails and cuticles. Create a clean workspace by wiping surfaces with disinfectant and ensuring bright, direct lighting.
If using any tools like tweezers or gauze, sterilize them completely. Boil metal instruments in water for 10 minutes, or soak in 70% isopropyl alcohol for 30 minutes. Prepare your mouth by rinsing with antimicrobial mouthwash for 30 seconds, followed by warm salt water (½ teaspoon per 8 ounces) for another 30 seconds. This dual-rinse technique significantly reduces bacteria in the extraction area.
Essential Materials Checklist Before Starting
Gather these items before beginning: sterile 2×2 inch gauze pads (minimum four pieces), antibacterial mouthwash, warm salt water solution, ice pack or cold compress, and over-the-counter pain medication. You’ll need acetaminophen (500mg for adults) or ibuprofen (200-400mg), sterile cotton balls, and a clean container for the extracted tooth.
Add a flashlight or headlamp for clear visualization, plus a timer for bleeding assessment. Having everything within arm’s reach prevents mid-procedure contamination when you need additional gauze or lighting adjustments. Never attempt how to remove a loose tooth at home without proper preparation.
The 3-Phase Home Extraction Technique
Proper Positioning and Access
Sit upright in your brightest-lit area, tilting your head slightly forward to prevent blood from flowing toward your throat. This position also provides better visualization and control. Use sterile gauze to completely dry the tooth and surrounding gum area—moisture reduces grip and increases slippage risk.
Take 30 seconds to assess the tooth’s movement patterns using your clean finger or tongue. Note whether it moves more easily forward-backward, side-to-side, or rotationally. This assessment guides your extraction direction and prevents unnecessary trauma to surrounding tissues.
Controlled Wiggle Technique for Safe Removal
Using your clean index finger and thumb, apply gentle back-and-forth rocking motion for 2-3 minutes. Focus movement along the natural eruption path—typically outward and slightly downward for upper teeth, upward for lower teeth. Start with pressure equivalent to pressing a computer key, gradually increasing to a firm finger press.
The goal isn’t immediate removal but fatiguing the periodontal ligament fibers holding the tooth. You’ll feel resistance decrease gradually, signaling the tooth is ready for final extraction. Never use jerky movements or excessive force—steady, continuous pressure works with your body’s natural processes. This phase typically takes 2-4 minutes for properly mobile teeth.
Final Removal and Socket Care
Wrap sterile gauze around the tooth crown for enhanced grip and slip prevention. Apply steady, continuous pressure in the established direction. You’ll experience a brief sharp sensation followed by immediate pressure release—this indicates successful extraction.
Listen for the characteristic “pop” sound and feel for sudden increased mobility. These completion indicators mean minimal resistance remains for the final pull. Immediately place the extracted tooth in your sterile container for inspection. Proper technique when learning how to remove a loose tooth at home prevents complications.
Post-Removal Care: Avoiding Dry Socket
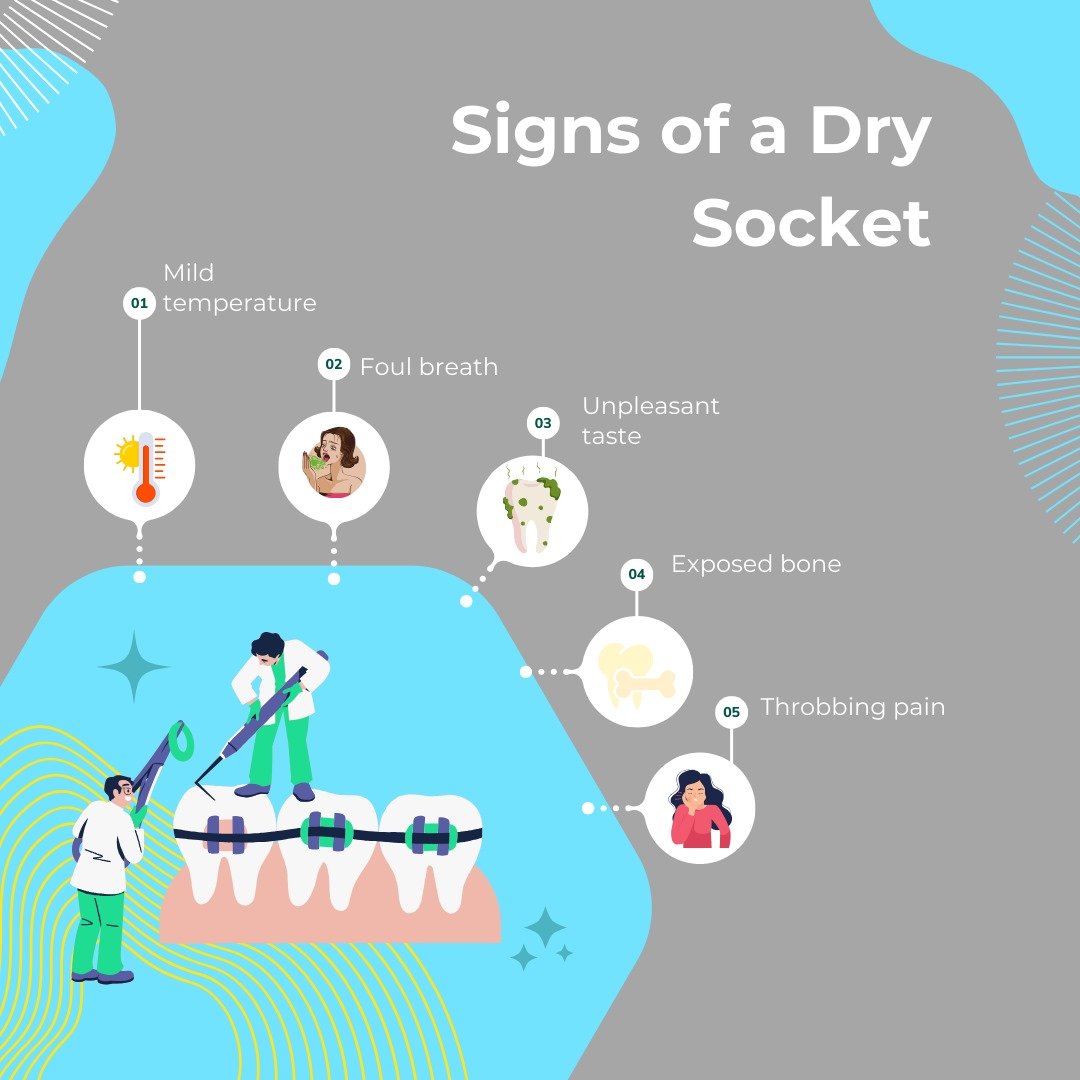
Bleeding Control Protocol That Works
Apply firm pressure with folded sterile gauze directly on the socket for 20-30 minutes without interruption. This timeline allows proper blood clot formation—the foundation for healing. Replace gauze only when completely saturated, typically every 30-45 minutes.
Maintain consistent pressure by gently biting down. Avoid checking every few minutes, as this disrupts clot formation. Normal bleeding involves minor oozing for 2-4 hours post-extraction. Bright red, pulsatile bleeding requires immediate medical attention—don’t ignore these signs when attempting how to remove a loose tooth at home.
Pain and Swelling Management
Apply an ice pack externally for 10 minutes on, 10 minutes off, during the first two hours. This reduces swelling and provides natural numbing. Continue your scheduled pain medication every 6-8 hours as needed, not exceeding daily maximums.
Keep your head elevated 30-45 degrees during sleep for the first 24-48 hours. This positioning reduces blood flow to the area, minimizing swelling and promoting faster healing. Most patients experience significant pain reduction within 48 hours when following these protocols.
Natural Methods to Speed Up Loose Tooth Removal
Dietary Encouragement Techniques
Increase consumption of slightly hard foods like apple slices or carrot sticks—these encourage natural wiggling through normal chewing. Avoid extremely sticky candies that could pull the tooth prematurely and traumatically. The key is gentle, consistent pressure that mimics natural exfoliation.
Oral Stimulation Strategies for Children
Encourage gentle tongue manipulation throughout the day, especially after meals. Normal chewing patterns naturally encourage exfoliation without risking trauma. Most loose baby teeth will exfoliate naturally within 2-6 weeks with minimal intervention. This patient approach avoids unnecessary pain and reduces infection risk—often the safest method for how to remove a loose tooth at home.
When Professional Dental Care Is Essential
Recognizing the Need for Immediate Dental Attention
Most communities offer affordable dental options for simple extractions. Many dental schools provide reduced-cost treatment by supervised students, while community health centers use sliding scale fees. Some schools partner with mobile dental units for on-site care.
Even a basic dental consultation often proves free or low-cost for simple extractions. Professional removal eliminates infection risk, ensures complete extraction, and provides immediate access to emergency care if complications arise. If you’re questioning whether you should attempt how to remove a loose tooth at home, the safest answer is often “let a professional handle it.”
Final Note: Successfully removing a loose tooth at home requires patience, proper technique, and strict adherence to safety protocols. Most baby teeth exfoliate naturally within weeks—intervention should be the exception, not the rule. When in doubt about how to remove a loose tooth at home safely, professional dental care remains the safest path for both you and your child. Always prioritize infection prevention and recognize warning signs that demand immediate professional attention.


