
Your lower back throbs as you reach for your coffee mug. Another morning, another reminder that back pain controls your life. You’re not alone—low back pain affects millions daily, disrupting sleep, work, and simple pleasures. The good news? You can reduce back pain at home using proven techniques that don’t require expensive equipment or constant doctor visits.
This guide transforms your home into a healing space. You’ll discover exactly which movements heal your back, which habits prevent future pain, and how to build strength that protects you long-term. Most people see improvement within days when following these evidence-based strategies for how to reduce back pain at home naturally.
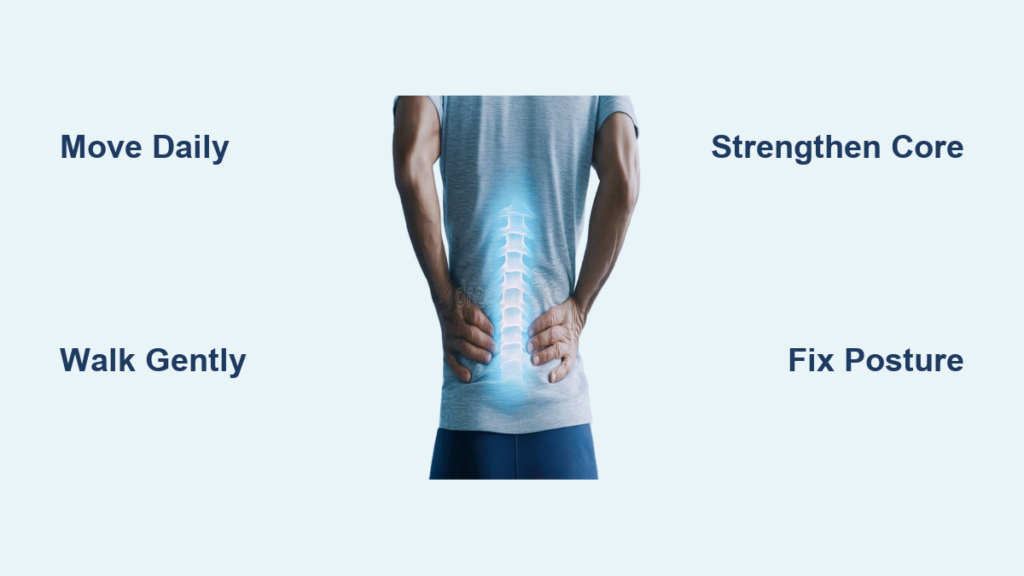
Skip Bed Rest: Move to Heal Your Back Immediately
Why Rest Actually Worsens Back Pain
Extended bed rest weakens your back muscles within 48 hours, contradicting what many believe about healing back pain. Your spine needs gentle movement to deliver healing nutrients through increased blood flow. When you lie still, muscles tighten and pain intensifies. Healthcare professionals specifically advise against prolonged inactivity unless serious underlying conditions are present.
Warning signs requiring immediate medical attention:
– Loss of bowel or bladder control
– Muscle weakness in legs or feet
– Unexplained weight loss accompanying back pain
– Fever with back discomfort
Daily Movement Plan That Actually Helps
Stay active throughout your day with these gentle approaches that support your how to reduce back pain at home journey:
– Walk 10-15 minutes every 2-3 hours
– Perform light household tasks like dishwashing or folding laundry
– Take phone calls while standing or walking slowly
– Do ankle circles while sitting to maintain circulation
Light movement prevents muscle atrophy and maintains flexibility. You’ll heal faster by moving more, not less—this is one of the most effective ways to reduce back pain at home without professional intervention.
Start Gentle Cardio Exercises That Target Back Healing

Walking: Your First Step to Pain Relief
Begin with 5-10 minute walks on flat surfaces, gradually increasing as your pain decreases. Focus on maintaining upright posture with shoulders relaxed, natural arm swing, and a comfortable pace that allows conversation. Walking serves dual purposes: promoting healing through improved circulation and building strength in abdominal and back muscles that support spinal structures.
Stationary Cycling Without Straining Your Back
Use upright stationary bikes only—recumbent bikes can strain your lower back by altering natural spinal alignment. Start with 5-minute sessions at low resistance. Your back should feel supported throughout the motion, with knees bent at approximately 90 degrees. This low-impact exercise improves blood flow to the back region while strengthening core muscles.
Swimming for Weightless Back Relief
Water supports 90% of your body weight, making swimming ideal for back pain. Begin with gentle water walking or floating to relieve pressure on spinal structures. Progress to slow laps as your back strengthens, focusing on smooth, controlled movements that don’t twist your spine.
Weekly progression schedule for optimal results:
– Week 1-2: 5-10 minutes daily
– Week 3-4: 15-20 minutes daily
– Week 5+: 30 minutes most days
Master Core Strengthening Without Risking Further Injury
When to Begin Core Work After Back Pain
Wait until acute pain subsides before starting core exercises—typically 1-2 weeks for most people. Your body signals readiness through decreased pain during daily activities like walking or standing from a seated position. Starting too soon can exacerbate pain conditions, so be patient with this critical phase of how to reduce back pain at home.
Safe Core Exercises for Beginner Recovery
Start with these gentle movements that build foundational strength:
Pelvic tilts (10-15 reps, 2x daily)
– Lie on back with knees bent, feet flat on floor
– Gently flatten lower back against floor by tightening abdominal muscles
– Hold 5 seconds, release slowly while maintaining control
Modified planks (3 sets of 10-15 seconds)
– Start on hands and knees
– Lower to forearms, extend legs back while keeping toes tucked
– Maintain straight body line from head to heels, breathing steadily
Bird dog (5-10 reps each side)
– Begin on hands and knees with neutral spine
– Extend opposite arm and leg simultaneously while keeping hips level
– Hold 5 seconds, switch sides with control
High-Risk Exercises to Avoid Completely
Skip these movements until fully recovered and cleared by a healthcare provider:
– Traditional sit-ups or crunches that strain lumbar spine
– Straight leg lifts that increase disc pressure
– Heavy weightlifting activities
– Twisting or rotational motions like Russian twists
– Toe touches or forward bends that compress spinal discs
Fix Your Lifting Technique to Prevent Future Back Pain

Proper Lifting Mechanics for Daily Safety
Transform how you lift objects to protect your back:
- Assess the load before lifting to determine if you need assistance
- Plant feet shoulder-width apart for stable base of support
- Bend knees deeply while keeping back straight and chest up
- Keep object close to your body to reduce leverage strain
- Lift smoothly with legs, not back, using quadriceps muscles
- Pivot feet instead of twisting when changing direction
Daily Lifting Scenarios Made Safe
Practice proper form with these common situations that often trigger back pain:
– Groceries: Carry bags close to body, make multiple trips with lighter loads
– Laundry: Bend knees deeply when loading/unloading washer, avoid twisting
– Children: Squat down to their level, lift with legs while keeping child close
– Boxes: Test weight first, ask for help when needed, avoid awkward carries
Optimize Your Posture Daily for Lasting Pain Relief

Sitting Without Pain Through Smart Ergonomics
Create an ergonomic workspace that protects your back throughout the day:
Chair setup checklist for proper support:
– Lower back support touching your natural lumbar curve
– Feet flat on floor (use footrest if needed)
– Knees at 90-degree angle, slightly lower than hips
– Screen at eye level to prevent forward head posture
Micro-break routine every 30 minutes:
– Stand up and walk 10-20 steps
– Roll shoulders backward 10 times
– Gently arch and round your back through full range
– Stretch arms overhead while breathing deeply
Standing Posture That Prevents Back Strain
Maintain proper alignment throughout your day with these simple adjustments:
– Distribute weight evenly on both feet, avoiding favoring one side
– Keep knees slightly soft (not locked) to absorb shock
– Engage core gently (imagine pulling belly button toward spine)
– Relax shoulders away from ears while keeping chest open
Sleep Position for Back Healing Overnight
Your mattress and sleeping position significantly impact back pain recovery:
Optimal sleep positions:
– Side sleeping: Place pillow between knees to align hips and reduce spinal strain
– Back sleeping: Put pillow under knees to maintain natural lumbar curve
– Avoid stomach sleeping: Twists neck and flattens natural spinal curves
Mattress guidelines for proper support:
– Medium-firm provides best balance of support and comfort
– Should contour to natural curves without sagging
– Replace if showing signs of wear or over 8 years old
Build Long-Term Prevention Habits That Stick
Progressive Exercise Plan for Permanent Relief
Advance your routine gradually as pain decreases with this timeline:
– Month 1: Focus on walking and gentle stretching only
– Month 2: Add beginner core exercises like pelvic tilts
– Month 3: Introduce light resistance training with bands
– Month 4+: Maintain consistent routine with variety to prevent boredom
Daily Movement Patterns That Retrain Your Body
Retrain your body with these habits that become automatic with practice:
– Morning routine: Gentle stretches before getting out of bed, avoid sudden movements
– Workday habits: Set phone reminders every hour to stand and move
– Evening routine: Brief walk after dinner, gentle stretching before bed
Monthly Self-Assessment for Continued Progress
Track your improvement with these practical checkpoints:
– Can you walk 30 minutes without pain or stopping?
– Are daily activities like bending and lifting becoming easier?
– Do you wake up with less stiffness than before?
– Can you maintain good posture longer throughout the day?
When to Progress Your Back Pain Routine Safely
Green Lights for Advancement
Increase exercise intensity when you consistently:
– Complete daily activities without pain interference
– Sleep through the night without waking from discomfort
– Can walk 20+ minutes continuously without increased pain
– Feel ready for more challenge without fear of injury
Red Flags to Scale Back Immediately
Reduce activity level if you experience:
– Increased pain lasting over 24 hours after activity
– New pain in different locations (like radiating to legs)
– Numbness or tingling in legs or feet
– Significant stiffness that lasts most of the following day
Your back wants to heal, and these home-based strategies give it the perfect environment to do so. Start today with just 10 minutes of gentle walking and track your daily pain levels. Most people notice improvement within one week of consistent movement—this is how to reduce back pain at home effectively.
Pro tip: Set phone reminders every hour to stand up and move. These micro-breaks prevent pain from building up throughout your day and reinforce proper movement patterns. Remember, reducing back pain at home isn’t about finding a single magic solution—it’s about consistently applying these evidence-based techniques that work together to restore your mobility and comfort.


