
Your child runs to you, beaming with a wobbly front tooth that’s been dangling for weeks. That tiny pearl is finally ready to make way for a permanent tooth, and you’re tempted to help nature along. But how to pull out a tooth at home requires precise timing and technique to avoid pain or complications. This guide details exactly when and how to safely remove only naturally loose baby teeth—never adult teeth or damaged baby teeth. You’ll learn the critical signs that confirm readiness, three dentist-approved methods, and emergency protocols for unexpected issues.
Attempting home extraction on unready teeth risks infection, broken roots, or nerve damage. Always consult a pediatric dentist first if you’re uncertain. This process applies only to healthy baby teeth showing all signs of natural loosening in children aged 5-12. If your child experiences sharp pain, swelling, or fever, skip home removal entirely and seek professional care immediately.
Three Signs Your Child’s Tooth Is Ready for Removal
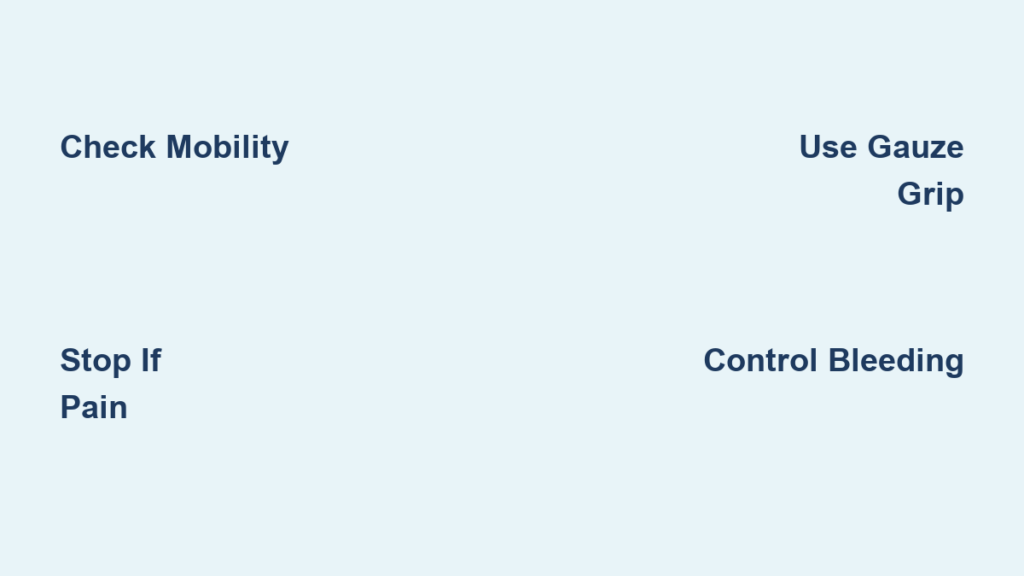
Critical Mobility Check Before Pulling
Stop and call your dentist if the tooth doesn’t meet all these conditions:
– Moves freely in all directions with a gentle wiggle (no resistance when rocking side-to-side)
– Shows no decay (clean white surface without dark spots, cracks, or chips)
– Has pink, healthy gums surrounding it (zero redness, swelling, or pus)
– Hides all root structure below the gum line (no yellow/white roots visible)
Never force extraction if the tooth feels “stuck” during wiggling. Baby teeth naturally detach when roots fully dissolve—a process taking weeks. Forcing removal too early tears delicate gum tissue, causing bleeding and infection risk. Wait until the tooth spins freely like a loose door knob.
Age and Timing Guidelines for Safe Extraction
Children typically lose baby teeth between ages 5-12, starting with lower front teeth. If your child is under 5 or over 12, do not attempt home removal—schedule a pediatric dental visit instead. Simultaneous loss of multiple teeth (like two molars at once) also requires professional evaluation to rule out underlying issues. Track which tooth is loose (upper/lower, left/right) and note when permanent teeth start emerging behind baby teeth (“shark teeth”), signaling urgent dental consultation.
Essential Safety Steps Before Extraction
Immediate Stop Signs That Require a Dentist
Halt all attempts and contact your pediatric dentist if you notice:
– Sharp pain when gently wiggling the tooth
– Swelling in the jaw or face
– Pus discharge or foul odor from the gum
– Fever above 100.4°F (38°C)
– Only part of the tooth is loose (e.g., crown detached but root remains)
These indicate infection, trauma, or complications needing professional tools and antibiotics. Home extraction under these conditions risks spreading infection to the jawbone.
Must-Have Supplies Checklist
Gather these sterile items before starting:
– 2×2 inch sterile gauze pads (for bleeding control)
– 70% isopropyl alcohol (to disinfect workspace)
– Antibacterial soap (for thorough handwashing)
– Small flashlight (to inspect tooth visibility)
– Ice pack (reduces gum sensitivity)
– Age-appropriate pain reliever (acetaminophen/ibuprofen)
Skip cotton swabs, string, or pliers—these increase infection and fracture risks. Sterile gauze provides the safest grip for controlled removal.
Sterilize Your Workspace and Mouth
Create a Germ-Free Environment
Disinfect your work surface with 70% isopropyl alcohol. Wash hands vigorously for 20 seconds with antibacterial soap—scrub between fingers and under nails. If available, wear sterile latex-free gloves. Position your child near a window or bright lamp; direct lighting helps spot hidden decay or root exposure.
Prepare the Mouth for Extraction
Have your child swish with warm salt water (½ tsp salt in 8 oz water) for 30 seconds to reduce bacteria. Apply an ice pack to their cheek for 5 minutes to numb gums—this minimizes discomfort during wiggling. Never use numbing gels containing benzocaine on children under 2; cold therapy is safer.
Three Safe Tooth Removal Methods
Wiggle Technique: Gentle Side-to-Side Motion
This is the safest approach for extremely loose teeth:
1. Position your child facing a mirror with good lighting
2. Clean your hands thoroughly (no jewelry or nail polish)
3. Grasp the tooth firmly between thumb and index finger
4. Rock it side-to-side with gentle pressure (no upward yanking)
5. Add slight rotational movement as it loosens
6. Stop immediately if resistance is felt—it needs more time
This mimics natural root dissolution. Most teeth release within 30-60 seconds of proper wiggling. If not, try again in 24 hours.
Gauze Grip Method for Better Control
Use this when fingers slip on small teeth:
1. Fold sterile gauze into a 1-inch square
2. Dry the tooth surface gently with gauze
3. Press gauze firmly against the tooth
4. Apply steady pressure away from the gum line (not upward)
5. Use a quick, smooth motion when the tooth releases
6. Place fresh gauze directly on the socket immediately after
The gauze absorbs saliva for better traction while protecting delicate gums from fingernail scratches.
Natural Eating Method for Anxious Children
Let food do the work with minimal stress:
– Offer cold apple slices or carrot sticks (chilled foods reduce sensitivity)
– Let your child bite gently—never force if they resist
– Supervise closely to catch the tooth when it dislodges
– Stop after 2-3 bites if no release occurs
This works best for front teeth. Molars often need direct wiggling due to stronger roots.
Bleeding Control and Aftercare
Immediate Post-Extraction Steps
- Fold sterile gauze into a small square and place over the socket
- Have your child bite down firmly for 20 minutes straight (set a timer)
- Replace gauze only if soaked through—never peek at the clot
- Apply ice pack to the cheek for 10-minute intervals
Normal bleeding oozes lightly for 2-4 hours. If blood soaks through gauze every 15 minutes, seek emergency dental care—this indicates damaged blood vessels.
Infection Prevention Protocol
For the first 24 hours:
– Avoid rinsing, spitting, or using straws (suction disrupts clotting)
– Eat only soft foods (yogurt, applesauce, mashed potatoes)
– Skip brushing near the extraction site
– After 24 hours, start salt water rinses 3x daily (½ tsp salt in 8 oz warm water)
Contact your dentist immediately for increasing pain after 48 hours, facial swelling, or pus discharge—these signal infection requiring antibiotics.
Warning Signs Requiring Emergency Care
Critical Red Flags After Removal
Call your dentist now if you observe:
– Heavy bleeding lasting over 1 hour despite gauze pressure
– Tooth fragments remaining in the gum (never dig them out yourself)
– Difficulty breathing or swallowing (sign of severe infection)
– Fever above 101°F (38.3°C) within 24 hours
Partial extractions—where the crown comes out but the root remains—demand professional removal to prevent abscesses. Leave fragments undisturbed and seek same-day dental care.
Calming Anxious Children During Extraction
Psychological Preparation Techniques
Turn this into a positive milestone:
– Explain simply: “Your new big tooth is pushing this one out to make space!”
– Offer choices: “Would you like to wiggle it yourself or have me help?”
– Create excitement: Decorate a special tooth pillow for the Tooth Fairy
– Never say: “It won’t hurt” (set realistic expectations: “You might feel a wobble!”)
Use distraction tactics like counting breaths together or playing their favorite song. For intense anxiety, skip home removal and visit a pediatric dentist—many offer nitrous oxide (“laughing gas”) for pain-free extractions.
Documenting the Milestone and Follow-Up
Essential Record Keeping
Note these details for your pediatric dentist:
– Exact date, time, and location of the extracted tooth (e.g., “lower left central incisor”)
– Any complications (bleeding duration, pain level)
– When permanent teeth start emerging (track with photos)
Schedule a dental checkup if permanent teeth don’t appear within 6 months, or if “shark teeth” develop (new teeth erupting behind baby teeth). Early intervention prevents crowding issues.
Pulling a baby tooth at home is safe only when the tooth is extremely loose and shows zero signs of decay or infection. Always prioritize patience—let wiggling do the work over days rather than forcing extraction. If bleeding persists beyond 4 hours, pain worsens after 24 hours, or you spot pus, contact your pediatric dentist immediately. The safest approach? When in doubt, skip the home extraction and let a professional handle it. Your child’s gap-toothed smile after a successful removal is worth the careful preparation, but their long-term oral health is priceless. Save that first tooth in a special box; decades from now, it’ll remind them of the day they lost a baby tooth—and gained a memory.


