
Inflammation silently damages your body long before symptoms appear. Whether you’re managing chronic conditions or optimizing your health, knowing your inflammation levels helps you take control. The good news? You can now measure key inflammation markers from your living room using simple at-home test kits that deliver laboratory-grade accuracy.
This comprehensive guide walks you through exactly how to measure inflammation at home, interpret your results, and take meaningful action based on what you discover. No more waiting for doctor’s appointments or wondering if your lifestyle changes are making a difference—put your health data directly in your hands.
Everlywell Vitamin D + Inflammation Test: At-Home Measurement Process
Why hs-CRP Is Your Key Inflammation Marker
The Everlywell at-home test measures two critical health indicators simultaneously: high-sensitivity C-reactive protein (hs-CRP) and vitamin D levels. hs-CRP serves as your primary inflammation marker, produced by your liver in response to inflammation throughout your body. Unlike standard CRP tests, the high-sensitivity version detects even minor elevations that indicate chronic low-grade inflammation.
What makes this test stand out:
– Single finger-prick collects enough blood for both measurements
– CLIA-certified laboratories process your sample with rigorous quality standards
– 5-8 day results delivered through secure online portal
– Physician-reviewed results with personalized health insights
How the Test Measures Your Inflammation Status
C-Reactive Protein (CRP) Explained
Your body increases CRP production when inflammation occurs. Elevated hs-CRP levels may indicate:
– Chronic inflammatory conditions like arthritis
– Cardiovascular risk factors
– Tissue damage from injury
– Lifestyle-related inflammation from poor diet or stress
Vitamin D Connection to Inflammation
Low vitamin D levels frequently correlate with increased inflammatory responses. Testing both markers together provides a more complete picture of your inflammatory status than either marker alone.
How to Collect Your Inflammation Sample Properly
Order Your Testing Kit Correctly
Where to Purchase:
– Direct from Everlywell website (ensure authenticity)
– Amazon (verify with Transparency code using Amazon Shopping app)
– Not available in New York state due to regulatory restrictions
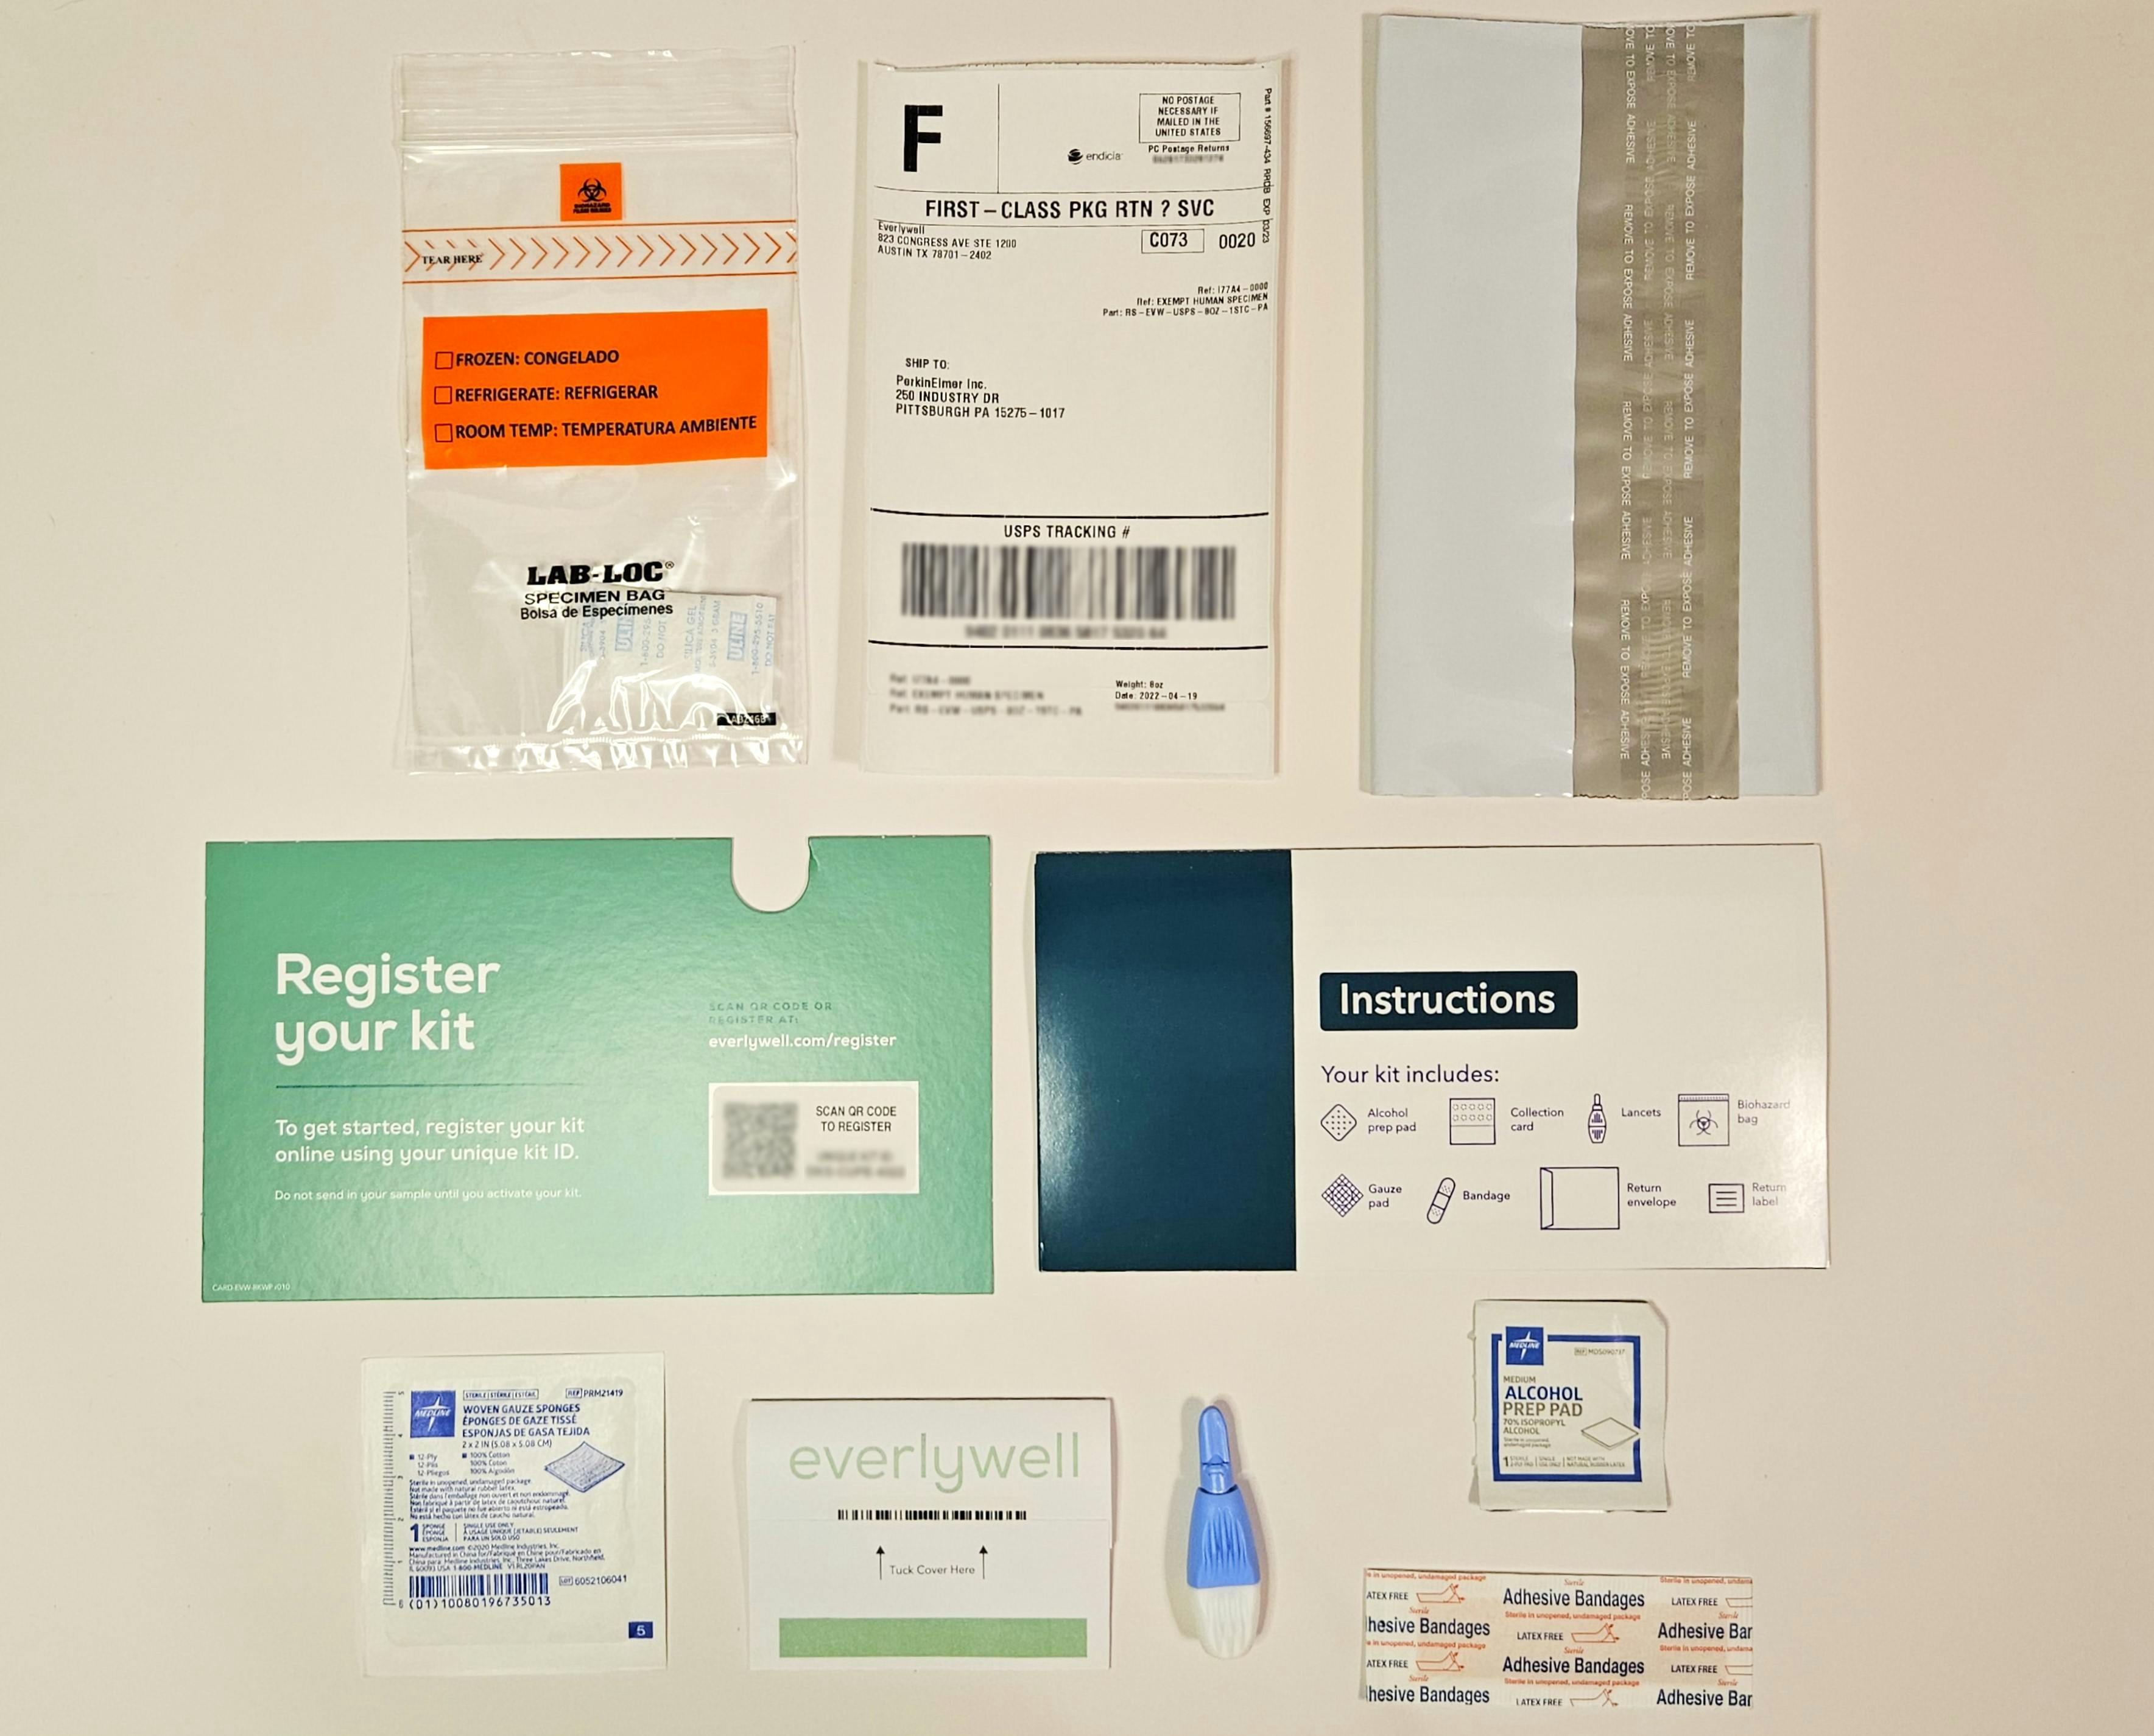
Kit Contents Checklist:
– Sterile finger-prick lancets
– Collection card with designated testing areas
– Prepaid return shipping envelope
– Detailed instructions and unique registration code
Master the Finger-Prick Collection Technique
Optimal Timing for Accurate Results:
– Test in the morning after 8-12 hours of fasting
– Avoid strenuous exercise for 24 hours before collection
– Wait until fully recovered from any acute illness
Step-by-Step Collection Guide:
1. Wash hands thoroughly with warm water and soap
2. Massage your hand to increase blood flow
3. Use the lancet on your middle or ring finger (avoid thumb or index)
4. Gently squeeze to form a large blood drop
5. Fill all circles on the collection card completely
6. Allow sample to air dry for 30 minutes away from direct sunlight
7. Place card in provided envelope and seal securely
Shipping Your Sample for Best Results
Avoid Common Shipping Mistakes:
– Use the prepaid label immediately after collection
– Ship Monday-Thursday to prevent weekend storage at facilities
– Register your kit online before shipping to link your sample
– Track your package to ensure timely laboratory receipt
Decoding Your Inflammation Test Results

Understanding hs-CRP Levels
Healthy Inflammation Ranges:
– Low risk: Under 1.0 mg/L
– Average risk: 1.0-3.0 mg/L
– High risk: Above 3.0 mg/L
Critical Thresholds:
– Levels above 10 mg/L typically indicate acute infection or serious inflammation requiring medical evaluation
– Consistent readings above 3.0 mg/L suggest chronic inflammation needing lifestyle intervention
Vitamin D Levels and Inflammation Connection
Optimal Vitamin D Ranges:
– Deficient: Under 20 ng/mL (associated with higher inflammation)
– Insufficient: 20-30 ng/mL (may contribute to inflammation)
– Sufficient: 30-50 ng/mL (optimal for most people)
– Therapeutic: 50-70 ng/mL (for specific health conditions)
Interpreting Combined Results Effectively
High CRP + Low Vitamin D Pattern
This combination suggests vitamin D deficiency may be contributing to your inflammation. Focus on:
– Vitamin D supplementation under guidance
– Increasing sunlight exposure safely
– Adding vitamin D-rich foods to your diet
High CRP + Normal Vitamin D Pattern
When inflammation persists despite adequate vitamin D, consider:
– Food sensitivity testing
– Stress management techniques
– Sleep quality assessment
– Additional inflammatory markers testing
How to Respond to Your Inflammation Levels

Immediate Actions for Elevated Inflammation
Dietary Changes That Work:
– Eliminate processed foods and added sugars immediately
– Increase omega-3 rich foods like salmon and walnuts
– Add turmeric and ginger to daily meals
– Focus on colorful plant-based foods
Lifestyle Adjustments:
– Sleep: Prioritize 7-9 hours of quality sleep nightly
– Exercise: Incorporate 30 minutes of moderate activity daily
– Stress: Practice deep breathing for 10 minutes twice daily
– Hydration: Drink half your body weight in ounces of water
Strategic Retesting Schedule
High Inflammation (>3 mg/L):
– Retest in 6-8 weeks after implementing lifestyle changes
– Monitor weekly if levels exceed 10 mg/L
Moderate Inflammation (1-3 mg/L):
– Retest every 3-6 months
– Track how specific dietary changes affect your levels
When to Consult a Healthcare Professional
Seek medical advice immediately if:
– CRP levels exceed 10 mg/L
– You experience fever, severe fatigue, or unexplained weight loss
– Results worsen despite consistent lifestyle improvements
Avoid These Common At-Home Testing Errors
Pre-Test Preparation Mistakes
What Skews Results:
– Exercising intensely within 24 hours of testing
– Consuming processed foods before sample collection
– Taking NSAIDs without noting timing
– Testing while sick with infection or illness
Sample Collection Errors
Critical Collection Mistakes:
– Insufficient blood volume (underfilling collection card)
– Contaminating sample with lotion or hand sanitizer
– Delaying shipping beyond 24 hours after collection
– Failing to register kit before sending sample
Alternative Inflammation Tracking Methods
Daily Visual Inflammation Indicators
Track These Physical Signs Daily:
– Skin: Notice redness, heat, or swelling in specific areas
– Joints: Record morning stiffness duration and severity
– Energy: Monitor afternoon energy crashes
– Digestion: Track bloating or discomfort after meals
Body Measurements That Reveal Inflammation
Weekly Tracking Protocol:
– Waist circumference (measure first thing in morning)
– Resting heart rate (check before getting out of bed)
– Blood pressure readings (morning and evening)
– Weight trends (weekly averages, not daily fluctuations)
Cost Considerations for At-Home Inflammation Testing
Understanding Test Kit Value
Pricing Insights:
– Everlywell kit typically costs $99-$149
– Most kits are HSA/FSA eligible for healthcare spending accounts
– Insurance coverage remains limited for at-home testing
– Value comes from early detection and tracking progress
Maximizing Your Testing Investment
Money-Saving Strategies:
– Purchase during seasonal sales (January, Black Friday)
– Bundle with other health tests for discounts
– Sign up for brand newsletters for exclusive offers
– Compare multiple testing platforms before purchasing
Creating Your Personal Inflammation Action Plan
Implement This 8-Week Protocol
Week 1: Establish baseline with first test
Week 2-4: Implement targeted dietary and lifestyle changes
Week 6: Check progress with symptom tracking
Week 8: Retest and adjust your strategy based on results
When to Consider Advanced Testing
Next-Level Options:
– Food sensitivity testing to identify dietary triggers
– Advanced lipid panels for cardiovascular inflammation markers
– Homocysteine testing as another inflammation indicator
– Omega-3 index testing for fatty acid balance assessment
Final Note: You don’t need to wonder about your inflammation status anymore. With the right at-home testing approach, you can track your hs-CRP levels, identify patterns, and measure how your lifestyle choices impact your inflammatory response. Start with a baseline test today, implement targeted changes for 6-8 weeks, then retest to see your progress. Consistent monitoring puts you in control of your long-term health—don’t wait for symptoms to take action against inflammation.


