
Transforming simple kitchen oils into luxurious handmade soap isn’t magic—it’s controlled chemistry. When you learn how to make soap at home through saponification, you gain complete control over ingredients while avoiding harsh commercial additives. This process combines fats with lye (sodium hydroxide) to create gentle bars packed with natural glycerin that commercial producers often remove. Whether you’re crafting sensitive-skin solutions or personalized gifts, mastering home soap making delivers tangible benefits from your very first batch.
The journey starts with understanding three accessible methods: cold process for professional results, hot process for faster usability, and melt-and-pour for absolute beginners. You’ll discover that with proper safety protocols and precise measurements, creating salon-quality soap requires no special chemistry degree—just careful attention to temperature, timing, and technique. This guide delivers exactly what you need to succeed on your first attempt, with troubleshooting fixes for common pitfalls and cost-saving strategies that make homemade soap cheaper than store-bought luxury bars.
Essential Safety Gear Before Handling Lye

Skipping safety precautions when learning how to make soap at home risks severe chemical burns—lye is no ordinary kitchen ingredient. Treat it with the same respect as a power tool, and you’ll create safely for years. Never compromise on these non-negotiable protections before measuring your first drop of lye solution.
Critical Safety Equipment Checklist
- Chemical splash goggles that seal tightly around eyes (regular glasses won’t cut it)
- Long-cuffed nitrile gloves (latex melts on contact with lye)
- N95 respirator mask during lye mixing to avoid inhaling corrosive fumes
- White vinegar in spray bottle for immediate surface spill neutralization
- Full-coverage clothing including long sleeves and pants made of natural fibers
Must-Have Tools for Precision Results
- 0.1g digital scale (volume measurements cause dangerous lye errors)
- 8-quart stainless steel pot (never use aluminum—it reacts with lye)
- Heat-resistant glass pitcher for lye solution (Pyrex handles 200°F+ temps)
- Immersion blender to reach trace 10x faster than hand stirring
- Infrared thermometer for instant temperature checks of oils and lye
Choosing Your First Soap Making Method

Selecting the right technique based on your timeline and experience level prevents beginner frustration. Each method has distinct advantages depending on whether you prioritize speed, appearance, or simplicity when learning how to make soap at home.
Cold Process: Best Quality Results
Cold process creates the smoothest, most professional-looking bars through natural saponification without external heat. While it requires 4-6 weeks curing time, this method delivers superior lather and longevity. Start with a simple olive-coconut-palm oil blend to master temperature control between your lye solution (100-110°F) and oils (within 10°F difference).
Hot Process: Soap in One Week
Accelerate saponification using a slow cooker for soap ready in 7 days. After reaching trace like cold process, transfer your mixture to a crockpot on low heat. Cook 45-60 minutes until it achieves “vaseline stage”—a glossy, translucent consistency. Though bars have a rustic appearance, hot process eliminates curing time and salvages seized batches from cold process attempts.
Melt-and-Pour: Zero Lye Handling
Ideal for kids or immediate gifting, pre-made glycerin bases skip lye entirely. Melt clear or opaque bases to 120-125°F, add fragrance below 115°F, and pour into molds. Avoid overheating past 140°F which degrades the base. This method costs slightly more per bar but delivers instant gratification for first-time soap makers.
Cold Process Soap: 5-Phase Success Formula
Follow this exact sequence to avoid common beginner mistakes. Precision in each phase ensures complete saponification and prevents lye-heavy soap.
Calculate Your First Recipe Correctly
Never guess lye amounts—use SoapCalc with this foolproof 2-pound batch:
– 32 oz olive oil (50%)
– 19.2 oz coconut oil (30%)
– 12.8 oz palm oil (20%)
– 8.87 oz lye (sodium hydroxide)
– 15.36 oz distilled water
– 1.5 oz lavender essential oil
Pro tip: Always run modifications through a lye calculator. A 0.1 oz lye error creates unusable or dangerous soap.
Phase 1: Lye Solution Preparation
- Don all safety gear before opening lye container
- Measure water first in heat-resistant glass pitcher
- Slowly sprinkle lye into water while stirring—NEVER reverse this
- Step away while fumes dissipate (solution hits 180-200°F)
- Cool to 100-110°F in a draft-free area
Critical warning: Adding water to lye causes volcanic eruptions—this mistake has blinded hobbyists.
Phase 2: Oil Preparation
Weigh each oil separately. Melt hard oils (coconut, palm) to 130-140°F, then blend with liquid oils (olive). Cool mixture to 100-110°F—temperature matching prevents separation. If oils solidify during cooling, gently reheat to target range.
Phase 3: Combining Ingredients
When both mixtures hit 100-110°F:
1. Pour lye solution into oils in slow, steady stream
2. Hand-stir 1 minute to emulsify
3. Use immersion blender in 10-second bursts
4. Stop when drizzled soap leaves “medium trace” (pudding consistency)
Key indicator: Proper trace holds a brief swirl pattern for 2-3 seconds before dissolving.
Phase 4: Adding Fragrance and Color
At light-medium trace:
– Stir in 1.5 oz lavender essential oil (max 1 oz per pound of oils)
– Pre-mix 2 tsp purple Brazilian clay in 1 tbsp oil to prevent speckling
– Avoid botanicals like rosemary—they accelerate trace and cause seizing
Pro tip: Vanilla-heavy fragrances cause “zap test” failures—stick to single-note oils for first batches.
Phase 5: Molding and Initial Cure
- Pour from low height to minimize air bubbles
- Tap mold firmly on counter 3x to release trapped air
- Cover with cardboard, wrap in towels for 24-48 hours
- Unmold when soap feels firm and doesn’t indent when pressed
Critical mistake: Disturbing soap during gel phase (when it turns translucent) causes partial gelling—leave it undisturbed.
Troubleshooting Top 3 Beginner Disasters
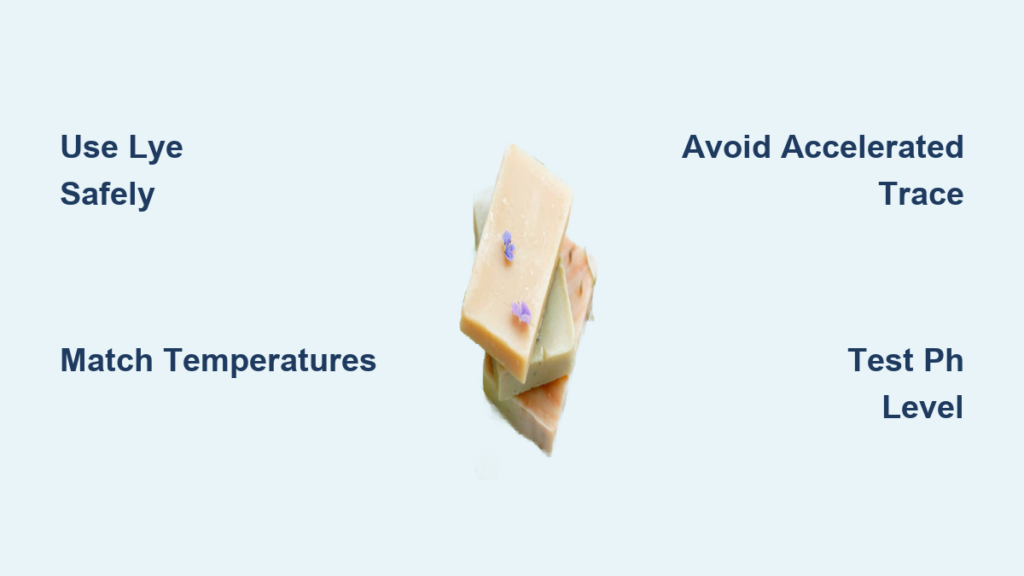
Why Your Soap Suddenly Thickens (Accelerated Trace)
Symptoms: Soap turns to concrete before fragrance addition
Cause: Spicy/vanilla fragrances or high temperatures
Fix: Work at 90-95°F with olive/sweet almond oil blends. If seized, immediately transfer to slow cooker for hot process salvage.
White Powder on Surface (Soda Ash)
Prevention: Spray exposed soap with 99% isopropyl alcohol after molding and cover completely.
Removal: Steam lightly with iron or wash surface after cutting—purely cosmetic issue.
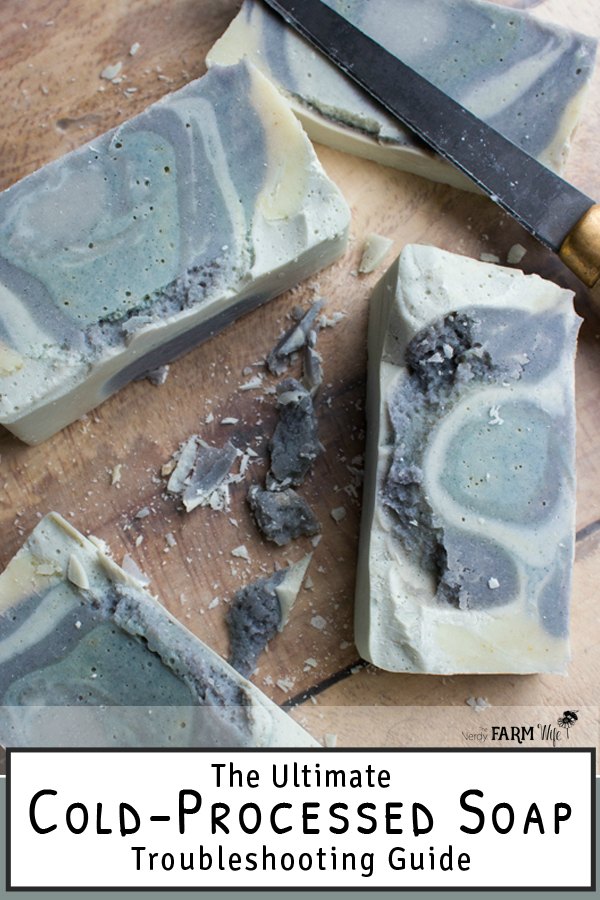
Dark Center with Light Edges (Partial Gel)
Cause: Uneven insulation in cool environments
Fix: Place molds on heating pads set to low during initial cure. Rotate molds 180° every 12 hours.
Testing for Safe, Usable Soap
pH Testing That Actually Works
- Dissolve 1g soap in 100g distilled water
- Dip pH strip—ideal range is 9-10
- Zap test: Touch cooled soap to tongue—no tingling means safe
Warning: Below 9 pH indicates incomplete saponification; above 10 may irritate skin.
Performance Evaluation Checklist
- Lather quality: Should produce creamy bubbles (not just suds) after 4 weeks
- Hardness test: Shouldn’t dissolve rapidly in water after 6 weeks
- Gentleness: No redness after 24-hour patch test on inner arm
Curing Secrets for Long-Lasting Bars
Proper Ventilation During Cure
Space bars on wooden racks with 1-inch gaps. Turn weekly for even drying in 60-70°F temperatures with 40-60% humidity. Minimum cure time: 4 weeks for basic recipes, 6 months for 100% olive oil Castile soap.
Storage That Prevents Rancidity
Store cured soap in breathable cardboard boxes (never plastic bags). Separate scents to prevent cross-contamination. Properly stored bars last 1-2 years—wrap in wax paper after full cure for gifting.
Beginner Recipe Collection
Castile Soap (Gentlest Option)
- 64 oz olive oil
- 8.18 oz lye
- 19.2 oz water
- Cure 4-6 months for mildest results
Bastille Soap (Perfect Starter)
- 48 oz olive oil
- 16 oz coconut oil
- 8.88 oz lye
- 15.36 oz water
- Ready in 6-8 weeks
Natural Colorant Guide
Reliable Plant-Based Colors
- Yellow: ¼ tsp turmeric per pound (pre-mix in oil)
- Green: 1 tsp spirulina powder per pound
- Purple: Purple Brazilian clay—stable and fade-resistant
- Brown: 1 tsp cocoa powder per pound
Critical step: Always test colors in small batches—high pH environments morph hues during cure.
Cost Breakdown: Homemade vs. Store-Bought
Realistic Startup Investment
- Complete equipment: $150-300 (reusable for years)
- First batch ingredients: $50 (makes 12 x 4oz bars = $0.75/bar)
- Commercial comparison: $4-8 per luxury bar
Bulk savings: Buying 7+ pound oil containers cuts costs by 30%. After 5 batches, homemade soap costs 80% less than premium store brands.
Final Safety Reminders
Never skip goggles or nitrile gloves—even experienced makers suffer lye splashes. Keep vinegar accessible for surface spills, but flush skin contact with water for 15+ minutes (vinegar worsens chemical burns on skin). Document every batch with oil weights, lye amounts, and temperatures—this protects you legally if selling soap. With these fundamentals mastered, you’re equipped to create personalized, additive-free soap that outperforms store-bought versions. Start with the Bastille recipe, perfect your technique, and soon you’ll craft custom bars tailored to any skin type or fragrance preference.


