
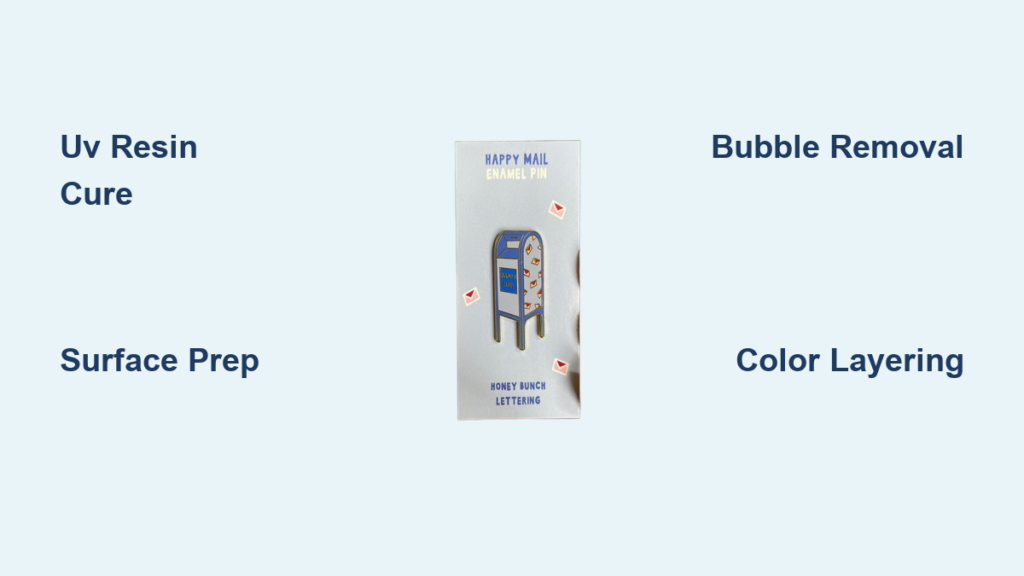
You can create custom enamel pins at home that look indistinguishable from factory-made versions—without expensive equipment or industrial processes. While mass-produced pins require specialized machinery, three accessible DIY methods let you craft professional-quality enamel pins using materials from any craft store. Whether you’re designing personalized gifts or launching a small business, these techniques produce durable, vibrant pins that sell for $8-15 each while keeping your material costs under $2 per piece.
The secret lies in choosing the right method for your skill level and design complexity. Unlike commercial manufacturers who use vitreous enamel fired at 1400°F, home creators leverage UV resin, cold enamel, or acrylic pouring to achieve similar results. Each technique has specific requirements for design preparation, material ratios, and curing times that determine your pin’s final quality. Skip these details, and you’ll end up with bubbles, color bleeding, or pins that fall apart after minimal wear.
This guide reveals exactly what experienced makers use daily—precise pigment ratios, curing times, and safety protocols most tutorials omit. You’ll learn how to avoid the #1 mistake that ruins 70% of first-time attempts (improper surface preparation) and discover scaling techniques that boost your hourly earnings to $80+ once you master the process.
UV Resin Method: Create Glass-Like Pins in 30 Minutes
UV resin delivers the most professional results for beginners, mimicking traditional hard enamel with metallic borders and vibrant colors. Unlike factory methods requiring kilns, this technique cures under UV light in minutes, letting you complete pins during a single craft session.
Prepare Metal Base Without Scratches
Start with 0.5-1mm brass or copper sheets—aluminum scratches too easily for clean finishes. Cut your shape using metal shears for simple designs or a jewelry saw for intricate edges. Critical step: File every edge smooth; sharp burrs cut fingers and snag clothing during wear.
Follow this surface preparation sequence:
1. Sand with 400-grit paper to remove deep scratches
2. Progress to 2000-grit for mirror-like smoothness
3. Clean with 99% isopropyl alcohol to remove oils
4. Apply design transfer using laser printer and heat transfer paper
Apply Resin Layers Without Bubbles
Create color barriers using thin painter’s tape pressed firmly along metal borders. Any gaps cause color bleeding that ruins the professional look. Work one color at a time with this layering order:
- Dark colors first (they show through lighter layers)
- Medium tones next (allow 2-5 minutes UV cure between layers)
- Lightest colors last (prevents contamination)
- Clear dome coat (creates signature enamel shine)
Pro tip: Mix colored UV resin thoroughly, then apply thin layers using a toothpick. Overfilling compartments causes messy overflow—fill to 90% capacity and let resin self-level.
Cold Enamel Technique: Achieve Deep Color Saturation at Home

Cold enamel using two-part epoxy creates rich, gemstone-like colors that penetrate deeper than UV resin. This method rewards patience with incredibly durable results that withstand years of wear, making it ideal for commercial production.
Mix Epoxy to Prevent Sticky Disasters
Two-part epoxy demands precision—eyeballing ratios creates uncured, sticky pins. Measure exactly 1:1 resin to hardener using digital scales. Mix slowly for 3 full minutes while scraping container sides, then divide into separate containers before adding pigments.
Pigment ratios that work:
– Mica powders: one pinch per 5ml resin
– Liquid pigments: one drop per 2ml resin
– Warning: Excess pigment weakens resin structure
Cure Epoxy in Optimal Conditions
Fill syringes with mixed, colored epoxy and apply methodically from one corner. Remove bubbles immediately with a heat gun held 8 inches away—closer risks scorching. Your curing environment makes or breaks results:
- Dust-free area (cover with cardboard box if needed)
- Perfectly level surface prevents pooling
- 70-75°F temperature ensures proper cure
- 48 hours minimum before handling
Acrylic Pouring: Fastest Way to Prototype Pin Designs
Acrylic pouring skips resin mixing entirely, letting you test designs quickly before investing in more expensive materials. This method uses pre-made acrylic cabochons poured into silicone molds—ideal for beginners or rapid prototyping.
Create Flawless Acrylic Mixtures
Mix acrylic paint with pouring medium in a strict 1:1 ratio. Too much paint causes cracking; too much medium creates weak, thin pins. Pour colors slowly into mold cavities to prevent air pockets, then tap gently on your work surface to release bubbles.
Seal Pins Against Everyday Wear
After 24-48 hours drying time, pop pins from molds and sand rough edges with 600-grit paper. Attach pin backs using E6000 adhesive, then apply two coats of protective spray for scratch resistance. Critical step: Let adhesive cure 72 hours before handling to prevent detachment.
Prevent Color Bleeding in Your DIY Enamel Pins

Color bleeding across metal borders ruins professional appearance. This happens when:
– Tape barriers develop micro-gaps during application
– Compartments get overfilled with resin
– Insufficient cure time between color layers
– Excessive pigment weakens resin structure
Fix immediately: Replace damaged tape barriers before continuing. Cure each layer for the full recommended time—rushing causes bleeding that requires complete sanding and restarting.
Safety Must-Dos When Working with Resins and Metals
Resin fumes and sharp metal edges create real hazards. Protect yourself with these non-negotiable steps:
- Wear nitrile gloves during all resin handling (latex won’t protect you)
- Use safety glasses when cutting or sanding metal
- Work in ventilated area—open windows aren’t enough; use an exhaust fan
- Store chemicals away from sunlight in clearly labeled containers
- Keep first aid kit accessible for minor cuts (common with metal work)
Critical warning: Never look directly at UV lamps—they emit eye-damaging radiation. Cure pins in a closed box with UV-transparent lid.
Cut Material Costs While Increasing Pin Quality
Smart material choices boost your profit margins dramatically. For a basic setup ($115-200 total), your costs drop as you scale:
| Batch Size | Material Cost Per Pin | Retail Price | Hourly Profit |
|---|---|---|---|
| 10-20 pins | $2-4 | $8-12 | $25-40 |
| 50 pins | $1-2 | $10-15 | $60-80 |
| 100+ pins | $0.50-1 | $12-15 | $80+ |
Pro tip: Buy metal blanks in bulk (50+ pieces) and mix large resin batches for consistent color across batches. Track your successful color ratios in a notebook—recreating shades saves wasted materials.
Scale Your Home Pin Business Beyond Hobby Status
Transition from hobbyist to profitable maker with these production strategies:
- Work assembly-line style: Cut all bases first, then sand everything together
- Batch similar colors: Mix large resin quantities to minimize waste
- Document processes: Note exact ratios and timing for consistency
- Implement quality control: Check each pin for bubbles, adhesion, and sharp edges
Critical step: Photograph your creation process for intellectual property protection. Only use original artwork or properly licensed designs to avoid legal trouble—fan art exists in dangerous gray areas.
Maintain Professional Results with Tool Care
Extend your tools’ lifespan and maintain quality with these maintenance habits:
- Clean resin tools immediately with isopropyl alcohol (dried resin ruins brushes)
- Replace UV bulbs annually for consistent curing (dim bulbs cause tackiness)
- Sharpen cutting tools regularly (dull blades cause dangerous slips)
- Store pins in cool, dry place (sunlight fades colors over months)
Pro tip: Check pin backs quarterly—loose backs mean lost pins and unhappy customers. A quick application of clear nail polish on metal components prevents tarnishing.
Creating enamel pins at home transforms from intimidating project to profitable skill with systematic practice. Start with simple designs using acrylic pouring, then progress to UV resin for professional results. Track your first 10 pins—note what works, adjust ratios, and refine techniques. Within weeks, you’ll produce pins customers can’t distinguish from factory-made versions, selling for $12-15 while keeping costs under $2. The most successful home pin makers share one trait: they treat early mistakes as data points, not failures. Your first imperfect pin isn’t a setback—it’s the necessary step toward creating professional-quality enamel pins at home.


