
Nothing beats crushing fresh rosemary between your fingers as it releases its piney aroma straight onto roasted potatoes. That burst of flavor costs pennies when grown on your windowsill yet fetches $3.99 per plastic clamshell at the grocery store. Growing herbs at home transforms bland meals into chef-worthy creations while saving serious cash—most gardeners recoup their setup costs within 60 days of harvesting. Whether you’re nurturing basil on a fire escape or mint in a studio apartment, this guide delivers the exact container sizes, soil recipes, and harvesting tricks that prevent the #1 beginner mistake: killing herbs with kindness through overwatering.
You’ll discover why rosemary demands a 10-inch-deep terra cotta pot while thyme thrives in shallow containers, how to spot spider mites before they destroy your crop, and the morning harvesting ritual professional chefs use for maximum flavor. By following these field-tested methods, your first harvest arrives in under 30 days—no green thumb required.
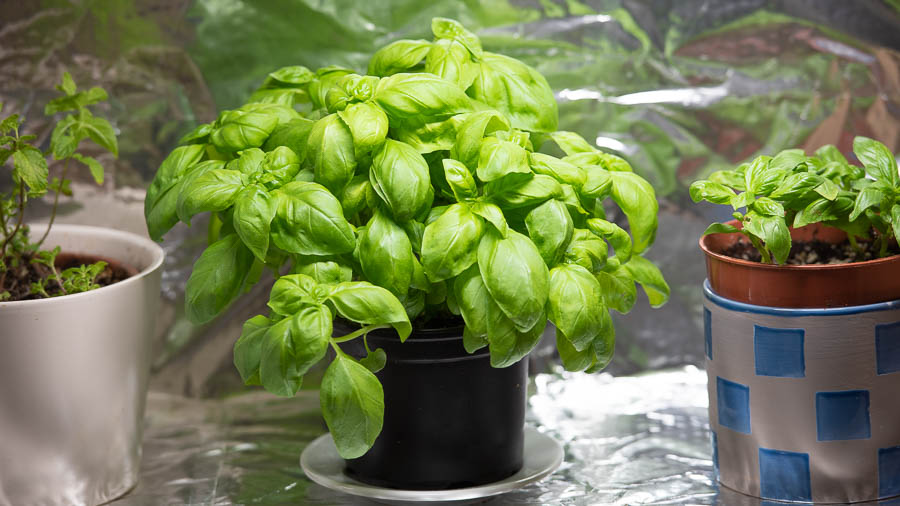
Why Your Basil Suddenly Stops Producing
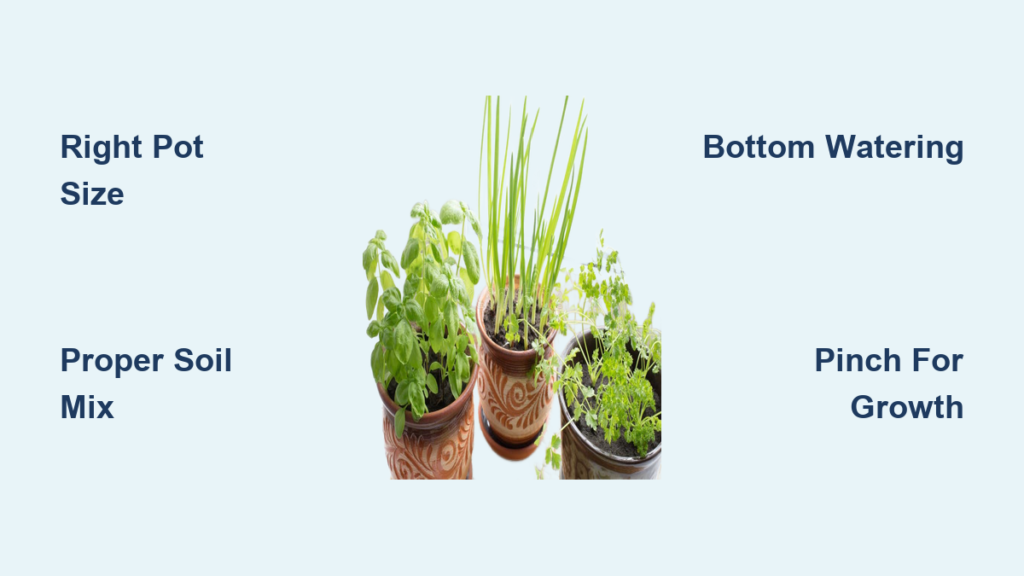
Basil halts leaf growth when stressed by container size or light conditions, not neglect. Planting in undersized pots strangles roots, triggering premature flowering that sacrifices leaves for seeds. Solution: Use 8-inch-deep containers minimum—measure from drainage hole to rim—with sides at least 6 inches wide. For continuous harvests, grow Genovese basil (not compact varieties) and pinch flower buds the moment they appear. Critical visual cue: If stems turn woody at the base, your pot is too small.
The Container Depth Test That Prevents Root Rot
Stop guessing—measure your pot’s functional depth. Fill it with water and time drainage:
– Rosemary/dill: Needs 10+ inches (drains in 10-15 seconds)
– Basil/parsley: Requires 8 inches (drains in 7-10 seconds)
– Thyme/oregano: Thrives in 6 inches (drains in 5-7 seconds)
Pro Tip: Sink plastic pots into decorative outer containers—this hides utilitarian looks while containing mint’s invasive roots. Always drill extra drainage holes if water pools longer than 5 seconds.
Soil Mix Formula That Prevents Drowning
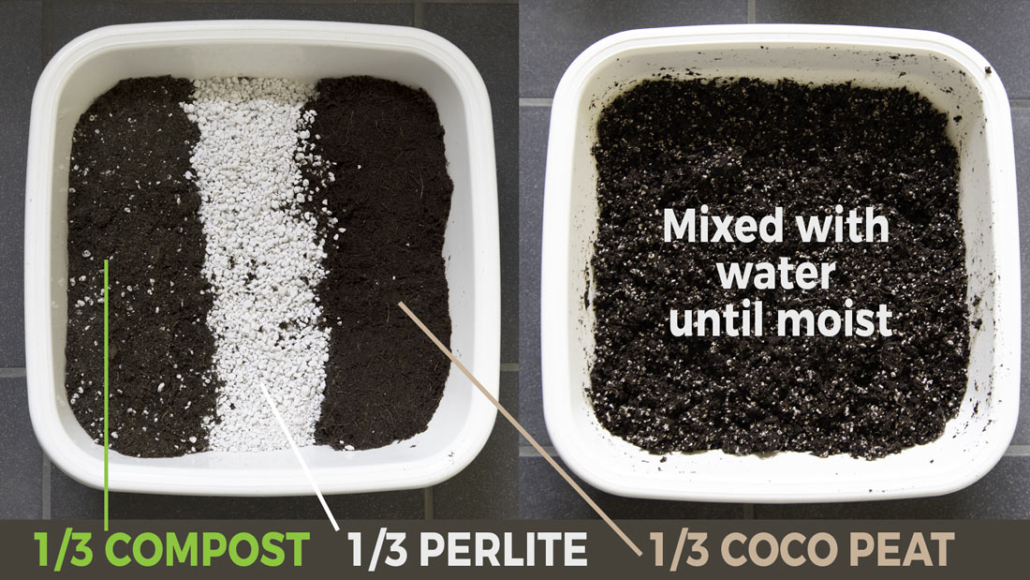
Garden soil suffocates container herbs by compacting like concrete. Instead, blend this foolproof mix:
– 3 parts potting soil (not “garden soil” – check bag label)
– 1 part perlite (not vermiculite – it retains too much moisture)
– ½ part compost (aged manure boosts flavor intensity)
Pre-moisten the mix until it feels like a damp sponge—dry soil repels water, causing roots to parch while water runs down the sides. Fill pots leaving 1 inch below the rim; this gap prevents muddy overflow when watering.
The 60-Second Light Check for Flavorful Herbs
Weak, watery herbs signal insufficient light—not poor feeding. Perform this test: Place your hand 6 inches above plants at noon. If your shadow is faint or nonexistent, move herbs within 12 inches of a south-facing window or install LED grow lights immediately. Critical adjustment: Rotate pots 90 degrees every 3 days. One-sided growth means light is too directional.
Indoor Grow Light Setup That Works
Forget expensive setups: A $25 LED panel positioned 8 inches above plants for 14 hours daily outperforms most windows. Key settings:
– Spectrum: 3000K (warm white) for leafy herbs like basil
– Timer: On at 6 AM, off at 8 PM (mimics summer daylight)
– Distance: Adjust weekly as plants grow—leaves should feel warm but not hot
Warning: Yellowing lower leaves? Lights are too close—raise by 2 inches immediately.
Watering Without Killing Your Herbs
Overwatering causes 80% of herb deaths. Master the finger test: Insert index finger knuckle-deep into soil. Water only if dry at that depth. Never water on a schedule—containers in drafty spots dry twice as fast as those near walls.
Bottom Watering Technique for Strong Roots
- Place pots in saucer filled with ½ inch of room-temperature water
- Wait 20 minutes (set timer!)
- Remove and discard excess water
- Wait 10 minutes before returning to drainage tray
Why this works: Roots grow downward seeking moisture, creating drought-resistant plants. Top-watering encourages shallow roots that drown easily.
The Pinch That Doubles Your Harvest

First pruning at 4 inches tall is non-negotiable for bushy growth. Pinch stem tips just above leaf nodes (the “V” where leaves meet stem) using thumbnail and forefinger. Never cut more than ⅓ of the plant—this stresses roots and halts growth.
Harvest Timing Secret for Restaurant-Quality Flavor
Pick herbs between 9-11 AM after dew evaporates but before heat spikes. Critical indicator: Crush a leaf between fingers—if oil stains your skin, flavor compounds are concentrated. Pro move: Harvest before flowering (basil bolts fastest in heat)—once flowers appear, leaf production stops.
Fixing Yellow Leaves in 24 Hours
Yellow lower leaves mean one of two things: overwatering (soil stays soggy for 48+ hours) or nitrogen deficiency (pale new growth). Immediate action:
– Overwatering fix: Stop watering, place fan on low setting near pot for 6 hours
– Nutrient fix: Feed with fish emulsion diluted to ¼ strength (not full dose!)
Test: Gently tug yellow leaves—they should detach easily if natural aging, but resist if disease-related.
Pest Eradication That Takes 10 Minutes
Aphids: Blast off with sharp water spray from sink nozzle (not hose—too harsh). Follow with 1 tsp neem oil + 1 quart water misted on undersides of leaves.
Spider mites (tiny webs on leaf undersides): Increase humidity by grouping plants together and wiping leaves with damp cloth daily.
Prevention: Inspect new plants for 3 days before adding to your collection—most infestations start here.
Your 30-Day Success Calendar
Week 1: Plant basil and mint in 8-inch-deep pots with the soil mix. Position 6 inches under LED light.
Week 2: Perform first pinch on basil when 4 inches tall. Start bottom-watering routine.
Week 3: Harvest mint stems (never individual leaves). Check soil moisture daily as growth accelerates.
Week 4: First basil harvest—cut entire top 3 inches above leaf nodes. Feed with diluted fish emulsion.
By day 30, you’ll harvest enough basil for weekly pesto and mint for daily mojitos. Pro Tip: Label harvest dates on a $2 notebook—this reveals your peak production windows for next season.
When to Replace Your Herb Soil
Perennial herbs like rosemary need fresh soil every 18 months, not annually. Replacement signs:
– Water pools on surface for >30 minutes
– White crust forms on soil surface (salt buildup)
– Growth slows despite proper light/water
Refresh method: Gently remove top 2 inches of old soil, replace with fresh mix, and water with compost tea.
Final Note: Your first harvest arrives faster when you prioritize container depth over aesthetics and water only when soil says “thirsty.” Track your progress in a simple journal—note which herbs thrive in your unique light conditions. Within two months, you’ll spend less than $0.50 per harvest while enjoying flavors that grocery stores can’t replicate. The secret isn’t perfection; it’s responding to what your plants show you daily.


