
That vibrant kick of fresh ginger in your stir-fry or tea is irreplaceable—and growing your own means never settling for fibrous, chemical-treated store ginger again. Learning how to grow ginger plant at home unlocks a year-round supply of organic rhizomes bursting with flavor, all from a single windowsill pot. While ginger thrives in tropical climates, you don’t need a greenhouse: with the right rhizome selection and humidity control, you’ll harvest your first crop in just 8-10 months. This guide cuts through the guesswork, giving you actionable steps to transform grocery-store ginger into a thriving kitchen companion.
Most beginners fail because they overlook ginger’s tropical origins—it demands consistent warmth and moisture to develop plump rhizomes. But when you master the soil mix and watering rhythm, one rhizome multiplies into enough ginger for daily use. You’ll discover why organic rhizomes outperform conventional ones, how to spot sprouting readiness, and why terracotta pots prevent the #1 killer: root rot. Whether you’re growing on a patio or apartment windowsill, these proven techniques work.
Choose Sprout-Ready Ginger Rhizomes
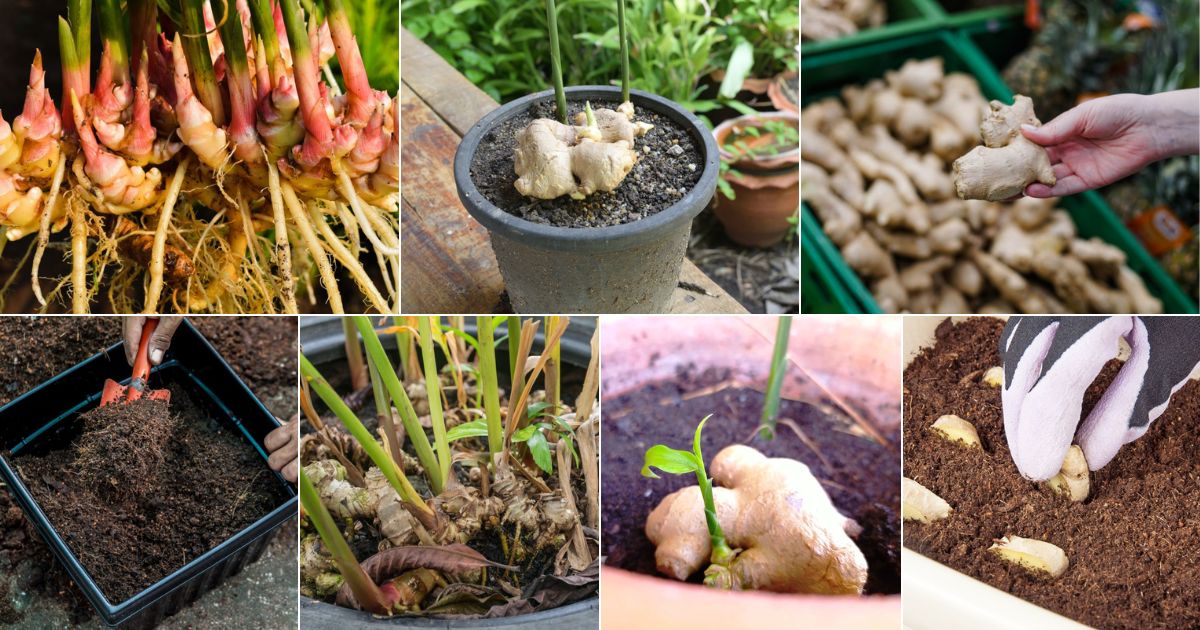
Skip the shriveled, moldy pieces at the store—your harvest depends on selecting viable rhizomes. Organic ginger is non-negotiable because conventional varieties contain growth inhibitors that block sprouting. Look for plump, firm sections with 3-4 visible “eyes” (small yellowish buds) per 2-4 inch piece. These eyes are your sprouting points, so prioritize rhizomes with multiple buds facing different directions for bushier growth.
Pre-Treat Rhizomes for Faster Sprouting
Soak your ginger overnight in warm water to dissolve chemical coatings and jumpstart growth. After soaking, cut larger pieces into 1-2 inch sections—each must have 2-3 eyes—and let cut surfaces dry for 24-48 hours. This callousing prevents rot when planted. For impatient growers, place pieces on damp paper towels in a warm spot (70-80°F) for 2-3 weeks until pink shoots emerge. You’ll know it’s ready when you see ¼-inch sprouts—never plant dormant rhizomes straight into soil.
Pick the Perfect Container Setup
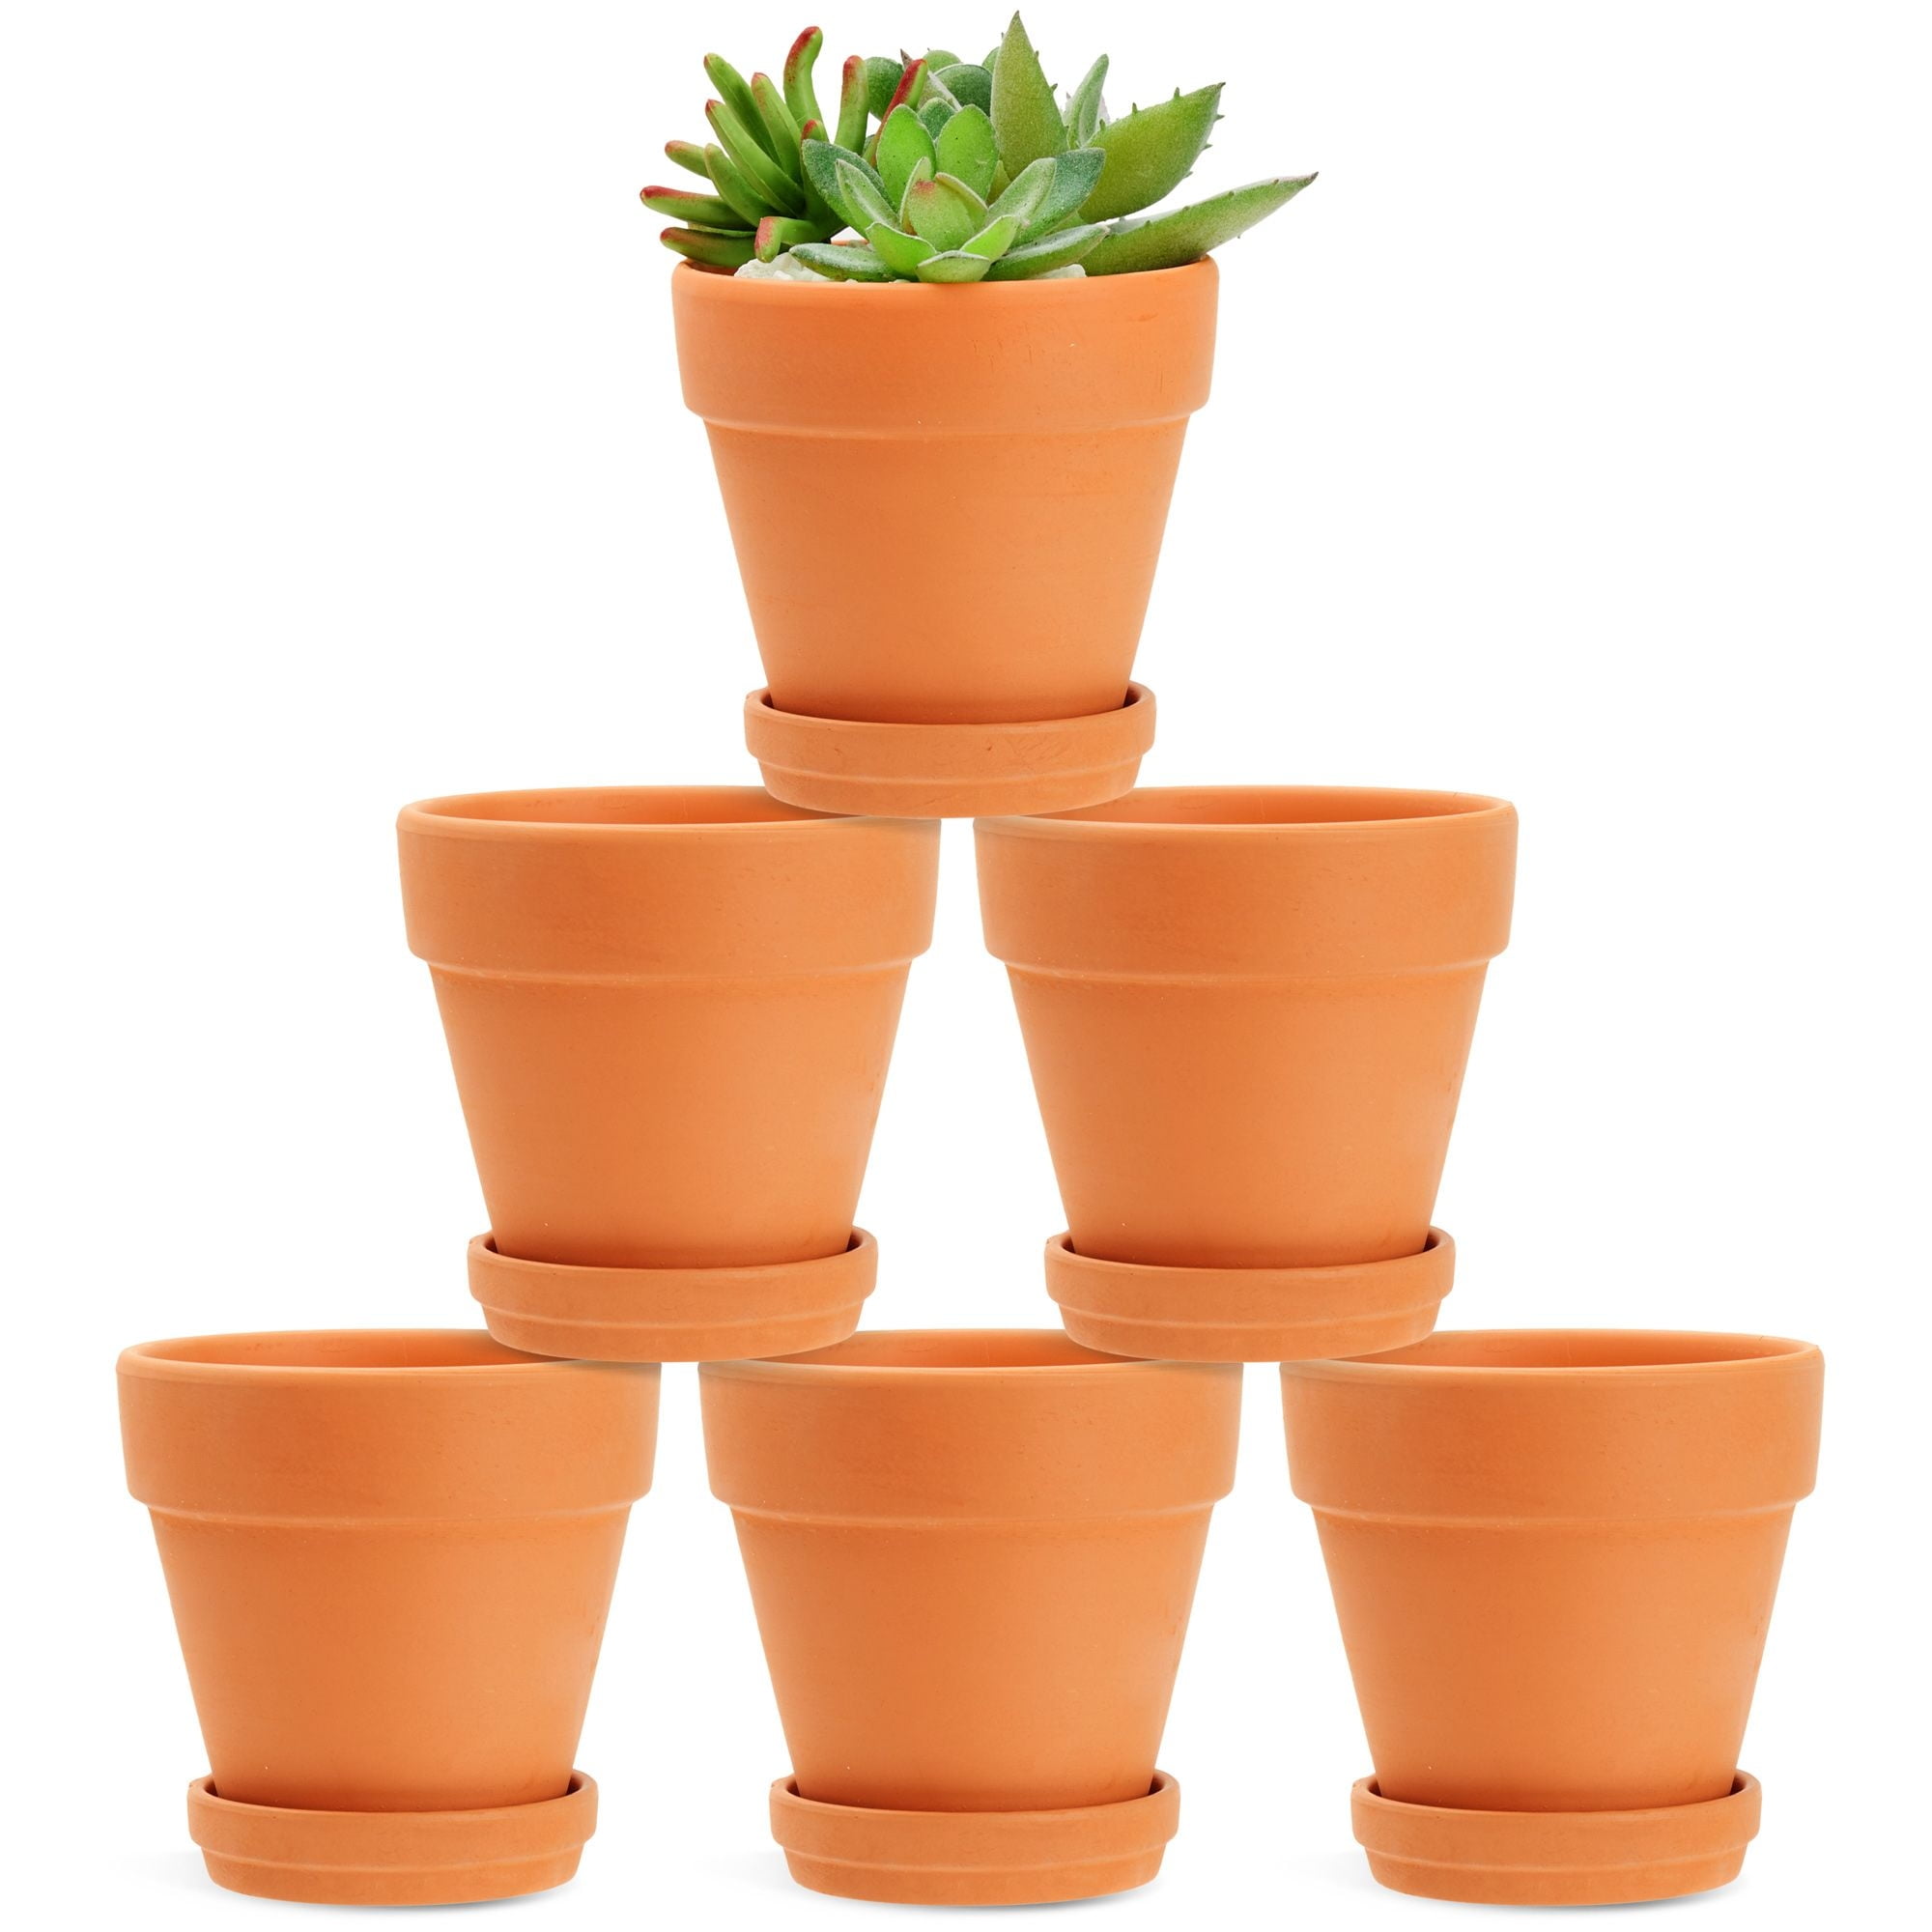
A cramped pot guarantees stunted rhizomes, so size matters more than you think. Use containers minimum 12-14 inches wide and 12 inches deep—terracotta is ideal for its breathability. Crucially, drill three 3/8-inch drainage holes if your pot lacks them; ginger rots in soggy soil. For multiple rhizomes, space pieces 6-8 inches apart in a larger container, but never crowd them—overcrowding starves rhizomes of expansion room.
Mix Soil for Maximum Rhizome Growth
Blend 50% potting soil, 30% compost, and 20% perlite for the ideal balance of moisture retention and drainage. Ginger demands slightly acidic soil (pH 5.5-6.5), so test your mix with a $5 pH kit. Sterilize the blend by baking at 180°F for 30 minutes to kill soil-borne diseases—skip this step, and fungal infections will strike within weeks. Fill your pot ⅔ full before planting to allow room for growth.
Plant Ginger for Optimal Sprouting
Timing makes or breaks your harvest. Plant in early spring after your last frost when soil consistently hits 55°F—ginger won’t sprout below this threshold. If starting indoors, begin 8 weeks before outdoor warmth arrives. Never plant in winter; cold soil triggers rot. Use a heat mat under pots if your home stays below 65°F.
Master the Planting Technique
Place rhizomes 2-4 inches deep with eyes facing upward (critical—planting upside down delays sprouting by weeks). Cover with soil, water thoroughly until it drains from holes, then maintain “consistently moist” soil—not soggy. Check moisture daily by sticking your finger 1 inch deep; if dry, water. Expect sprouts in 2-4 weeks, but don’t panic if it takes longer in cooler conditions.
Control Temperature and Light Like a Pro

Ginger’s native habitat is steamy jungles, so mimic those conditions indoors. Keep temperatures between 70-85°F year-round—use a $10 thermometer near your plant. If temps dip below 55°F, move pots indoors immediately; cold shock halts growth. During heatwaves above 90°F, provide shade to prevent leaf scorch.
Optimize Light Exposure
Give ginger 2-5 hours of direct morning sun followed by dappled afternoon shade. Indoors, an east-facing window is perfect; west windows need sheer curtains. If leaves turn pale or stretch toward light, increase exposure gradually—sudden full sun burns foliage. Supplement with LED grow lights (12-14 hours daily) in low-light homes, positioning them 12 inches above plants.
Boost Humidity to 60-70%
Low humidity causes crispy leaf edges—a dead giveaway for indoor growers. Place pots on pebble trays filled with water (keep pots above waterline) or group ginger with ferns to create a humid microclimate. Mist leaves twice daily with room-temperature water, or run a humidifier nearby. Avoid placing near heating vents that dry the air.
Water and Feed Without Fail
Overwatering causes 80% of ginger failures, so master this rhythm. Water every 2-3 days during active growth (spring/summer), but only when the top inch of soil feels dry. Always water at soil level—wetting leaves invites fungal diseases. Use chlorine-free water (let tap water sit 24 hours first) to prevent chemical damage.
Fertilize for Bigger Rhizomes
Start feeding 4-6 weeks after sprouts appear. Apply half-strength 10-10-10 liquid fertilizer every 3-4 weeks through summer. For organic results, swap to compost tea monthly—this builds soil microbes that boost flavor. Stop fertilizing in fall when leaves yellow; feeding then wastes nutrients. Never use high-nitrogen fertilizers—they promote leaves at the expense of rhizomes.
Harvest Ginger at Peak Flavor
Timing your harvest determines flavor intensity. For baby ginger (mild, tender, no peeling needed), harvest at 4-6 months when rhizomes are pink and finger-sized. For mature ginger (spicier, fibrous), wait 8-10 months until leaves yellow naturally—it’s ready when stems die back. You can also “steal” outer rhizomes while leaving the center to regrow.
Harvest Like a Seasoned Gardener
Reduce watering 1-2 weeks pre-harvest to firm rhizomes. Gently loosen soil around the pot’s edge with a trowel, then lift the entire root mass. Brush off dirt—never wash until use—and cut sections with a sterilized knife. Replant the central portion with 2-3 eyes for continuous harvests. One 12-inch pot yields 1-2 pounds; 4-6 pots supply most households year-round.
Solve 3 Critical Growing Problems
Fix Yellowing Leaves in 24 Hours
Overwatering turns leaves yellow within days. Stop watering immediately and move pots to brighter spots with better airflow. If drainage is poor, repot into fresh soil with extra perlite. Remove yellow leaves at the base to redirect energy—new growth should appear in 1-2 weeks. If yellowing spreads, check for root rot (mushy black roots); trim affected areas and dust cuts with cinnamon.
Rescue Stunted Growth
If your ginger stays under 1 foot tall after 4 months, it’s starving for light or space. Gradually increase sun exposure by 15 minutes daily until it gets 4 hours of morning light. If roots circle the pot base, repot into a container 2 inches wider—this alone can double growth. Feed with potassium-rich fertilizer (like 5-10-10) to boost rhizome development.
Prevent Small Rhizomes
Tiny, underdeveloped ginger means one of three mistakes: harvesting too early (wait 8+ months), using undersized pots (upgrade to 14+ inches), or nutrient imbalance. Test soil pH—if above 6.5, amend with sulfur. During months 5-8, switch to high-phosphorus fertilizer to fuel rhizome expansion. Patience is key: mature ginger needs the full 8-10 month cycle.
Maintain Year-Round Production
Ginger thrives for 3-4 years with simple care. Divide rhizomes every 2-3 years in spring: lift the plant, separate sections with 2-3 eyes each, and replant in fresh soil. Remove yellow leaves monthly to encourage new growth, and wipe dust from leaves with a damp cloth—dirty leaves reduce photosynthesis by 30%. In winter, reduce watering to once weekly and stop fertilizing; growth slows but doesn’t stop indoors.
Natural Pest Defense Tactics
Aphids and spider mites hide under leaves—spray them off with a strong water jet every 2 weeks. For stubborn infestations, mix 1 tsp neem oil + 1 tsp dish soap per quart of water and drench foliage weekly. Prevent fungal issues by spacing plants for airflow and avoiding evening watering. If root rot strikes (soggy soil + foul smell), repot immediately into dry soil and trim blackened roots.
Growing ginger at home transforms cooking while adding lush tropical beauty to your space. Start with organic rhizomes, maintain 70-85°F warmth and 60%+ humidity, and you’ll harvest chemical-free ginger within 10 months. Remember: consistent moisture beats heavy watering, terracotta pots prevent rot, and patience rewards you with 6-10x your original rhizome weight. Now that you know how to grow ginger plant at home, plant your first rhizome today—your future stir-fries will thank you. For continuous harvests, always save 20% of your crop for replanting.


