
Mold growth in your home isn’t just an eyesore—it’s a potential health hazard that demands immediate attention. When moisture finds the right conditions, mold can establish itself within 24-48 hours, compromising indoor air quality and potentially damaging your home’s structure. Whether you’ve spotted suspicious discoloration in your bathroom or noticed that unmistakable musty odor in your basement, taking swift, informed action is crucial. This guide provides a clear roadmap for eliminating existing mold problems and implementing effective prevention strategies to keep your living environment healthy and mold-free.
Locate Hidden Mold Growth Before It Spreads
Target Common Mold Hotspots in Your Home
Mold thrives in damp, poorly ventilated areas, making certain locations particularly vulnerable throughout your home. Regularly inspect bathroom corners where tile meets drywall, as these junctions often trap moisture after showers. Pay special attention under kitchen sinks where plumbing connections can develop slow leaks over time. Window sills with frequent condensation create ideal mold breeding grounds, especially during temperature extremes. Basements near foundation cracks frequently experience moisture intrusion, while HVAC vents can develop condensation that spreads spores throughout your home.
Recognize Early Warning Signs of Mold Development
Spotting mold in its early stages prevents extensive damage and costly remediation. Look for visible discoloration appearing as black, green, or white spots on walls, ceilings, or other surfaces. Check for fuzzy or slimy textures developing on walls, fabrics, or building materials. Be alert to persistent musty odors that linger even after thorough cleaning, as this often indicates hidden mold growth behind walls or under flooring. Notice if paint begins peeling or surfaces become warped without obvious water damage nearby—these subtle changes frequently signal underlying moisture problems.
Identify Health Symptoms Linked to Indoor Mold
Your body may detect mold problems before you see visible evidence. Pay attention to sudden allergy-like symptoms that occur only when you’re at home, including frequent sneezing, runny nose, or itchy eyes. Unexplained headaches that improve when you leave your house could indicate mold exposure. If you or family members experience respiratory issues that worsen indoors but improve when away from home, investigate potential mold sources. Skin irritation or rashes that develop in specific rooms may also point to airborne mold spores.
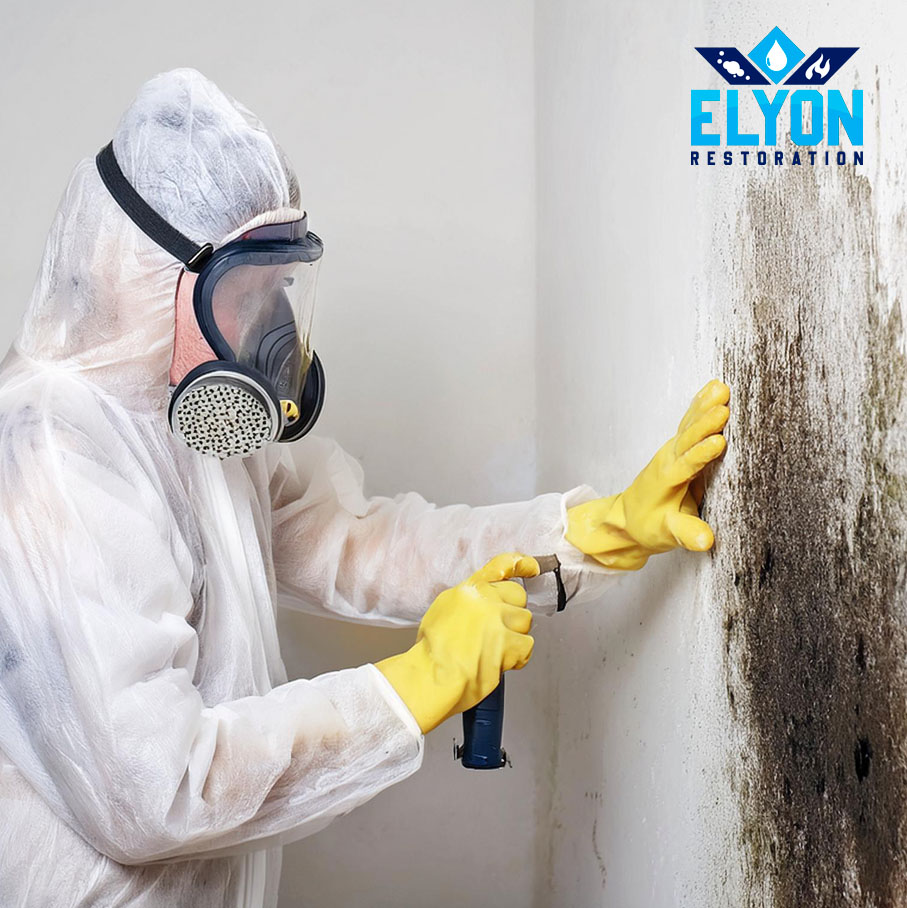
Prepare Properly for Safe Mold Removal
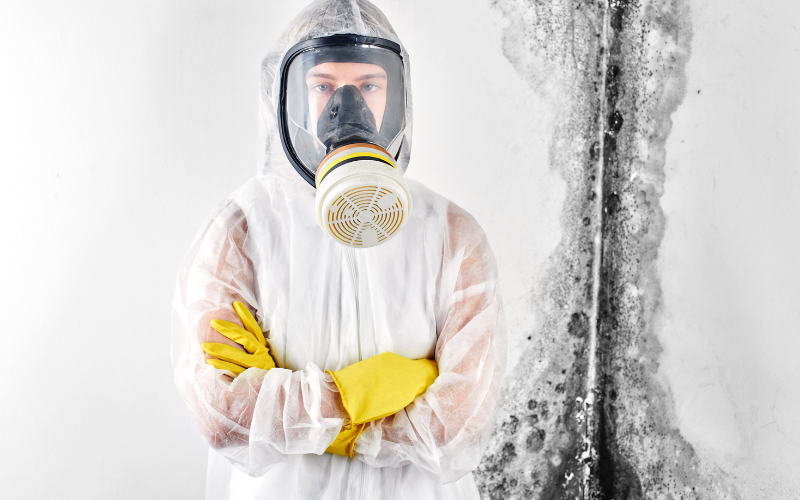
Essential Protective Gear for DIY Remediation
Never attempt mold cleanup without appropriate safety equipment. At minimum, wear a properly fitted N95 respirator mask to prevent inhaling harmful spores—consider upgrading to a P100 filter for larger affected areas. Nitrile gloves that extend to mid-forearm protect your skin from both mold and cleaning solutions. Safety goggles without ventilation holes prevent spores from entering your eyes during the cleaning process. For extensive mold problems, disposable coveralls help prevent cross-contamination to other areas of your home.
Contain the Work Area Effectively
Prevent spreading mold spores to unaffected areas by carefully preparing the work zone. Seal off the affected room with plastic sheeting, closing all doors and covering doorways. Turn off your HVAC system before starting to avoid circulating spores through your home’s ductwork. Open windows for ventilation when weather permits, but only after containing the work area. Remove pets, children, and individuals with respiratory conditions from the vicinity during remediation. Cover furniture and unaffected surfaces with drop cloths to protect them from accidental contamination.
Remove Mold from Different Surface Types
Handle Porous Materials Appropriately
Porous building materials like drywall, ceiling tiles, and insulation present special challenges during mold remediation. When mold penetrates these materials, complete removal and replacement often becomes necessary rather than attempted cleaning. For drywall, mark an area extending beyond visible mold growth, carefully remove the affected section while minimizing dust, and immediately bag it in heavy plastic. Inspect the underlying structure for any signs of mold penetration before installing replacement materials.
Clean Non-Porous Surfaces Thoroughly
Hard, non-porous surfaces like tile, glass, and metal typically respond well to proper cleaning techniques. Apply your chosen cleaning solution generously and allow adequate dwell time for it to penetrate and kill mold at the root. Use appropriate scrubbing tools—soft brushes for delicate surfaces, stiffer bristles for grout lines—but avoid excessive force that might damage the surface. Rinse thoroughly with clean water to remove all cleaning solution residue, then dry the area completely with clean towels or air drying. For persistent mold in grout lines, repeat the cleaning process or consider resealing after complete drying.
Address Semi-Porous Materials Carefully
Materials like wood and concrete require special attention as they fall between porous and non-porous categories. For wood surfaces, carefully remove visible mold growth using appropriate cleaning solutions, then sand the area to eliminate any remaining spores beneath the surface. Apply a wood preservative to prevent future mold development, and ensure complete drying before refinishing. Concrete surfaces may require multiple cleaning applications followed by thorough drying—consider using a moisture meter to verify dryness before considering the area remediated.
Eliminate the Moisture Source Permanently

Find and Fix Hidden Water Intrusion
Successful mold remediation requires addressing the underlying moisture problem, not just surface cleaning. Investigate potential hidden leaks by checking under sinks, around windows, and near plumbing fixtures for signs of moisture. Examine your roof, gutters, and downspouts to ensure proper water drainage away from your home’s foundation. Test for condensation issues on cold water pipes or in areas where warm and cool air meet. Consider using a moisture meter to identify problem areas with elevated moisture levels that aren’t yet visible to the naked eye.
Maintain Optimal Indoor Humidity Levels
Controlling indoor humidity represents one of the most effective mold prevention strategies. Aim to maintain relative humidity between 30-50% throughout your living spaces, particularly in moisture-prone areas like bathrooms and basements. Run bathroom exhaust fans during and after showers to remove excess moisture from the air. Use kitchen range hoods while cooking to vent steam outside rather than into your home. In persistently damp areas, employ dehumidifiers and empty them regularly to maintain effectiveness. Monitor humidity levels with digital hygrometers placed in problem areas.
Know When to Call Mold Remediation Professionals
Recognize Situations Requiring Expert Intervention
While small mold patches may be manageable as DIY projects, certain situations demand professional expertise. Consider professional help when mold covers more than a few square feet, as larger infestations often indicate significant underlying moisture problems. If you suspect mold within your HVAC system, professional assessment becomes essential to prevent widespread contamination. When mold growth results from sewage backups or other contaminated water sources, specialized handling is required. Homes with occupants who have compromised immune systems or severe mold allergies should prioritize professional remediation to ensure safety.
Understand the Professional Remediation Process
Professional mold remediation follows systematic protocols to ensure complete removal and prevent recurrence. Experts begin with thorough moisture mapping to identify all affected areas, including hidden mold behind walls or above ceilings. They implement proper containment barriers to prevent cross-contamination during the removal process. Specialized HEPA filtration equipment captures airborne spores while work progresses. Professionals apply antimicrobial treatments to prevent regrowth and conduct post-remediation verification to confirm successful elimination of mold problems.
Implement Long-Term Mold Prevention Strategies
Establish Daily Maintenance Habits
Preventing mold requires consistent, simple daily actions throughout your home. Wipe down shower walls and doors after each use to prevent moisture buildup. Squeegee glass surfaces to minimize standing water. Empty drip pans under refrigerators and other appliances regularly. Check under sinks weekly for signs of leaks or moisture accumulation. Run exhaust fans during and after any moisture-producing activities like cooking or showering to maintain proper ventilation.
Schedule Regular Preventive Maintenance
Create a routine maintenance schedule to catch potential problems before they develop into mold issues. Replace HVAC filters according to manufacturer recommendations, typically every 1-3 months depending on usage. Clean bathroom exhaust fan grilles and ducts to maintain proper airflow and moisture removal. Check and replace caulking around tubs, showers, and windows as needed to prevent water intrusion. Inspect your attic periodically for signs of roof leaks or inadequate ventilation that could lead to moisture problems.
Mold remediation success depends on addressing both the visible growth and the underlying moisture problem that allowed it to develop. While small surface mold may respond to careful DIY cleanup, never hesitate to call professionals when dealing with extensive growth or hidden contamination. Remember that mold can begin regrowing within days if moisture conditions remain favorable. By implementing these systematic approaches and maintaining vigilant prevention habits, you’ll create a healthier home environment that stays mold-free for years to come. The most effective mold strategy combines prompt action when problems appear with consistent moisture control to prevent future outbreaks.


