
That fresh scratch on your car’s door isn’t just an eyesore—it’s a $150-$600 hit to your wallet if you take it to a professional. The good news? Most everyday scratches can be fixed at home with the right approach and tools. Whether it’s a grocery cart incident, a rogue tree branch, or a mysterious parking lot encounter, you don’t need expensive equipment or professional training to restore your vehicle’s finish.
This comprehensive guide walks you through identifying exactly what type of scratch you’re dealing with and provides specific repair methods for each level of damage. You’ll learn how to prepare properly, select the right products, and execute repairs that blend seamlessly with your original paint. By the end, you’ll save hundreds while gaining the confidence to handle future damage before it becomes a costly problem.
How to Identify Your Car Scratch Type Before Repair
Clear Coat Scratches: The Easy Fix
These superficial marks only affect the top protective layer of your paint. Run your fingernail across the scratch—if it glides smoothly without catching, you’re looking at a clear coat issue. These appear as white or light-colored marks, commonly caused by automatic car washes or light contact with objects. The good news? These are the easiest to fix at home with minimal tools.
Base Coat Scratches: When Color Shows Through
When your fingernail catches slightly but doesn’t sink deep into the scratch, you’re dealing with base coat damage. These scratches penetrate through the clear coat into the colored paint layer, showing the underlying color (white on white cars, red on red cars, etc.). Keys, shopping carts, and tree branches typically cause this moderate damage that requires more involved repair techniques than simple clear coat scratches.
Deep Scratches Exposing Primer: The Rust Risk
If you see a grayish or off-white color beneath the scratch and your fingernail sinks into the groove, you’ve got a deep scratch exposing primer. These problematic scratches require immediate attention as they create pathways for moisture to reach bare metal. Accidents and severe impacts create these scratches that demand more intensive repair work to prevent rust formation.
Essential Tools for Professional-Quality Scratch Repair
Must-Have Cleaning Supplies for Scratch Repair
Start with proper cleaning tools: a pH-neutral car wash soap, two 5-gallon buckets with grit guards, and 600 GSM microfiber wash mitts. You’ll also need 70% isopropyl alcohol, lint-free 300-400 GSM microfiber towels, and citrus-based degreaser. Never skip this step—improper cleaning leads to failed repairs as contaminants prevent proper paint adhesion.
Sanding and Polishing Equipment You Can’t Skip
For clear coat scratches, grab 3000-grit and 5000-grit wet/dry sandpaper with a flexible foam sanding block. Your polishing arsenal should include heavy-cut rubbing compound, medium polishing compound, and fine finishing polish. Pair these with orange/yellow foam cutting pads, white polishing pads, and black finishing pads. A dual-action polisher (8mm throw minimum) dramatically improves results while reducing effort compared to hand polishing.
Touch-Up Paint Supplies for Perfect Color Matching
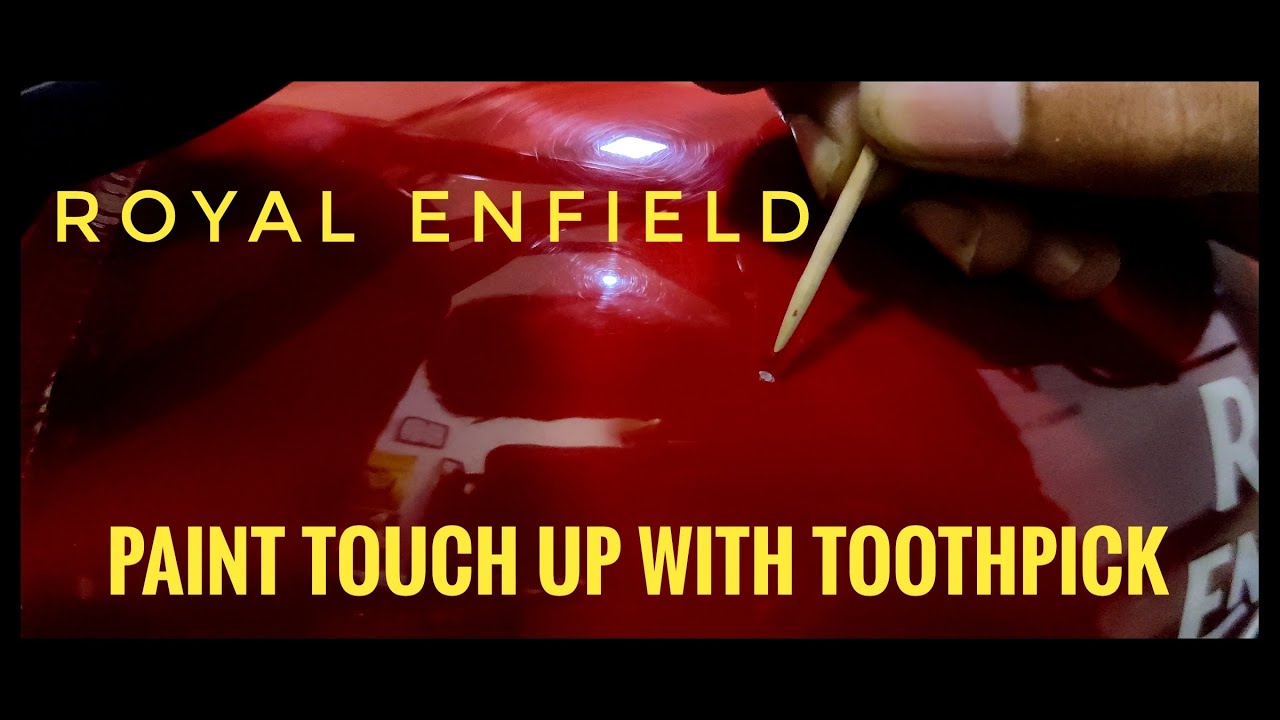
Always match your car’s OEM paint code exactly—check the driver’s door jamb for this critical information. Get touch-up pens or brushes specifically formulated for your vehicle’s color. Fine-tip paint brushes in sizes 00, 0, and 1 give you precision control, while toothpicks help with microscopic application. Don’t forget clear coat touch-up and paint leveler solution for smooth blending.
Step-by-Step Clear Coat Scratch Removal Process
Proper Area Preparation for Scratch Repair
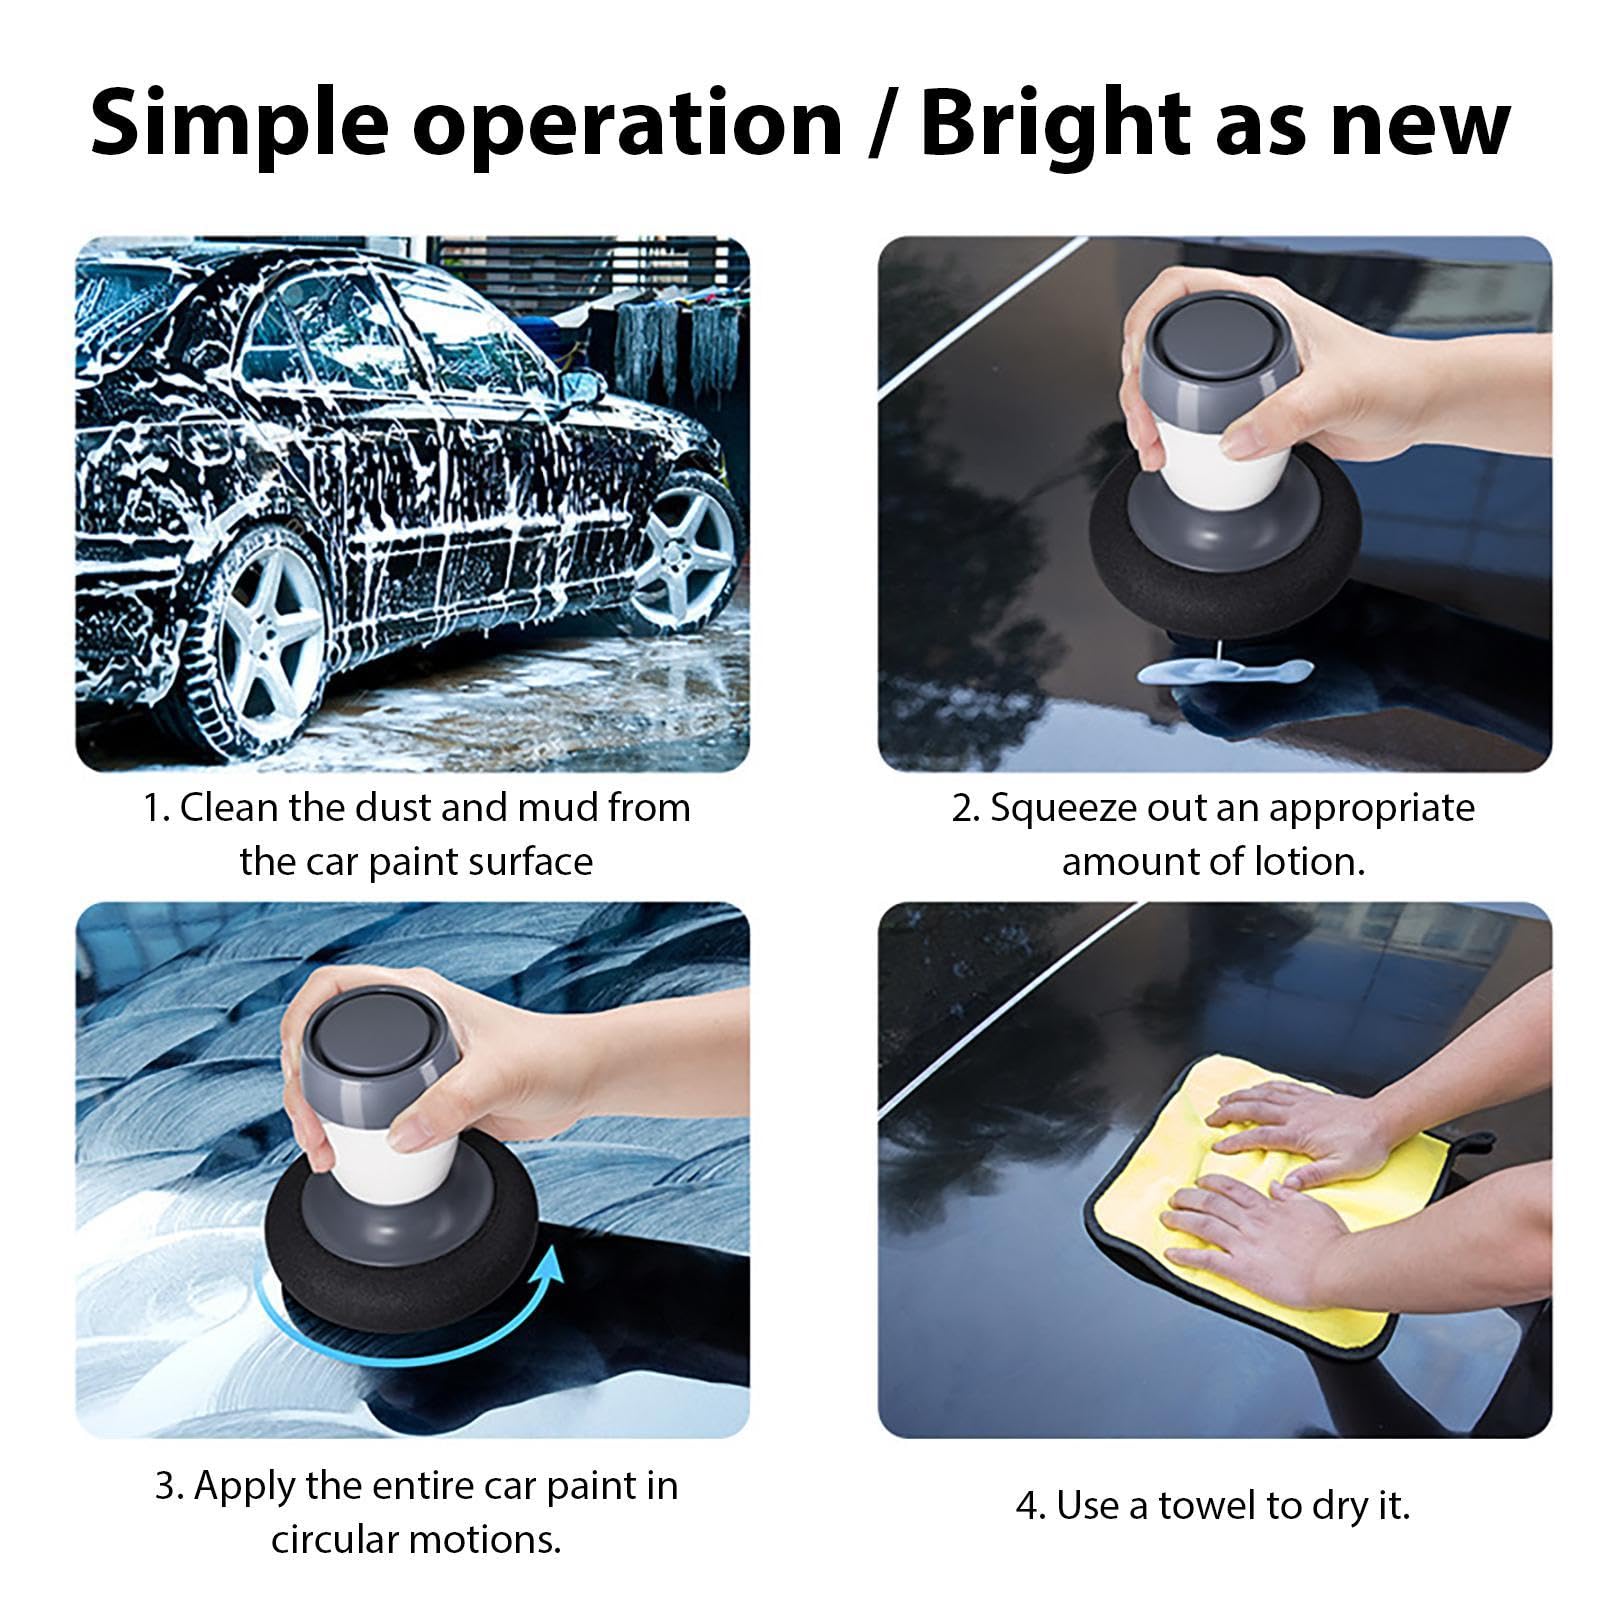
Wash the scratched area thoroughly using the two-bucket method to prevent swirl marks. Dry completely with microfiber towels, then inspect under 5000K LED light from multiple angles. Mark scratch boundaries with masking tape if needed for precision work. This preparation ensures you’re working on a contaminant-free surface, which is critical for successful scratch removal.
Compound and Polish Technique That Actually Works
Apply a pea-sized amount of heavy-cut rubbing compound to your orange foam cutting pad. Set your dual-action polisher to speed 4-5 (approximately 1200-1500 RPM). Work in 2′ x 2′ sections using cross-hatch patterns with moderate 15-20 lbs pressure for 30-45 seconds per pass. Switch to medium polishing compound on a white foam pad at speed 3-4, reducing pressure to 10-15 lbs until haze disappears. Finish with fine polish on a black pad at speed 2-3 using light 5-10 lbs pressure for the ultimate gloss.
Final Protection to Prevent Future Damage
Wipe the area clean with a 1:1 diluted isopropyl alcohol solution to remove any compound residue. Wait 24 hours before applying wax or sealant for long-term protection. The repair should be invisible under inspection light when properly executed. This waiting period allows the clear coat to fully settle before adding protective layers.
Base Coat Scratch Repair: Restoring Color Perfectly
Surface Preparation for Color Matching
Mask surrounding areas extending 2-3 inches beyond scratches using automotive-grade masking tape. Clean the area thoroughly with isopropyl alcohol to remove all oils and contaminants. Feather the scratch edges using 3000-grit sandpaper on a flexible block to create smooth transition zones extending ½” beyond the scratch. This step is crucial for preventing visible edges in your repair.
Precise Paint Application Methods
Shake your touch-up pen vigorously for 2 minutes before application. Use toothpicks for microscopic precision, applying thin base coat layers with 30-minute intervals between coats. Build color slowly over 3-4 applications, using a cool hair dryer setting to accelerate drying between layers. Apply clear coat in 2-3 thin layers extending ¼” beyond the original scratch for seamless blending.
Professional Blending Techniques at Home
Allow 24 hours for full cure before attempting to blend the repair. Use 5000-grit wet sandpaper if needed for leveling, then compound and polish the entire area to blend into surrounding paint. The key to invisible repairs is gradual transition—not just color matching but creating smooth physical transitions between repaired and original surfaces.
Deep Scratch Repair: Fixing Primer-Exposing Damage
Immediate Rust Prevention Steps
For scratches exposing primer or metal, apply rust converter immediately after cleaning with wax/grease remover. Let the converter react for 2-4 hours to prevent corrosion that could spread beneath your repair. This critical step protects your investment and prevents small scratches from becoming major structural problems.
Multi-Layer Paint Application Process
Apply 2-3 primer coats with 20-30 minutes between applications, sanding between coats with 5000-grit paper. Build slightly higher than the surface to account for sanding later. Apply 4-5 thin base coats using consistent 6-8 inch spray distance, allowing proper flash time between applications. Finish with 2-3 clear coats using light applications to prevent runs, then allow 48 hours cure time before wet sanding progression from 3000-grit to 5000-grit.
Avoiding Costly DIY Scratch Repair Mistakes

Common Application Errors and Fixes
Runs and sags happen when applying too much material—fix by sanding with 1000-grit and reapplying thin coats. Maintain proper 6-8 inch spray distance with light, even passes to prevent this issue. Orange peel texture results from poor spray technique; wet sand with 2000-grit then compound and polish smooth. Color mismatches occur from incorrect paint codes—always test spray on hidden areas first and use exact OEM codes.
Environmental Factors That Make or Break Your Repair
Work in 65-75°F temperatures with 50% humidity or less for optimal paint flow and drying. Avoid direct sunlight during application as heat causes improper curing. Use tack cloth before painting to eliminate dust contamination that ruins finishes. These environmental controls separate amateur attempts from professional-quality results.
Cost-Effective Scratch Repair Product Recommendations
Budget-Friendly Solutions That Actually Work
For most clear coat scratches, a $20-50 investment covers everything: touch-up pens ($10-15), basic compound/polish systems ($15-20), and quality microfiber kits ($10-15). This handles 80% of common scratches without breaking the bank. The DIY approach pays for itself after just 2-3 repairs compared to professional services averaging $150-600 per scratch.
Long-Term Scratch Prevention Strategies
Apply wax or sealant every 3-6 months using synthetic products for maximum durability. Test protection with the water beading test—tight, consistent beads indicate good coverage. Perform weekly inspections during wash routines to catch new scratches early before they become major problems. Store touch-up paint refrigerated and replace annually for best results when quick fixes are needed.
Fixing car scratches at home requires patience and proper technique, but delivers professional results at a fraction of shop prices. Start with clear coat scratches to build confidence, then progress to more complex repairs. With the right tools and methods, you’ll save hundreds while maintaining your vehicle’s appearance and value long-term. Your wallet—and your car—will thank you for taking the DIY approach to scratch repair.


