
Your morning starts with watery eyes and relentless sneezing. The culprit? Thousands of microscopic dust mites thriving in your mattress, carpets, and furniture. These invisible pests trigger year-round allergies through their droppings—not the mites themselves—turning your home into a daily battleground of rashes, congestion, and wheezing. Despite their name, dust mites aren’t actually related to dust but feed on the dead skin cells we shed daily.
The good news? You can reclaim your space. This comprehensive guide walks you through proven strategies to eliminate dust mites systematically, focusing on the most effective changes that deliver immediate relief while fitting realistically into your lifestyle. By implementing these evidence-based methods, you’ll create an environment where dust mites simply cannot survive, reducing your allergy symptoms significantly within weeks.
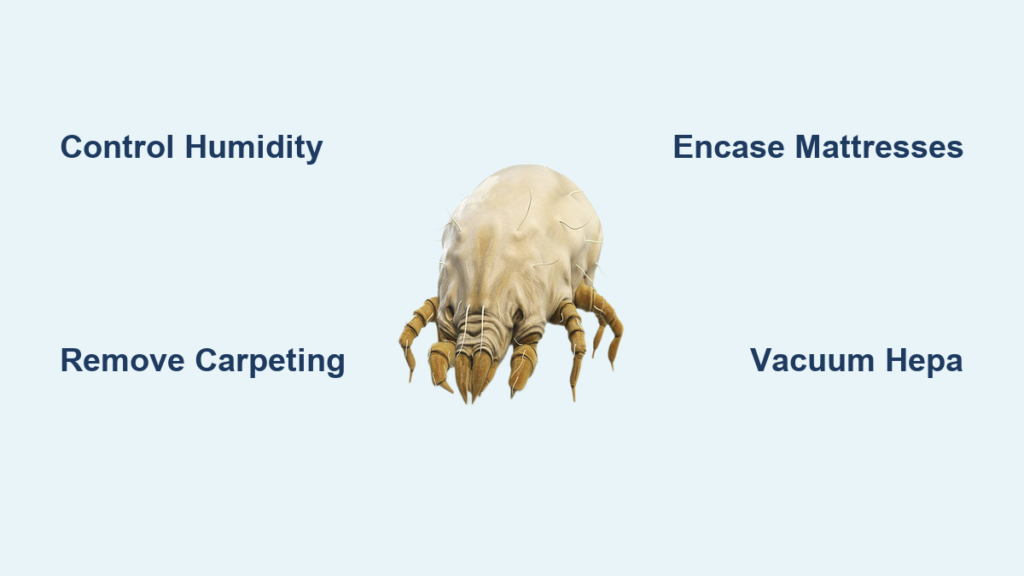
Control Humidity Levels Effectively

Dust mites die when humidity drops below 50%, making dehumidification your first line of defense. Install digital hygrometers in bedrooms and main living areas to monitor levels continuously. Run dehumidifiers during humid months, especially in basements and ground-floor rooms where moisture accumulates most.
Target 50% Humidity Maximum
Essential bedroom modifications:
– Remove all houseplants from sleeping areas immediately
– Relocate fish tanks to other rooms
– Increase air circulation with ceiling fans set to rotate clockwise in winter
– Run bathroom exhaust fans during and after showers for at least 20 minutes
Whole-house approach:
– Fix plumbing leaks within 24 hours to prevent moisture buildup
– Ensure clothes dryer vents properly to the outside
– Never line-dry clothes indoors—this adds significant moisture to your home
– Use air conditioning instead of opening windows during high-pollen seasons
Remove Carpeting Completely
Wall-to-wall carpeting represents dust mite paradise—warm, humid, and impossible to clean thoroughly. Your bedroom carpet alone hosts millions of mites in the padding where vacuum cleaners can’t reach. Prioritize bedroom carpet removal above all other changes for maximum allergy relief.
Start With Bedrooms
Replace carpet with these mite-resistant alternatives:
– Hardwood flooring (easiest to maintain)
– Tile or luxury vinyl plank (ideal for moisture-prone areas)
– Polished concrete (excellent for basements)
– Laminate (budget-friendly option)
These hard surfaces allow daily damp-mopping, removing both mites and their allergens effectively. When mopping, use microfiber cloths with minimal water rather than traditional string mops that just spread moisture around.
Protect Your Sleep Environment

Your mattress hosts the highest concentration of dust mites in your home—up to 10 million per square yard. Since we spend one-third of our lives sleeping, protecting your sleep environment delivers the most immediate allergy relief.
Encase Mattresses and Pillows
Invest in quality allergen-proof covers made from tight-weave fabric that blocks both mites and their waste. Critical coverage areas:
– All mattresses (including box springs)
– Every pillow (not just sleeping pillows)
– Duvets and comforters
Pro tip: Choose zippered encasements rather than fitted styles for complete protection. Wash these covers monthly in hot water to maintain effectiveness.
Replace Problem Bedding
Eliminate these dust mite magnets:
– Feather or down pillows and comforters
– Wool blankets (even decorative throws)
– Decorative pillows that cannot be washed weekly
Replace with:
– Synthetic-filled pillows and comforters
– Washable cotton or microfiber blankets
– Vinyl or leather headboard covers
Implement Daily Cleaning Routines
Standard cleaning approaches often spread dust rather than eliminate it. Effective dust mite control requires specific techniques that actually remove allergens rather than just redistributing them in the air.
Weekly Hot Water Washing Protocol
Non-negotiable schedule:
– Weekly: All bedding including mattress covers (minimum 130°F water)
– Bi-weekly: Curtains and washable rugs
– Monthly: Stuffed animals and decorative pillows
Critical detail: Drying at high temperatures for 20+ minutes provides additional mite elimination beyond what hot water washing achieves alone.
Daily Surface Cleaning Techniques
Hard floors:
– Damp-mop daily with microfiber mops (never dry sweep)
– Focus on bedroom floors first thing each morning
– Use minimal water—excess moisture encourages mite growth
Dusting protocol:
– Use damp microfiber cloths (never dry dusting)
– Work from top to bottom systematically
– Clean ceiling fans weekly before vacuuming
– Vacuum furniture surfaces immediately after dusting
Vacuum Like a Professional

Standard vacuums recirculate 90% of allergens back into your air. Without the right equipment and technique, you’re just stirring up dust mites without actually removing them from your environment.
Choose HEPA-Filtered Equipment
Invest in vacuums with:
– True HEPA filtration (99.97% efficiency for particles 0.3 microns)
– Sealed system design to prevent leakage
– Upholstery attachments for furniture cleaning
– Wet-vacuum capabilities if carpet removal isn’t possible
Warning: Standard paper vacuum bags allow allergens to escape—opt for double-thickness bags or HEPA-certified disposable bags.
Master Vacuuming Technique
Perfect timing:
– Vacuum when allergic person is out of home
– Wait 2+ hours before re-entering vacuumed room
– Wear an N95 mask if you must vacuum while experiencing symptoms
Systematic approach:
1. Vacuum furniture first (mattress edges, cushions)
2. Work room perimeter inward with slow, overlapping strokes
3. Make three passes in different directions for thorough cleaning
4. Empty canister outside immediately after use
Room-by-Room Elimination Plan
Strategic room prioritization delivers maximum results with minimum disruption. Focus first on areas where you spend the most time, particularly where you’re stationary for long periods.
Bedroom Priority List
Week 1: Immediate actions
– Install mattress and pillow encasements
– Remove all non-essential items (books, knickknacks)
– Wash all bedding in hot water
– Set up dehumidifier with hygrometer
Week 2: Major changes
– Remove bedroom carpeting
– Install hard flooring
– Replace heavy drapes with washable roller shades
– Eliminate stuffed animals and decorative pillows
Living Areas Secondary Focus
While bedrooms remain your priority:
– Replace heavy drapes with washable curtains
– Swap upholstered furniture for leather/vinyl alternatives
– Remove decorative pillows and throws from seating areas
– Establish weekly vacuuming schedule for remaining carpets
Maintain Your Dust Mite-Free Home
Elimination requires ongoing maintenance—dust mites will return if you relax your protocols. The goal isn’t perfection but consistent management that keeps mite populations below your personal allergy threshold.
Monthly Deep Clean
Non-negotiable maintenance:
– Wash all bedding weekly without fail
– Steam-clean any remaining carpets quarterly
– Replace HVAC filters monthly
– Check humidity levels daily during humid months
Critical tip: Focus on bedrooms first—maintain the lowest humidity levels in sleeping areas where you’re most vulnerable to mite exposure.
Long-Term Success Indicators
Track your progress through:
– Reduced morning allergy symptoms within 2-4 weeks
– Less frequent use of allergy medications
– Improved sleep quality and duration
– Visible reduction in bedroom dust accumulation
Family and Lifestyle Considerations
Major home modifications require family buy-in for long-term success. Balance effectiveness with practical living requirements to ensure your dust mite elimination plan remains sustainable.
Discuss Changes Early
Before making major modifications:
– Explain health benefits to family members using specific examples
– Involve children in choosing new bedding and flooring options
– Plan carpet removal around family schedules
– Budget for gradual room-by-room improvements
Pro tip: Start with highest-impact, lowest-disruption changes first—installing mattress encasements and adjusting laundry routines deliver noticeable results with minimal lifestyle adjustment.
Balance Effectiveness With Living
Complete dust mite elimination takes 3-6 months of consistent effort. Prioritize changes that deliver maximum results with minimum disruption:
– Begin with bedroom modifications (where you spend 8+ hours daily)
– Implement changes during natural transition times (moving, redecorating)
– Consider professional help for heavy lifting tasks
– Maintain realistic timelines—perfection isn’t necessary for symptom relief
Bottom line: Eliminating dust mites requires systematic, sustained effort focusing on humidity control, surface modification, and rigorous cleaning. Start with bedrooms—spend your first weekend installing mattress covers and removing carpet. The relief you’ll feel within days will motivate the remaining changes. Your home can become the allergy-free sanctuary you deserve, one strategic modification at a time. Remember that consistency matters more than perfection—maintain your protocols for at least three months to see significant symptom reduction, and you’ll transform your living space from an allergy trigger zone into a true haven of comfort.


