

Your vision for a remodeled kitchen or new home starts with one critical step: creating an accurate home plan. Forget expensive architects for initial concepts—you can draft professional-grade floor plans yourself using proven techniques. Whether you’re preparing for a contractor bid or visualizing furniture layouts, mastering how to draw home plan diagrams transforms vague ideas into buildable realities. This guide reveals field-tested methods from measuring existing spaces to exporting permit-ready PDFs, backed by real estate data showing listings with floor plans get 52% more clicks and avoid being ignored by 1 in 5 buyers.
Most DIYers fail at the starting line by skipping systematic measurements or mixing measurement systems. The key? Treat your home plan as a communication tool—not just a sketch. Every line must convey precise dimensions to contractors, inspectors, and family members. By following this battle-tested workflow, you’ll avoid costly rework while creating layouts that balance aesthetics with daily practicality.
Essential Tools for Manual Drawing

Skip the software learning curve for initial concepts by starting with traditional drafting tools. You’ll need graph paper (5mm squares for metric, 1/4″ for imperial), a 2H pencil for light construction lines, a kneaded eraser, and an architect’s scale ruler. A 25-foot tape measure handles most rooms, but invest in a laser measure for spaces over 20 feet—it eliminates sagging tape errors that derail accuracy. Crucially, decide upfront: metric or imperial? Mixing systems causes scaling disasters that invalidate your entire plan.
Measure Existing Conditions First
Begin in one corner and move clockwise, recording every dimension on a notepad. For walls, note length from corner to corner including thickness (typically 6-8 inches for exteriors). Measure door and window positions from the nearest corner, plus sill and head heights for windows. Don’t forget ceiling heights, sloped areas, and fixed elements like radiators. Critical pro tip: Have a partner hold the tape end for walls over 15 feet—this prevents 90% of measurement errors caused by tape sag. Double-check critical dimensions like stairwell widths before drawing; correcting errors later wastes hours.
Choose Your Scale Immediately

Your scale choice makes or breaks communication with contractors. For metric: Use 1:50 (1cm = 0.5m) for standard rooms, 1:100 for whole-house layouts, or 1:20 for kitchen details. For imperial: Stick to ¼” = 1′-0″ for most spaces, ⅛” = 1′-0″ for large footprints, or ¾” = 1′-0″ for cabinetry. Write your scale prominently in the drawing’s title block—this prevents costly misinterpretations. Never deviate once chosen; inconsistent scaling is the #1 reason DIY plans get rejected for permits. Verify your scale by measuring a known distance (like a doorway) on your graph paper.
Manual Drawing Workflow
Sketch External Walls First
Lightly draw your home’s perimeter using measured wall thicknesses. Exterior walls typically run 6-8 inches thick (15-20cm), interiors 4-6 inches (10-15cm). Here’s the math check: Sum all internal wall lengths plus thicknesses should equal your total exterior dimension. If they don’t, remeasure immediately—this catches errors before adding interior walls. Use your architect’s scale ruler to convert real-world measurements to paper, marking key corners with small ticks for reference.
Add Interior Walls and Openings
Build inward from your perimeter, using connecting corners as anchor points. Draw doors with a 90° quarter-circle arc showing swing direction—this prevents costly conflicts like doors hitting furniture. For windows, note sill height (critical for countertops) and head height. Avoid this mistake: Back-to-back bathroom doors often swing into each other; maintain 42 inches (107cm) between hinges for clearance. Verify door swings don’t block hallways—minimum 36 inches (91cm) clearance is non-negotiable for safe movement.
Insert Fixed Installations
Stairs, counters, and plumbing fixtures get simplified symbols: ovals for toilets, rectangles with smaller rectangles for sinks, squares with four circles for stoves. Draw stairs with an up-arrow and riser count. Pro insight: Group “wet areas” (kitchen, laundry, baths) together—this reduces plumbing costs by 20% during construction. Mark built-in cabinets exactly where they’ll sit; their placement affects electrical and lighting plans. Always dimension from wall face to fixture center for contractor clarity.
Digital Drawing Methods Explained
RoomSketcher for Fast Professional Results
When you need contractor-ready visuals, RoomSketcher bridges manual and digital drafting. Import a photo of your hand sketch—the AI converts it to editable walls in seconds. Drag pre-sized doors and windows from its symbol library, then generate instant 3D walkthroughs to show family members. The free version handles basic layouts, but Pro ($49/year) unlocks HD 3D renders with your logo for client presentations. Crucially, it auto-calculates square footage and exports scale-accurate PDFs—avoiding manual dimension errors that sink DIY plans.
CubiCasa’s 5-Minute Phone Scanning
For existing homes, CubiCasa eliminates manual measuring. Walk through your space with your iPhone while its guided scan captures dimensions via LiDAR. Within 24 hours, you get a PDF floor plan with 98% accuracy (±2% variance)—sufficient for most remodel permits. At $34.99 per scan, it’s ideal for real estate listings where floor plans boost engagement. Key limitation: Scans struggle with complex ceiling heights; supplement with manual measurements for vaulted areas.
Design Principles That Work
Human-Scale Circulation Paths
Your plan must reflect real movement. Maintain minimum 36-inch (91cm) corridors between furniture—test this by drawing 30-inch wide “walk paths” on your layout. Dining tables need 42 inches (107cm) clearance for chairs; verify using your actual furniture dimensions. In kitchens, enforce the “work triangle” rule: sink-fridge-stove distances shouldn’t exceed 26 feet total. Critical check: Can a wheelchair navigate? Ensure 32-inch minimum door widths and 60-inch turning circles in key rooms.
Balance Aesthetics with Practicality
That floating staircase may look stunning, but it creates dust traps and safety hazards with kids. Similarly, wall-to-wall windows maximize views yet increase HVAC costs by 30%. Evaluate every design choice through three filters: daily maintenance (can you clean it?), energy efficiency (does it leak heat?), and lifestyle fit (does it work with your routine?). For example, open kitchens suit entertaining but require extra soundproofing if bedrooms are nearby.
Energy-Efficient Layout Strategies
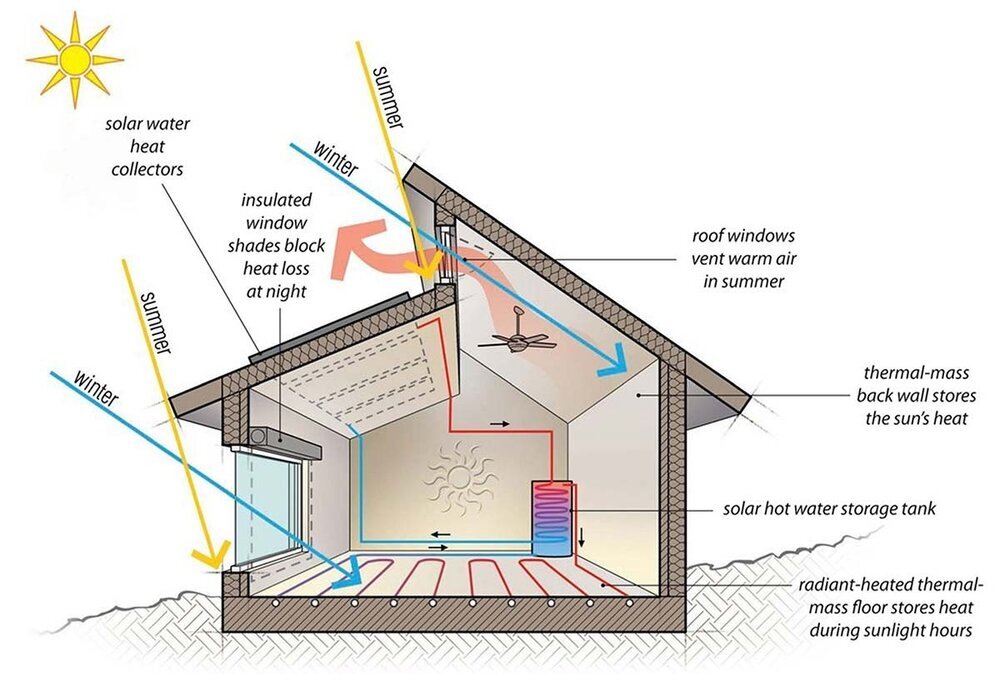
Orient living areas south-facing (in the Northern Hemisphere) to harness passive solar heat. Compact your footprint—minimize exterior walls to reduce heat loss—and place garages or storage on the north side as thermal buffers. Group wet areas (kitchen, baths, laundry) to shorten plumbing runs. Crucially, maintain 15-25% window-to-wall ratios: too few windows dim interiors, while too many cause overheating. For outdoor integration, align living areas with patios using 8-foot (2.4m) sliding doors, and ensure covered areas are 10-foot (3m) deep for weather protection.
Export and Presentation Standards
Create professional PDFs at 1:100 scale (metric) or ¼” = 1′-0″ (imperial) for permit submissions. Your final drawing must include: a north arrow, graphic scale bar, complete dimensions outside the plan, and room labels with square footage. Use RoomSketcher or Planner 5D to generate 3D walkthroughs—these help clients visualize spaces 73% faster than 2D plans. File naming tip: Use ProjectName_YYYYMMDD_v#.pdf for version control, and enable cloud auto-saves every 2 minutes to prevent data loss.
Quick Reference Checklist
Before finalizing your home plan, verify these non-negotiables:
– [ ] Measure twice—record all dimensions including wall thicknesses
– [ ] Stick to one scale (¼”=1′-0″ or 1:50) without deviation
– [ ] Draw exterior walls first before adding interiors
– [ ] Mark door swings and window heights with clear symbols
– [ ] Test furniture flow with 30-inch wide circulation paths
– [ ] Add dimensions outside the plan and label every room
– [ ] Include north arrow and scale bar on final export
– [ ] Generate 3D views for client/family approval
A precise home plan transforms abstract dreams into buildable realities while preventing costly contractor misunderstandings. Start with accurate measurements, maintain ruthless scale consistency, and always test layouts against real-world movement patterns. Whether you choose manual drafting for speed or AI scanning for precision, these field-proven methods ensure your vision translates flawlessly from paper to construction site. Archive your measurement notes—you’ll thank yourself when adding that bathroom extension years later.


