

That sinking feeling when your home fries emerge limp and pale instead of golden and crisp? You’re not alone. Over 70% of home cooks struggle with soggy potatoes that lack the restaurant-quality crunch they crave. But perfect home fries aren’t magic—they’re science. This guide reveals the exact techniques professional kitchens use to create shatteringly crisp exteriors with cloud-soft centers. Forget guesswork; you’ll master potato selection, starch management, and heat control to transform humble spuds into the star of your breakfast plate. Let’s fix your fry game for good.
Select Your Potato Weapon Strategically
Russet potatoes dominate the home fry arena for one critical reason: their high-starch composition creates maximum crispiness while delivering that melt-in-your-mouth interior. When cut and fried properly, they develop a glass-like crust that holds up against runny eggs. Yukon Golds offer a buttery alternative with medium starch—they’ll stay slightly more tender but still achieve golden edges if you par-cook them. Never waste time with red potatoes; their waxy structure steams instead of crisps, leaving you with rubbery results. And skip sweet potatoes entirely for classic home fries—their sugar content guarantees burnt exteriors before interiors soften.
Cut for Crispness, Not Chaos
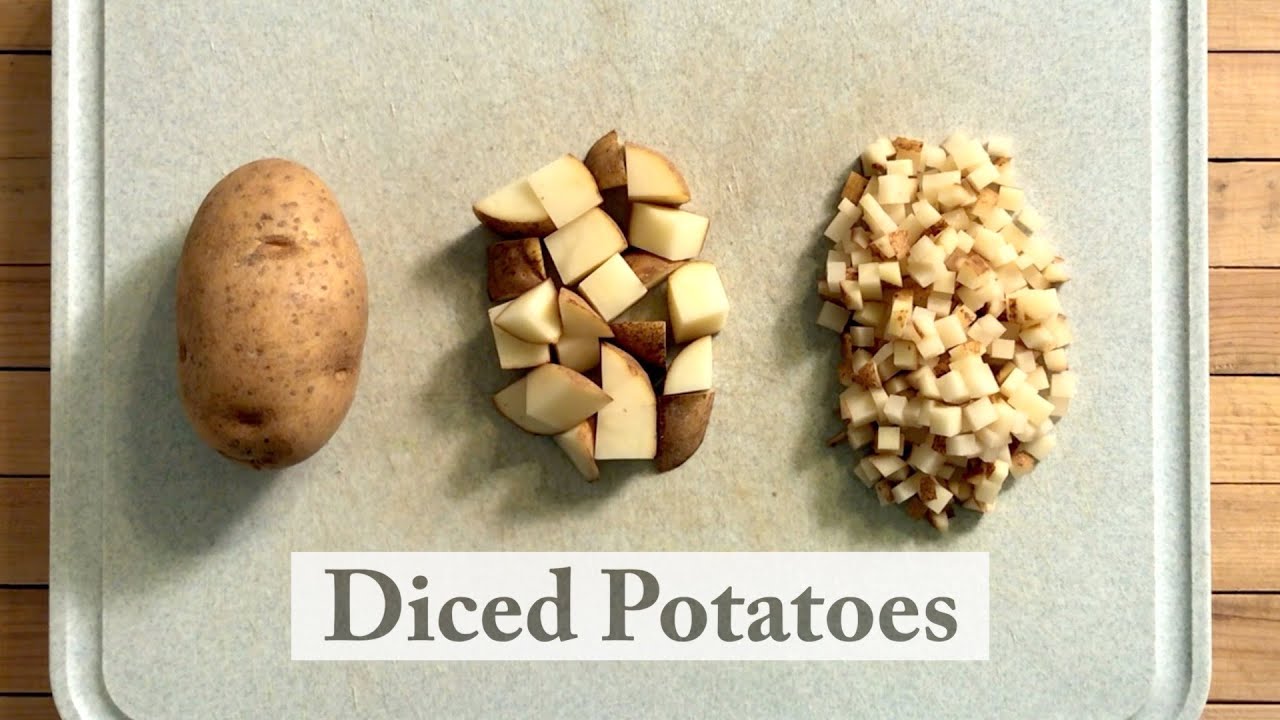
Diced potatoes must be uniform down to the millimeter—this isn’t culinary snobbery, it’s physics. A ½-inch cube (1.3 cm) delivers the ideal balance: enough surface area for crunch without undercooked centers. Stack potato slices like building blocks before cutting to ensure identical pieces. For thicker-cut lovers, ¾-inch cubes require 5 extra minutes but reward you with more potato flavor per bite. Whatever size you choose, inspect each piece—toss any with green spots or sprouts immediately since they impart bitter flavors. Pro move: leave 20-30% of skins on for rustic texture and extra nutrients, but scrub thoroughly first.
Banish Starch Like a Pro

Soaking isn’t optional—it’s the secret behind commercial crispness. Submerge cut potatoes in cold water for 30 minutes minimum (up to 24 hours refrigerated). As starch dissolves, water turns cloudy; replace it once if murky. Then rinse twice under cold water until it runs clear—this removes surface sugars that cause uneven browning. Finally, dry aggressively: spin in a salad spinner or pat with kitchen towels. Moisture creates steam during cooking, which sabotages browning. Time-saver: prep potatoes overnight submerged in the fridge, then just drain and dry before cooking.
Par-Cook for Foolproof Texture
Par-boiling guarantees tender centers without charcoal exteriors. Use heavily salted water—1 tablespoon kosher salt per quart—and boil ½-inch cubes for exactly 3-4 minutes until a knife meets slight resistance. Drain immediately, then spread on a baking sheet for 5 minutes. This steam-drying step is non-negotiable; residual moisture prevents crisping. No time? Microwave potatoes at 70% power for 2-3 minutes until slightly softened. Never skip this phase: raw potatoes require longer frying, burning exteriors before centers cook.
Command the Cast Iron Pan

Your skillet choice makes or breaks crispness. Cast iron’s heat retention prevents temperature crashes when potatoes hit the oil. Heat 2-3 tablespoons of canola or peanut oil (smoke point 400°F+) until shimmering—not smoking—around 350°F. Add potatoes in a single layer; overcrowding steams them instantly. Let them sear untouched for 4-5 minutes until golden, then flip every 2-3 minutes. Final crispness boost: crank heat to 375°F for the last 2 minutes while scraping up those caramelized bits stuck to the pan—this is flavor gold.
Layer Flavors at Three Critical Stages
Seasoning timing separates amateurs from pros. First, salt the par-boiling water to permeate potatoes internally. Second, add ½ teaspoon kosher salt and ¼ teaspoon pepper per pound during frying. Third, finish with a signature blend while hot: mix 2 parts salt, 1 part pepper, 1 part garlic powder, 1 part onion powder, and ½ part paprika. For herbaceous notes, toss in 1 tablespoon minced rosemary or thyme during the final 30 seconds—heat releases oils without burning. Never add fresh garlic early; it scorches instantly.
Solve Soggy Fries in 60 Seconds
Soggy results? Your oil wasn’t hot enough or you overcrowded the pan. Cook in batches using the same oil—just let it reheat to 350°F between batches. Burnt outside but raw inside? Heat was too high; lower to medium and rely on par-cooking. Potatoes sticking? Ensure the pan is properly preheated before adding oil—cold metal guarantees adhesion. Uneven browning? Rotate the skillet periodically if your burner heats unevenly. For immediate rescue: transfer fries to a 400°F oven for 5 minutes to revive crispness.
Double-Cook for Next-Level Crunch
:max_bytes(150000):strip_icc()/__opt__aboutcom__coeus__resources__content_migration__serious_eats__aht.seriouseats.com__images__20100115-french-fries-opener-30e2084bb70142e3b1c7d411535d72b3.jpg)
This restaurant technique creates an impenetrable crispy shell. Par-cook potatoes, cool completely, then refrigerate up to 3 days. When ready, heat oil to 375°F and fry until golden. The cooled starch structure absorbs less oil while developing a thicker crust. Weekend hack: par-boil a big batch Sunday night. On busy mornings, cook straight from the fridge in 8 minutes for breakfast potatoes that outperform diner versions.
Transform Basic Fries into Signature Dishes
Upgrade your base recipe with chef-approved variations. For loaded home fries, top hot potatoes with shredded cheddar, crumbled bacon, and green onions—the residual heat melts everything perfectly. Breakfast hash lovers: add diced bell peppers and onions during the last 5 minutes, then crown with a runny-yolk egg. Craving Italian flair? Toss with 2 tablespoons grated Parmesan, 1 teaspoon minced garlic, and parsley right off the heat. Spicy version: dust with Cajun seasoning and serve with pickled jalapeños.
Store and Reheat Without Sacrificing Crispness
Home fries peak at 30 minutes—after that, crispness drops 50%. To store leftovers, cool completely, then refrigerate in an airtight container up to 4 days. Never microwave; it turns them rubbery. Revive like new: spread fries on a baking sheet and bake at 400°F for 8-10 minutes, or air fry at 375°F for 3-4 minutes shaking once. For meal prep: par-cook potatoes, freeze on a sheet pan, then transfer to bags. Cook frozen at 400°F for 15-20 minutes—no defrosting needed, and they’ll outcrisp refrigerated leftovers.
Perfect home fries hinge on controlling three invisible enemies: moisture, inconsistent heat, and poor timing. Master potato selection, starch management, and layered seasoning, and you’ll never serve soggy spuds again. Your breakfast plate just gained its most reliable star—ready in 20 minutes with minimal equipment. Now go claim your spot as the home fry hero your brunch crew deserves.


