
Imagine crushing your morning workout before the coffee even brews—no traffic, no crowded locker rooms, just pure focus in your personal fitness sanctuary. Creating a home gym isn’t about matching commercial facilities; it’s about building a space that fuels your unique fitness journey without draining your wallet. Whether you’re converting a corner of your garage or transforming a spare bedroom, this guide delivers actionable strategies to avoid costly mistakes and build a gym you’ll actually use. Forget cookie-cutter setups—we’ll show you exactly how to align every dollar and square foot with your real-world goals, from $500 starter kits to premium training studios.
The magic of a home gym lies in its perfect alignment with your lifestyle. Yet 68% of home gym owners abandon their equipment within 6 months because they bought blindly without matching gear to their actual goals. Don’t become a statistic. By the end of this guide, you’ll know precisely how to select equipment that drives results, optimize awkward spaces, and implement safety protocols most DIYers overlook. Let’s turn your fitness dreams into a reality you’ll use daily.
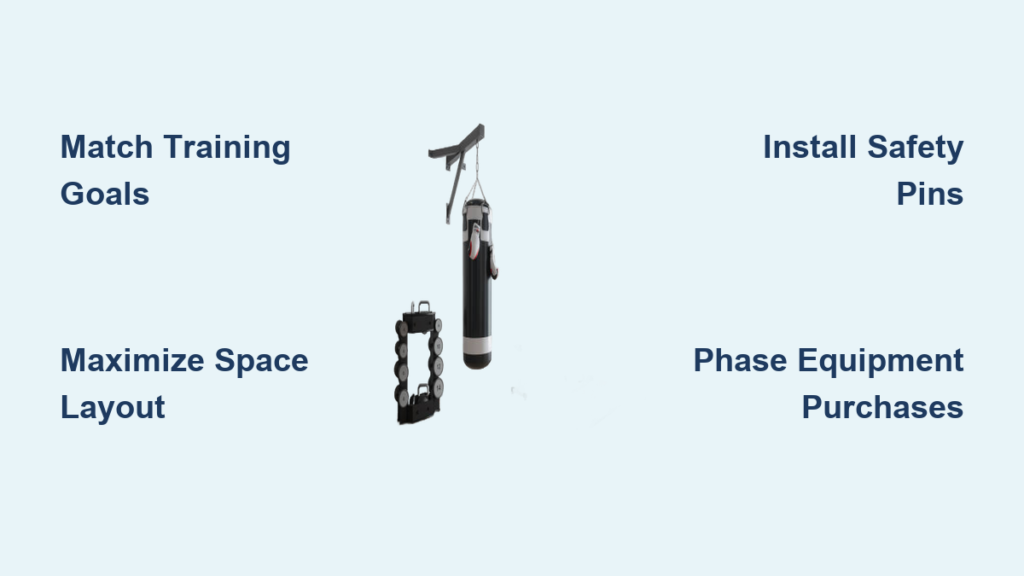
Match Equipment to Your Specific Fitness Mission

Your training focus dictates every decision—skip this step and you’ll waste money on gear that collects dust. Strength athletes need heavy barbells and racks, while weight loss seekers thrive with metabolic tools like kettlebells and air bikes.
Identify Your Primary Training Focus
Strength-focused training demands a power rack, Olympic barbell, and bumper plates for progressive overload. Weight loss programs prioritize space-efficient metabolic tools: a single 24kg kettlebell for swings burns 20 calories/minute, while an air bike delivers brutal calorie torching without eating floor space. Rehabilitation goals require resistance bands (13-54kg range) and foam rollers for controlled mobility work—never skip the hip circle bands for glute activation.
Critical mistake to avoid: Buying a treadmill for “general fitness” when your real goal is strength. Track progress with measurable targets: deadlift 2× bodyweight for strength, sub-25-minute 5K for endurance, or touching toes for mobility. Set these before spending a dime.
Maximize Awkward Spaces with Smart Layouts
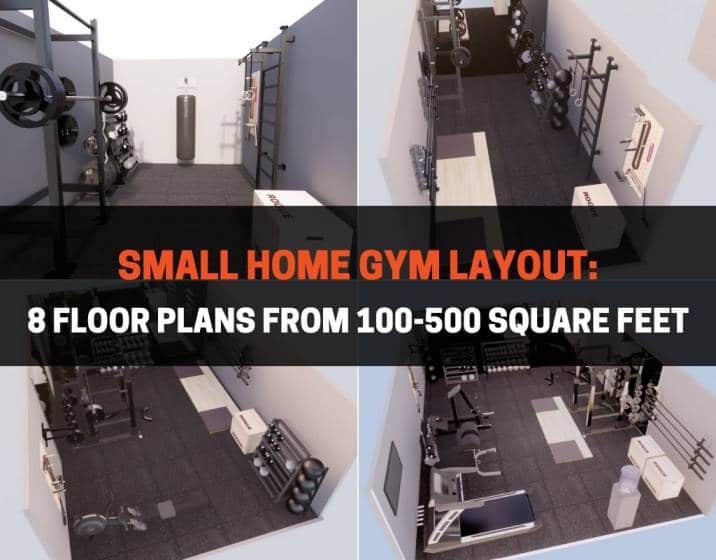
Most home gyms fail because owners underestimate space needs. That “spare corner” likely won’t fit Olympic lifts without proper clearance—learn these non-negotiables.
Calculate Your Exact Space Requirements
Free-weight zones need 2.5m × 2m minimum for safe barbell movement—measure twice using tape on your floor. Ceiling height is critical: 2.7m minimum for deadlifts, but 3.3m+ if you’ll do overhead presses or pull-ups. Test this now by swinging a broomstick overhead where you plan to lift. Cardio machines like the Concept2 rower (0.9m × 2.4m footprint) fit tighter spaces than treadmills, but ensure 1m clearance behind for full strokes.
Pro tip: Zone your space by activity, not equipment type. Place mirrors at the end of lifting zones (not sides) to check form without turning. Install 20-amp circuits every 2 meters—garage gyms need GFCI outlets to prevent electrocution during sweaty sessions.
Build Your Core Equipment Foundation
Skip gimmicks and focus on these proven essentials. Your Phase 1 setup ($1,200-$1,800) must deliver maximum versatility without clutter.
Power Rack and Barbell Non-Negotiables
The Rogue R-3 Power Rack (2.3m height, 1.2m × 1.2m footprint) is worth every penny—its Westside hole spacing accommodates all attachments. Never buy cheap barbells: Verify 205,000+ PSI tensile strength (avoid anything under 190,000 PSI—it will bend). Pair with 160kg of bumper plates (450mm diameter) for Olympic lifts—iron plates cause dangerous bounce. Safety must: Lock-Jaw Pro 2 collars that won’t slip during heavy sets.
Budget alternative: A DIY wooden rack (2×6 lumber) rated to 225kg costs under $200 but requires engineering precision—skip if unsure. Always position safety pins below your lowest lift position to catch failed reps.
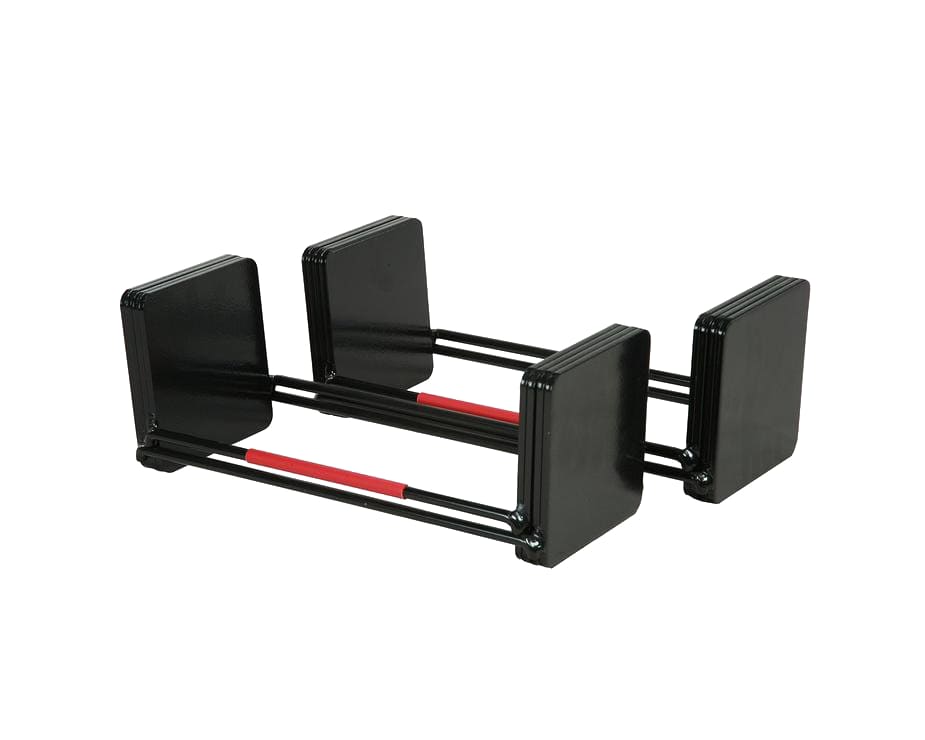
The Smart Dumbbell and Kettlebell Strategy
Start with a cast-iron kettlebell progression (8kg, 16kg, 24kg)—the 24kg handles swings, goblet squats, and Turkish get-ups. For dumbbells, PowerBlock Elite sets ($300) expand from 20kg to 41kg per hand, eliminating 15+ fixed pairs. Visual cue: Check for machined flat bases on kettlebells—wobbly bases ruin swing form. Store both on tiered wooden shelves at waist height for instant access.
Implement Safety Protocols Most DIYers Ignore
Home gyms cause 5,000+ ER visits yearly from preventable accidents. These non-negotiables keep you training.
Daily Safety Checklist
Before lifting, inspect barbell sleeves for cracks and collars for slippage—replace if threads feel loose. Clear 1m around your rack; a dropped plate can travel 3m. Verify safety pins are set below your lowest point (e.g., 10cm below parallel for squats). Critical warning: Never lift alone without spotter arms—70% of home bench press injuries happen without safeties.
Monthly Maintenance That Prevents Costly Damage
Tighten rack bolts with a torque wrench (follow manufacturer specs—usually 45 ft-lbs). Lubricate treadmill belts monthly with silicone spray—dry belts overheat and shred. In humid climates, wipe metal plates after use to prevent rust; store in mesh bags for airflow. Replace resistance bands immediately if fraying appears—snapped bands cause severe lacerations.
Avoid These 3 Costly Space Planning Errors
New builders consistently misjudge these elements, leading to abandoned gyms.
Ventilation and Noise Traps
Basement gyms need 250+ CFM exhaust fans—calculate yours: (length × width × height) × 8. Without this, humidity ruins equipment and stifles performance. Soundproofing fix: Place rubber mats under cardio machines and use ceiling baffles to absorb echo. Never install loud treadmills above living areas—opt for silent rowers or air bikes instead.
Lighting and Electrical Shortcuts
Shadows in lifting zones cause form breakdown—install LED strips along rack perimeters. Avoid daisy-chaining power strips; each major machine needs its own 20-amp circuit. Emergency hack: Keep a battery-powered lantern (like Goal Zero) mounted nearby for power outages during heavy lifts.
Phase Your Purchases for Long-Term Success
Build strategically over 12 months to avoid burnout and wasted cash.
Month 1-3: Foundation Essentials
Start with power rack, Olympic barbell, 160kg plates, and adjustable bench ($1,200-$1,800). Cover 2.5m × 2.5m with 4-6 rubber stall mats ($50 each). Skip cardio initially—use jump rope intervals for metabolic work. Progress tracker: Log your first deadlift max; aim for 5% monthly increases.
Month 4-8: Targeted Expansion
Add 24kg kettlebell, PowerBlock dumbbells, and pull-up attachments ($800-$1,500). Install vertical plate storage to reclaim floor space. Subscribe to Strong app for workout programming—this replaces costly personal training.
Maintain Your Investment for Years of Use
Preserve 50-70% resale value with these habits. Wipe equipment after every session with alcohol-based wipes—sweat corrodes metal in 72 hours. Store bars horizontally on wall racks to prevent bending. In winter, maintain 15-24°C; cold metal becomes brittle. For basement humidity, run a dehumidifier (target 40-60% RH) to prevent cable rust.
Creating a home gym isn’t about buying everything at once—it’s about building a space that evolves with you. Start with Phase 1 essentials that match your actual goals, implement these safety protocols, and watch your consistency skyrocket. Your perfect gym isn’t the biggest or most expensive—it’s the one where you show up daily. Grab your tape measure today, define your first strength milestone, and take the first step toward a fitter, more empowered you. The journey begins where your living space ends.


