

Your kitchen scraps and yard waste hold the secret to creating nutrient-rich soil that transforms struggling gardens into thriving ecosystems. Instead of sending these valuable materials to landfills where they generate harmful methane, you can turn them into black gold—compost that feeds plants, improves soil structure, and saves money on expensive fertilizers. Whether you’re a beginner wondering where to start or you’ve tried composting with mixed results, this guide walks you through every step from setup to harvest. You’ll learn exactly what materials to use, how to build and maintain your pile, and when your compost is ready to supercharge your garden’s productivity.
Choose Your Composting Method for Maximum Results

Hot Composting: Fast-Track Your Compost Production
Hot composting produces finished compost in just 1-3 months through active management. This method requires maintaining specific ratios of materials, regular turning, and temperature monitoring—but rewards you with maximum volume and pathogen-free compost. You’ll need a minimum 3′ x 3′ x 3′ pile to generate enough heat (130-160°F) to kill weed seeds and pathogens while accelerating decomposition.
Critical success factors: Maintain a 25-30:1 carbon-to-nitrogen ratio by using 2-3 parts brown materials (dry leaves, shredded cardboard) for every 1 part green materials (kitchen scraps, fresh grass clippings). Turn the pile every 3-5 days when the center temperature drops below 130°F.
Cold Composting: Low-Effort Garden Recycling
Cold composting works like nature’s recycling system—slow, steady, and hands-off. Simply pile yard waste and kitchen scraps in a corner of your yard, then wait 12-18 months for dark, crumbly compost. This method suits busy gardeners who prefer minimal maintenance over speed but won’t kill weed seeds or pathogens like hot composting does.
Best practices: Layer materials for better aeration, keep the pile moist like a wrung-out sponge, and avoid adding diseased plants or weeds that have gone to seed since they won’t be destroyed during decomposition.
Vermicomposting: Apartment-Friendly Composting Solution
Red wiggler worms transform kitchen scraps into premium compost right in your kitchen or apartment. This odor-free method produces nutrient-dense worm castings perfect for houseplants and container gardens. Set up requires a plastic bin with drainage holes, damp newspaper bedding, and about 1 pound of worms per pound of weekly scraps.
Pro tip: Keep your worm bin between 55-77°F and avoid citrus, onions, and spicy foods. Harvest worm castings every 2-3 months by moving finished material to one side and adding fresh scraps to the other—worms will migrate toward the new food.
Set Up Your Compost System for Success
Select the Perfect Location Within Your Garden
Position your compost pile where convenience meets function—within 50 feet of where you’ll use the compost, close to your garden beds but not blocking daily activities. Choose partial sunlight to maintain warmth without excessive drying, and ensure proximity to a water source for moisture management.
Critical location factors: Easy access from kitchen and garden, protection from strong winds, distance from property lines to prevent neighbor complaints, and level ground for stable structures.
Build or Buy Your Compost Container

DIY Wire Bin (30 minutes, $15-25): Form 10-12 feet of 36-inch wide wire fencing into a 3-foot diameter circle and secure with zip ties. This open design allows beneficial microbes from the soil to enter the pile.
Commercial Tumblers ($100-300): Sealed drums rotate for easy mixing, producing compost in 4-8 weeks. They’re pest-proof and space-efficient, making them ideal for small yards or urban settings where rodents might be a concern.
Three-Bin System ($50-100): Wood and wire construction processes materials continuously—fill first bin for 3-5 weeks, turn to middle bin for 4-7 weeks, finish in third bin. This system handles large volumes efficiently but requires more space.
Know Exactly What to Compost for Healthy Soil
Green Materials: Nitrogen Powerhouses for Active Decomposition
Fresh, wet materials fuel rapid microbial growth. Aim for 1 part greens to balance your carbon-rich browns. Top green sources include fresh grass clippings (use sparingly to prevent matting), fruit/vegetable scraps (chopped small for faster breakdown), coffee grounds (perfect for pH balance), and eggshells (crushed first to add calcium).
Measure wisely: A standard 5-gallon bucket holds approximately 2-3 pounds of kitchen scraps—use this as your reference when balancing materials.
Brown Materials: Carbon Structure for Optimal Aeration
Dry, carbon-rich materials provide energy for microbes and create air pockets essential for oxygen flow. You need 2-3 parts browns for every 1 part greens. Essential browns include dry leaves (shred with mower for 50% faster decomposition), shredded cardboard (remove tape first), straw (avoid hay containing weed seeds), and paper towel rolls (shred before adding).
Pro tip: Keep a storage container of shredded leaves or cardboard near your compost area to quickly balance moisture or nitrogen issues.
Never Add These Problem Materials to Your Pile
Certain items attract pests, create odors, or introduce diseases. Keep these out of your compost pile: meat, fish, and bones (attract raccoons and rodents), dairy products (create rancid odors), pet waste (contains pathogens harmful to humans), diseased plants (spreads problems throughout garden), black walnut leaves (contain juglone toxic to many plants), and chemically treated wood (introduces harmful chemicals).
Build Your First Pile Using Layering Techniques
Layering Technique That Works Every Time
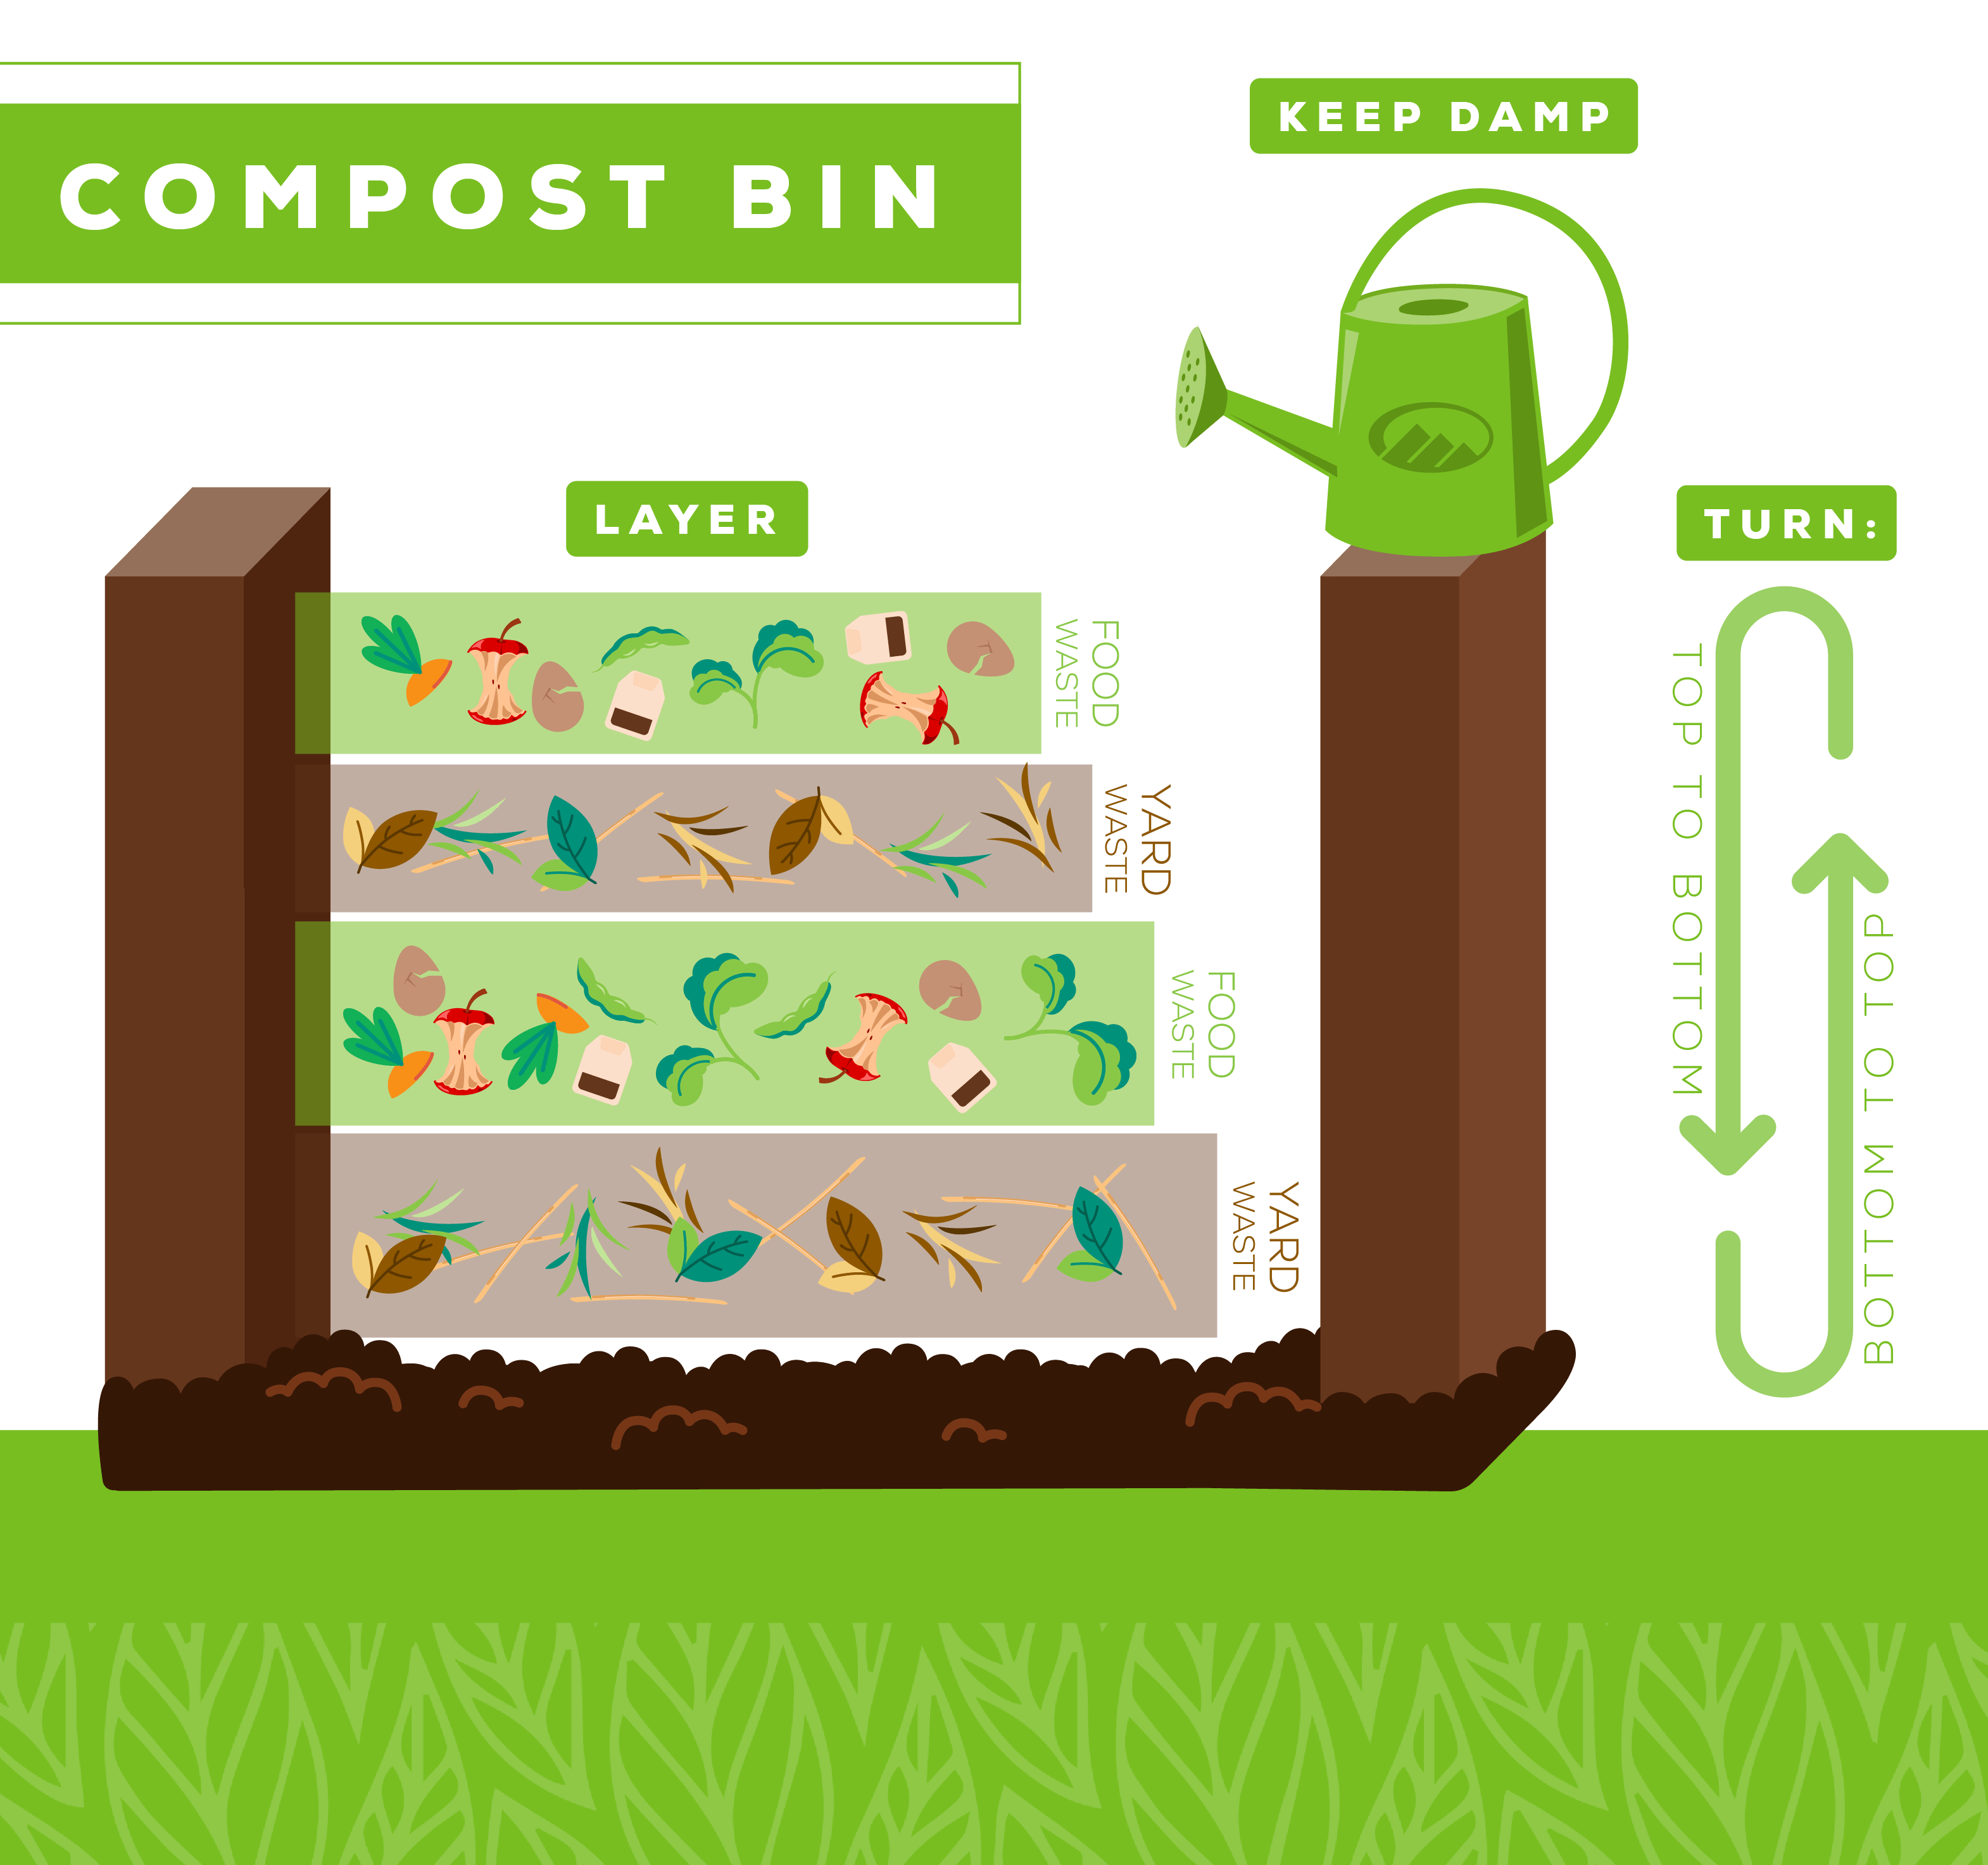
Start with a 6-inch base layer of twigs or wood chips for drainage, then add a 6-inch brown layer of shredded leaves or cardboard. Follow with a 2-inch green layer of kitchen scraps or grass clippings, then a 1-inch soil layer to introduce microbes. Repeat these layers until your pile reaches 3-5 feet high.
Critical step: Water each layer as you build—materials should feel like a wrung-out sponge, not dripping wet. Proper moisture (40-60%) ensures active decomposition without creating anaerobic conditions.
Material Preparation Secrets for Faster Results
Shredding materials doubles decomposition speed. Run leaves through a lawn mower, cut kitchen scraps into 1-inch pieces, and tear cardboard into 3-inch strips. Smaller pieces mean more surface area for microbes to work their magic. For grass clippings, allow them to dry for a day before adding to prevent matting.
Maintain Active Decomposition for Quality Compost
Turn Your Pile Like a Pro
Active composting requires regular turning to maintain oxygen levels and distribute heat. Use a pitchfork or compost aerator tool—avoid shovels, which compress materials. During the first 4 weeks, turn every 3-5 days when the center cools below 130°F. After that, weekly turning accelerates finishing.
Warning: If your pile smells like rotten eggs, turn it immediately—this indicates anaerobic conditions from lack of oxygen.
Temperature Tracking for Perfect Results
A $15 compost thermometer pays dividends. Active piles reach 130-160°F in the center—hot enough to kill weed seeds and pathogens. When temperature drops below 110°F, it’s time to turn. Finished compost matches air temperature and generates no heat when turned.
Troubleshoot Common Composting Problems
Fix Cold, Inactive Piles Fast
If your pile shows no heat generation and materials remain unchanged, add nitrogen by mixing in fresh grass clippings or 1 cup nitrogen fertilizer per cubic yard. Ensure your pile reaches the minimum 3′ x 3′ x 3′ size for proper heating. Check moisture levels—add water if materials feel dry or turn the pile and add coarse materials like wood chips for better aeration.
Stop Pest Invasions Before They Start
Prevent rodent problems by burying food scraps under 6 inches of brown materials, using enclosed bins with secure lids, and avoiding meat, dairy, and oily foods entirely. Install hardware cloth beneath bins to block burrowing rodents and clean up spilled materials immediately.
Harvest and Apply Finished Compost for Maximum Garden Impact
Know When Your Compost Is Ready
Finished compost transforms into dark, crumbly soil that smells earthy—not sour or ammonia-like. Original materials should be unrecognizable except for occasional eggshell fragments or woody pieces. The pile no longer heats when turned and temperature matches surrounding air.
Quick test: Squeeze a handful—it should hold together but crumble when poked, indicating perfect moisture content.
Apply Compost for Maximum Impact
Spread 2-3 inches over vegetable beds before planting and work into the top 6 inches of soil. For flower beds, top-dress perennials with 1/2-1 inch annually in spring. On lawns, apply 1/4-1/2 inch after core aeration. For container plants, replace 25% of potting mix with finished compost.
Critical timing: Apply in spring before planting, mid-season for heavy feeders, or fall to protect soil over winter. Never apply fresh compost directly to planting holes—let it cure 1-2 months to prevent nitrogen burn.
Your composting journey transforms waste into garden treasure. Start small, learn through observation, and adjust methods based on your space and time constraints. Within months, you’ll produce rich, dark compost that makes plants thrive while reducing your environmental footprint.


