
Your favorite sneakers are caked with dirt from weekend adventures, and that coffee spill has permanently stained your work loafers. Before you resign yourself to buying replacements or paying for professional cleaning, here’s what most people don’t know: you can restore nearly any pair to near-new condition using items already in your kitchen and bathroom. This comprehensive guide shows you exactly how to clean shoes at home safely and effectively—whether you’re dealing with delicate suede loafers, muddy running shoes, or yellowed white sneakers. You’ll learn material-specific techniques that prevent damage while delivering professional-level results without leaving your house.
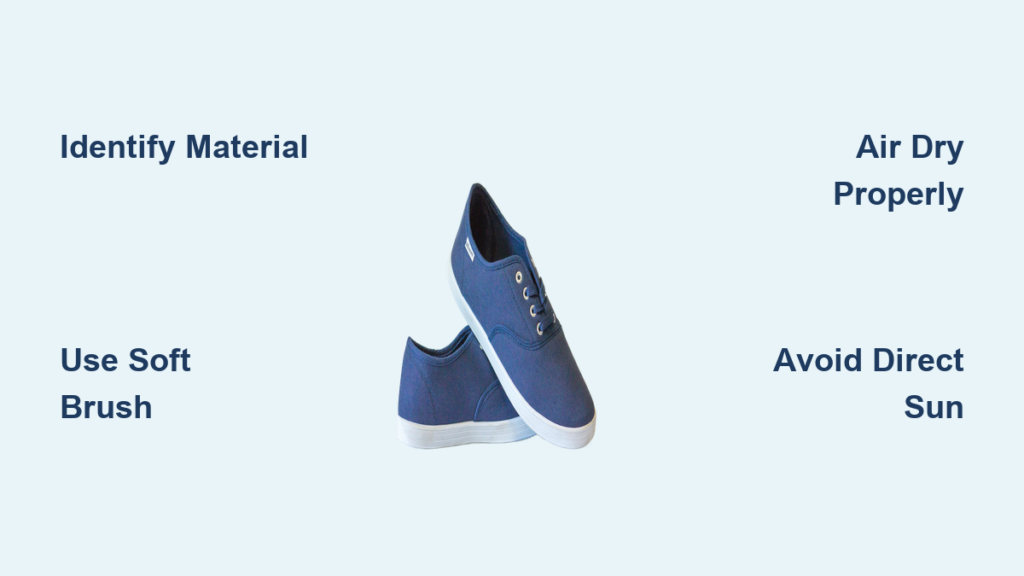
Identify Your Shoe Material Before Cleaning
Grab that dirty pair right now and examine them closely—this 30-second step prevents irreversible damage during cleaning. Different materials require completely different approaches, and using the wrong method can ruin your footwear permanently.
Leather: Look for a smooth surface with natural grain patterns that darkens slightly when you place a drop of water on it (the water will bead up briefly before being absorbed). Genuine leather needs conditioning after cleaning to prevent cracking.
Suede: This has a velvety, napped texture that feels soft when brushed in one direction but rough when brushed the opposite way. Water creates permanent dark spots on suede, so liquid cleaning is strictly off-limits.
Canvas: Check for visible woven fabric patterns similar to a tote bag. Most canvas shoes can handle more aggressive cleaning but yellow when dried in direct sunlight.
Mesh Athletic Shoes: These have breathable uppers with tiny ventilation holes. The foam padding underneath mesh is easily damaged by excessive moisture or harsh scrubbing.
Critical First Steps for Any Shoe Type
Remove laces immediately and soak them separately in warm soapy water—replace them if they’re frayed or heavily stained. Knock shoes together outside to dislodge loose dirt, then extract insoles and clean them with baking soda paste. Stuff shoes with white paper towels (newspaper ink transfers) to maintain shape and absorb moisture during cleaning.
Your Home Shoe Cleaning Toolkit: What You Actually Need

You don’t need expensive specialty products to clean shoes at home effectively. Most necessary supplies are already in your cabinets, with just a few affordable additions worth keeping on hand.
Essential Household Items
- Soft-bristled toothbrush: Perfect for scrubbing without scratching delicate surfaces
- Microfiber cloths (3-4): Use separate cloths for applying solution, rinsing, and drying
- Dawn dish soap: Cuts through grease on rubber soles more effectively than shoe-specific cleaners
- Baking soda: Eliminates odors and lifts stains naturally without harsh chemicals
- White vinegar: Disinfects and deodorizes all materials when diluted 50/50 with water
- Magic Eraser: Restores yellowed rubber midsoles to bright white with minimal effort
Smart Additions for Frequent Cleaning
- Leather conditioner (Bick 4 works on all colors without darkening)
- Suede brush with brass bristles for texture restoration
- Waterproofing spray specific to your most-worn shoe material
- Cedar shoe trees to maintain shape and absorb moisture between wears
Revive Canvas Sneakers Without Yellowing

Canvas shoes absorb everything from grass stains to coffee spills, but improper cleaning causes yellowing that looks worse than the original dirt. Here’s how to refresh them completely while preserving their bright appearance.
Create your cleaning solution: Mix equal parts mild detergent and warm water in a bowl. Remove laces and soak them separately in the same solution for 20 minutes.
Scrubbing technique: Dip your soft brush in the solution and work in small circular motions across the canvas surface. Focus extra attention on stained areas, but rinse the brush frequently in clean water to avoid redistributing dirt. For stubborn marks, apply a baking soda paste (3 parts baking soda to 1 part water) and let sit 30 minutes before scrubbing.
Drying properly: Wipe away soap residue with a clean, damp cloth. Stuff shoes with fresh paper towels and air dry away from direct sunlight—which causes yellowing. Replace paper every 3-4 hours during the 12-18 hour drying process for best results.
Leather Shoe Cleaning That Prevents Cracking
Leather requires careful cleaning to avoid drying out and cracking. Most people make the mistake of using too much water or harsh soaps that strip natural oils.
Smooth Leather Restoration Process
Step 1: Wipe surface dirt with a slightly damp microfiber cloth (never soaking wet)
Step 2: Apply leather cleaner using small circular motions with a soft cloth
Step 3: For scuffs, dab leather conditioner or a tiny amount of petroleum jelly
Step 4: Buff with a dry microfiber cloth to restore natural shine
Critical rule: Never saturate leather shoes—excess water causes permanent damage. Condition leather quarterly to maintain flexibility and prevent cracking. Test any cleaner on an inconspicuous area first.
Patent Leather Quick Fix
Patent leather shows every fingerprint and scuff. Clean with a damp cloth and mild soap solution, then use petroleum jelly on a cotton ball to restore high-gloss finish and remove minor scuffs. Buff gently with a soft, dry cloth for mirror-like shine. Store in dust bags to prevent scratches.
Suede Cleaning Without Water Damage
Suede requires completely dry cleaning methods—water creates permanent dark spots and texture changes that ruin the material.
Brush technique: Use a suede brush in one direction only to restore the nap (the fuzzy texture). For scuffs, gently rub a suede eraser or clean pencil eraser over affected areas.
Oil stain emergency response: Sprinkle cornstarch on fresh oil stains immediately. Let absorb overnight, then brush away powder with your suede brush—the cornstarch lifts oil without liquid damage.
Steam revival method: Hold shoe 6 inches above steam from boiling kettle for 3-5 seconds. Immediately brush with suede brush—the steam raises flattened nap without saturation. Never use regular leather cleaners on suede.
White Shoe Whitening That Actually Works

White shoes yellow over time due to oxidation, but you can reverse this naturally without harsh chemicals.
Create whitening paste: Mix 1 tablespoon baking soda, ½ tablespoon hydrogen peroxide, and ½ tablespoon warm water until it resembles toothpaste.
Application process: Apply paste to rubber areas using an old toothbrush. Let sit 30 minutes until paste dries completely. Scrub gently and rinse thoroughly. For canvas areas, test paste on an inconspicuous spot first and apply sparingly to avoid over-whitening.
Pro tip: Dry cleaned white shoes in indirect sunlight for natural bleaching effect—direct sun causes yellowing, but filtered light brightens white materials.
When Machine Washing Shoes Is Safe (and When It’s Not)
Shoes You Can Machine Wash
- Canvas sneakers
- Most athletic shoes (without leather components)
- Rubber rain boots
Preparation: Remove laces and insoles. Place shoes in a mesh laundry bag or pillowcase. Add 4-6 towels to balance the load and reduce banging during the spin cycle.
Settings: Use gentle cycle with cold water and minimal detergent. Air dry only—dryers damage glue and warp shoe structure.
Never machine wash: Leather, suede, vintage shoes, or anything with glued embellishments.
Stain-Specific Shoe Cleaning Formulas That Work
Different stains require different approaches—using the wrong method sets stains permanently.
- Grass stains: Equal parts white vinegar and water, blot don’t rub (hot water sets chlorophyll)
- Mud stains: Let dry completely, then brush off excess before cleaning
- Grease stains: Cornstarch application within 5 minutes prevents permanent stains
- Ink stains: Rubbing alcohol on cotton swab, work from outside edges inward
- Blood stains: Cold salt water only—hot water sets protein stains permanently
Proper Shoe Drying: Why Timing Matters More Than Heat
Improper drying causes more shoe damage than incorrect cleaning. Most people rush drying with heat sources that crack leather and yellow whites.
Paper method: Stuff with white paper towels and change every 3-4 hours during initial drying. Position in well-ventilated area at room temperature.
Never do this: Avoid hair dryers, radiators, or direct sunlight—all cause cracking, yellowing, or sole separation.
Drying time expectations: Leather takes 24-48 hours; canvas needs 12-18 hours; athletic shoes dry in 8-12 hours with good air circulation.
Maintenance Habits That Extend Your Shoes’ Lifespan
Daily care prevents the need for deep cleaning and dramatically extends shoe life.
Daily habit: Quick brush after each wear prevents dirt buildup. Takes 30 seconds but saves hours later.
Weekly routine: Rotate shoes daily to allow complete drying between wears. Use shoe trees for leather—they maintain shape and absorb moisture.
Monthly protection: Apply water/stain protector appropriate for material type. This creates a barrier against future stains and reduces cleaning frequency.
Clean shoes at home saves money while extending footwear life dramatically. With these methods, most shoes look significantly better after just one thorough cleaning. Set a calendar reminder every 3-4 months for deep cleaning your most-worn pairs—your shoes (and wallet) will thank you. The key is matching your cleaning approach to your specific shoe material, as one-size-fits-all methods cause more damage than dirt ever could.


