
Nothing makes a home feel instantly refreshed like clean, vibrant carpet. But when spills, pet accidents, or everyday dirt take their toll, many homeowners immediately call professionals—spending hundreds they might not have budgeted. Learning how to clean carpet at home properly can deliver professional-level results while saving you significant money. This guide reveals the exact methods, tools, and timing you need to transform dingy carpets into spotless surfaces that look freshly installed. Whether you’re dealing with wine spills, muddy footprints, or just general wear, you’ll discover how to tackle any carpet challenge with confidence.
Most homeowners make critical mistakes that actually worsen stains or damage carpet fibers. Rubbing spills instead of blotting, using the wrong cleaning solutions for their carpet type, or rushing the drying process can create permanent damage. By following the scientifically-proven methods outlined here, you’ll avoid these pitfalls and achieve results that rival professional services. You’ll learn how to identify your specific carpet fiber type, select the perfect cleaning solution for each stain, and execute deep cleaning techniques that extract soil from the deepest layers of your carpet.
Identify Your Carpet Fiber Type Before Cleaning to Avoid Damage
Your carpet’s material determines which cleaning methods and solutions are safe to use. Nylon carpets (the most common type) handle most cleaning solutions well but can develop static. Polyester resists stains naturally but may flatten under aggressive cleaning. Wool requires pH-neutral cleaners to prevent felting and shrinkage. Olefin (polypropylene) repels water-based stains but attracts oil-based ones. Triexta offers excellent stain resistance but needs gentle cleaning methods.
Measuring your carpet area is crucial before starting. Calculate square footage by multiplying room length by width. This determines how much cleaning solution you’ll need—most products specify coverage (typically 1 gallon per 200-300 square feet). Don’t skip the pre-vacuuming step: use slow, overlapping passes in multiple directions to lift fibers and extract maximum dry soil. This prevents grinding dirt deeper during wet cleaning.
Why Testing Cleaning Solutions in Hidden Areas Saves Your Carpet
Always test any new cleaning solution in an inconspicuous area first. Apply a small amount, wait 5 minutes, then blot with a white cloth. Check for:
– Color bleeding or fading
– Texture changes (stiffness or matting)
– Residue that attracts more dirt
This simple step prevents costly mistakes. For example, vinegar solutions can damage wool carpets despite being safe for synthetics. Even “safe” solutions may react differently with certain dyes or previous treatments.
Must-Have Tools for Effective Home Carpet Cleaning

Skip the guesswork with these essential tools that make home carpet cleaning efficient and effective. For vacuuming, choose an upright model with adjustable height settings for deep wall-to-wall cleaning, or a canister vacuum for stairs and tight spaces. A wet/dry vacuum is non-negotiable for water extraction after deep cleaning—regular vacuums can’t handle moisture and risk electrical damage.
Your cleaning solution arsenal should include:
– Enzyme cleaner for organic stains (pet accidents, food spills)
– Oxygen bleach for safe brightening without color damage
– Solvent cleaner for grease and oil-based stains
– pH-neutral detergent for general cleaning
– Homemade vinegar-water solution (1:1) for deodorizing
Application Tools That Make the Difference Between Good and Great Results
Professional results depend on proper application tools. A stiff-bristled carpet brush agitates solutions deep into fibers without damage. Microfiber cloths outperform paper towels for blotting—reusing them saves money while providing superior absorption. For deep cleaning, rent a steam cleaner ($25-50/day) that injects hot water (150-200°F) with cleaning solution, then extracts both along with dissolved soil.
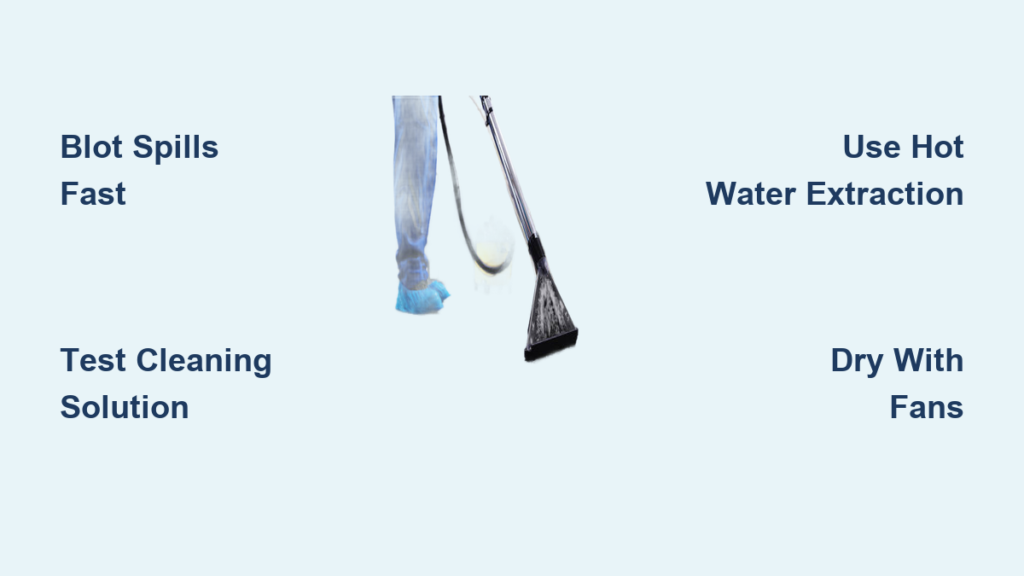
Immediate Spill Response Protocol That Prevents Permanent Stains
Time is your most critical factor when dealing with carpet spills. Act within 60 seconds for the best chance of complete removal. Never rub—this spreads the stain and damages fibers. Instead, use the “blot and press” technique: place clean white cloths over the spill and apply firm pressure, working from outside toward center. Replace cloths frequently as they absorb the spill.
For liquid spills, use your body weight effectively: stand on the cloth-covered spill for 30 seconds to maximize absorption. Solid spills require gentle lifting with a spoon or dull knife before treating residue. The “stand and step” method works wonders for large liquid spills—you’ll be amazed at how much liquid your body weight can extract.
Specific Stain Removal Methods That Actually Work
Fresh food/beverage spills: Blot excess, saturate with enzyme cleaner, cover with damp white towel for 12-24 hours, then blot and rinse. For set stains, rehydrate first with warm water.
Oil-based stains (grease, makeup): Apply dry-cleaning solvent to cloth, blot gently from edge toward center, allow 2-3 minutes, continue blotting with clean sections, then apply mild detergent solution.
Pet urine: Locate all spots with UV black light, blot immediately, saturate with enzymatic pet urine remover, cover with plastic wrap for 24-48 hours, then blot excess and air dry completely.
Deep Cleaning Your Entire Carpet Like a Pro
Hot water extraction delivers the deepest clean for home use. Start by pre-vacuuming thoroughly, then pre-treat heavily soiled areas. Apply cleaning solution with 10-15 minute dwell time before cleaning. Work systematically in 3×3 foot sections using overlapping passes—rushing creates streaks and missed spots. Extract multiple times to minimize moisture retention; walking on damp carpet grinds dirt deeper.
For immediate use areas, try dry cleaning alternatives. Absorbent compound cleaning uses cellulose-based powder worked into carpet with a counter-rotating brush, vacuumed after 30-60 minutes. Encapsulation cleaning applies polymer solution that crystallizes around soil particles, vacuumed away after drying. Both methods allow foot traffic within an hour.
Traffic Lane Restoration for High-Wear Areas
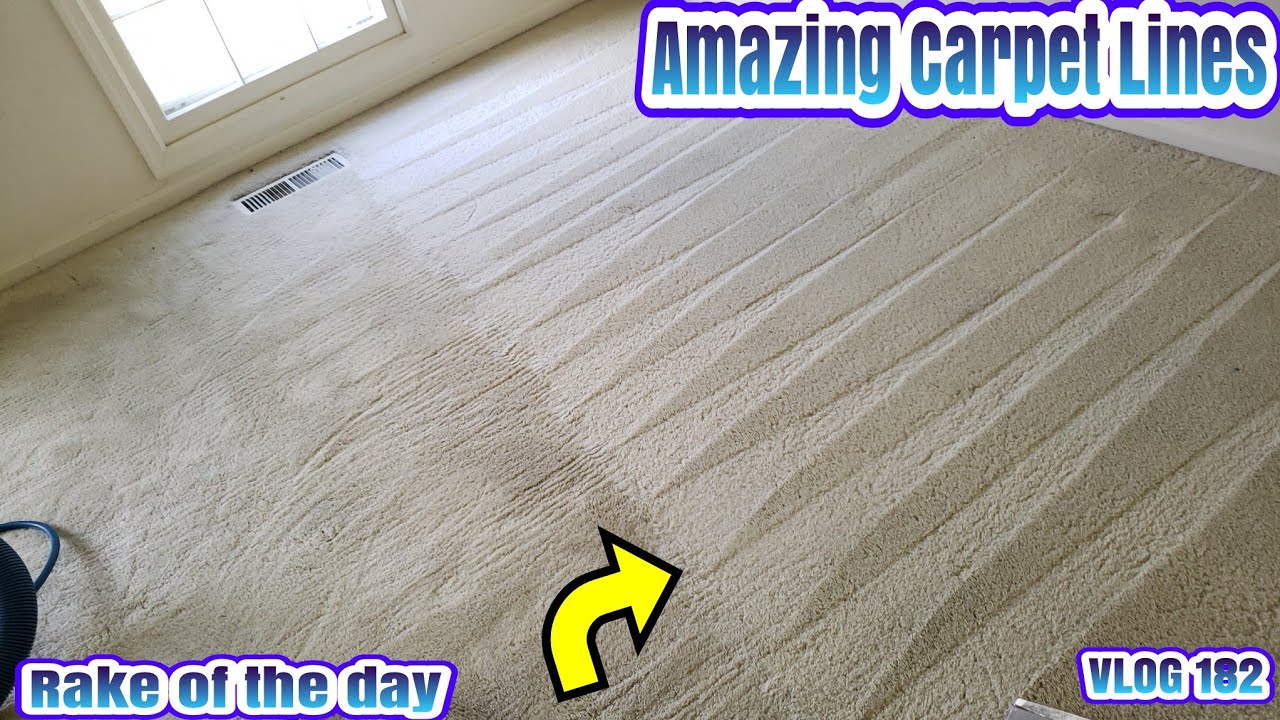
Matted, darker traffic lanes reveal where your carpet needs special attention. Pre-spray with traffic lane cleaner (pH 9-10), agitate using a carpet brush or grooming rake, allow 10-15 minute dwell time, then extract using hot water method. Finish by applying carpet protector to resist future soiling in these high-wear zones.
Accelerate Drying Time Without Causing Mold
Proper drying prevents mold and allows quick room return. Position fans for cross-ventilation—place them at opposite ends of the room blowing toward each other. Use dehumidifiers in enclosed spaces or humid conditions. Run air conditioning to reduce humidity and speed evaporation. Elevate furniture on foam blocks to prevent wood stain transfer.
Most carpets dry within 6-12 hours with proper ventilation. Thick padding or humid conditions may require 24 hours—never walk on damp carpet. Check dryness by pressing your palm firmly on the carpet; if it feels cool or damp, it needs more drying time.
Prevent Future Stains With These Maintenance Habits
Establish a vacuuming schedule based on your household’s activity level. High-traffic homes with pets or children need daily vacuuming using slow, deliberate passes in multiple directions. Medium-traffic areas require 2-3 weekly sessions, while guest rooms can manage weekly attention.
Implement preventive measures that extend time between deep cleanings:
– Place double doormats at all entrances (outside and inside)
– Enforce a no-shoes policy indoors
– Rotate furniture placement quarterly
– Use carpet runners in hallways
– Apply carpet protector annually, especially on light-colored carpets
When to DIY vs. Call Professionals
DIY cleaning pays off for most households. Equipment purchase costs $150-400, or rent for $25-50/day plus solution costs. Time investment is 3-6 hours for an average home, with a learning curve of 2-3 attempts to master technique. You’ll save $75-200 per cleaning compared to professional services.
Call professionals when:
– You have wool or specialty fiber carpets
– Facing extensive pet urine contamination requiring padding replacement
– Dealing with flood damage or sewage exposure
– Previous DIY attempts caused color bleeding or texture changes
Clean carpet at home successfully requires matching the right method to your specific situation. Start with regular maintenance and immediate spot cleaning to prevent major issues. When deep cleaning becomes necessary, choose between DIY methods based on your time, budget, and carpet condition. Remember: the best cleaning schedule prevents problems rather than reacting to them—implement these techniques consistently, and your carpets will stay fresh-looking for years.


