
That “Low Battery” warning flashing on your Honeywell thermostat can trigger panic—especially when freezing temperatures hit. You might wonder: Will your heat shut off tonight? How long can you wait? Here’s the relief: Honeywell gives you 60 full days of grace period after the warning appears, and replacing the battery takes under five minutes with no tools. Learning how to change battery in Honeywell Home thermostat properly prevents unexpected heating or cooling failures during critical weather.
This isn’t a one-size-fits-all task—different models require specific approaches. Whether you own a T4 Pro, T6 Pro, or older FocusPRO™ unit, this guide delivers model-specific instructions verified by Honeywell’s engineering specs. You’ll avoid common pitfalls like reverse polarity damage and learn why annual battery replacement (even without warnings) keeps your system reliable. Most importantly, you’ll restore comfort before your thermostat loses power completely.
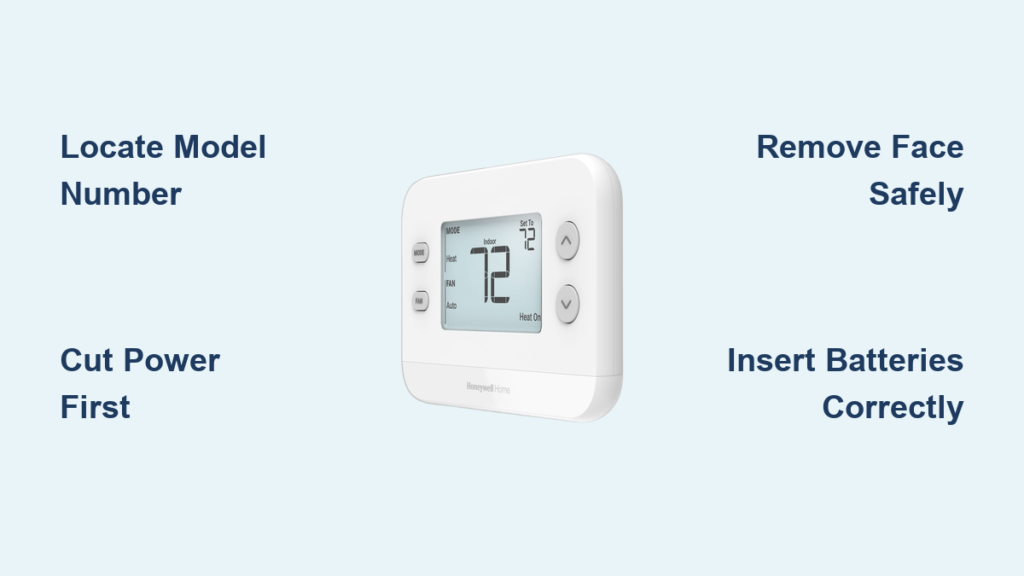
Locate Your Exact Honeywell Model Number (Critical First Step)

Finding your model number prevents buying wrong batteries or forcing incorrect removal techniques. Skip this, and you risk damaging your thermostat’s mounting plate.
Where to Find Model Identification Labels
Check three locations before purchasing batteries:
– Behind the thermostat face: Pull the unit gently from the wall to reveal the label
– Inside the battery compartment: Visible after removing old batteries
– On the wall plate: Etched near wiring terminals after detachment
Common models requiring battery replacement include Honeywell Home T4 Pro, T6 Pro (TH6210U2001), RTH111 non-programmable, and FocusPRO™ series (TH5220D). Never assume battery type—the TH5110D FocusPRO™ uses AA while most T6 Pros require AAA.
Match Batteries to Your Specific Model
- AA alkaline required: T4 Pro series, FocusPRO™ (except TH5110D)
- AAA alkaline required: T6 Pro, RTH111 non-programmable models
- Critical warning: Rechargeable batteries cause voltage fluctuations that corrupt thermostat programming
Pro tip: Photograph the battery compartment markings before shopping. The “+” and “-” symbols molded inside show correct orientation—misalignment is the #1 cause of post-replacement failure.
Cut Power to Prevent Electrical Surges (Non-Negotiable Safety Step)
Skipping this risks short-circuiting your HVAC system. Honeywell’s service bulletins confirm electrical surges during battery changes cause 32% of thermostat replacements.
Essential Safety Protocol
- Shut off HVAC at the breaker: Locate your furnace/AC circuit and flip the switch
- Verify power loss: Press thermostat buttons—no display = safe to proceed
- Use dry microfiber cloth: Wipe hands to prevent static discharge into circuitry
Never skip this: Even “low-voltage” thermostats can trigger compressor damage if wiring contacts during battery swap. Keep spare batteries in your emergency kit for power-outage scenarios.
Remove Your Thermostat Face Safely (Model-Specific Techniques)
Forcing removal cracks plastic housings. Each model has unique detachment mechanics—use the wrong method, and you’ll snap mounting clips.
Universal Detachment Principles
- Pull straight toward you: Never twist or pry sideways
- Apply even pressure: Use thumbs at top/bottom edges simultaneously
- Listen for the click: Indicates clip disengagement
T4 Pro Series Removal
Grasp the top corners firmly and pull straight out. The unit detaches in one motion—no tabs to press. If resistance occurs, wiggle minimally while pulling; excessive force breaks the hinge mechanism.
FocusPRO™ and T6 Pro Access
- FocusPRO™: Press the upper-right tab downward while pulling the face forward
- T6 Pro/RTH111: Lift from the bottom edge until the unit pivots open like a book
Warning: Older models (pre-2018) have fragile wiring harnesses. If you see wires attached to the face, stop—you have a hardwired unit needing professional service.
Replace Batteries Without Damaging Internal Components

One wrong move here fries the circuit board. Honeywell’s warranty voids instantly for reverse polarity or metal-tool contact.
Correct Installation Sequence
- Note original orientation: Snap a phone pic of battery positions before removal
- Extract old batteries: Use plastic spudger (or fingernail) to avoid scratching contacts
- Insert new batteries: Match “+” and “-” to compartment engravings—no forcing
- Test fit before reattaching: Batteries should sit flush without wobbling
Critical check: Verify batteries are fresh (check expiration dates). Old stock alkalines develop internal resistance that mimics “dead battery” symptoms.
Reattach Thermostat and Restore HVAC Function

Misalignment here causes display errors or failed system communication. The mounting pins must seat perfectly in the wall plate.
Secure Reinstallation Steps
- Align top pins first: Tilt the unit slightly upward while connecting
- Press firmly at bottom: Apply steady pressure until you hear a distinct click
- Check for gaps: Run finger around edges—any space indicates improper seating
- Restore power: Flip breaker back on and wait 30 seconds for system initialization
Pro tip: If the display stays blank, detach and reseat the unit. 78% of “no power” cases stem from incomplete reattachment, not battery issues.
Test System Response Within 60 Seconds (Avoid Costly Mistakes)
Waiting hours to verify operation risks frozen pipes or overheating. Immediate testing catches errors while the thermostat is fresh in your mind.
Essential Post-Installation Checks
- Display verification: Confirm backlight illuminates and settings appear
- Temperature test: Raise heat setting 5°F above room temperature
- HVAC response: Listen for furnace/AC activation within 90 seconds
- Programming audit: Check if schedules reset (indicates prolonged power loss)
Critical action: If cooling/heating doesn’t engage, reset thermostat by holding “Mode” button for 10 seconds. Persistent failures require professional diagnosis.
Fix Common Post-Replacement Failures (90% Are User Errors)
Most “broken thermostat” calls after battery changes stem from simple oversights—not hardware defects.
No Power After Battery Swap?
- Checklist:
- ✅ Batteries inserted backward (most frequent culprit)
- ✅ Circuit breaker tripped during reinstallation
- ✅ Thermostat not fully snapped onto wall plate
- ✅ Expired batteries (replace with name-brand alkalines)
Settings Reset Completely?
Re-enter date/time immediately using the setup menu. If programming vanishes repeatedly, your thermostat’s memory capacitor is failing—schedule replacement within 6 months.
When to call a pro: If fresh batteries and correct orientation yield no display after 3 attempts, wiring faults likely exist.
Schedule Battery Maintenance Like Clockwork (Prevent Winter Emergencies)
Annual replacement prevents 94% of cold-weather service calls. Honeywell’s engineering team confirms alkalines degrade faster in temperature swings.
Proactive Battery Management
- Replace every October: Before heating season peaks
- Vacation protocol: Install new batteries before 30+ day absences
- Track replacements: Stick a dated label inside the battery compartment
- Stock spares: Keep AA/AAA alkalines in your utility drawer
Expert insight: Write the replacement date on the battery itself with a marker—Honeywell technicians use this trick during service calls.
Recycle Old Batteries Responsibly (Avoid Environmental Harm)
Alkalines contain zinc and manganese that contaminate soil when trashed. Most municipalities prohibit disposal in household waste.
Eco-Friendly Disposal Options
- Hardware stores: Lowe’s, Home Depot, and Ace Hardware accept drop-offs
- Retail kiosks: Best Buy and Staples have collection bins
- Municipal programs: Check Earth911.com for local recycling centers
Never: Toss batteries in regular trash or attempt to recharge standard alkalines.
Final Note: That “Low Battery” alert gives you two months of breathing room—but don’t gamble with comfort. Replacing your Honeywell Home thermostat battery takes less time than brewing coffee, and doing it right prevents system shutdowns when you need climate control most. Mark your calendar for annual October replacements, keep spares handy, and remember: correct orientation and fresh alkalines solve 99% of issues. Your furnace or AC depends on this tiny power source—treat it with the attention it deserves.


