
That quarterly lab appointment looms on your calendar again. You’re managing diabetes or monitoring your prediabetes risk, but the time, cost, and hassle of lab visits add up. What if you could get reliable A1C results from your kitchen table—no lab coat required?
Good news: calculating your A1C at home isn’t just possible; it’s become remarkably accurate and accessible. From FDA-approved test kits to smartphone apps and mathematical formulas, multiple methods now exist to track this crucial 3-month average without leaving home. This guide walks you through each approach, helping you choose the best method for your needs while ensuring accuracy that rivals lab testing.
Choosing the Right FDA-Approved A1C Home Test Kit
Compare These 4 Top-Rated Test Systems
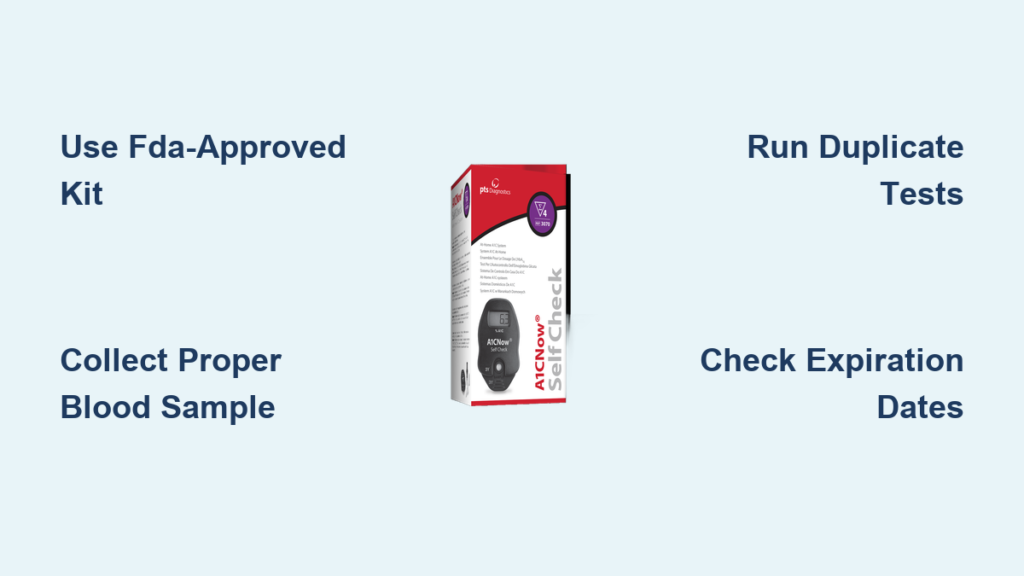
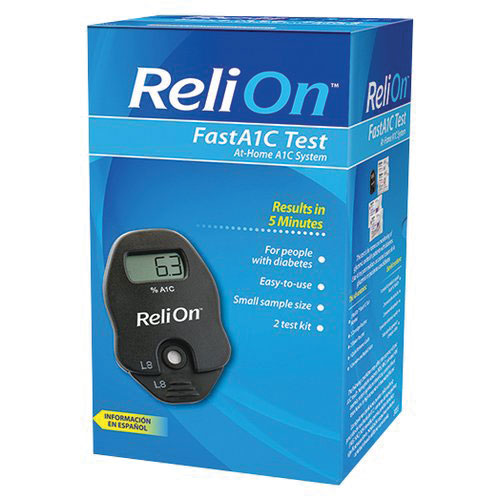
When selecting an at-home A1C test kit, focus on these four FDA-approved options that deliver laboratory-grade accuracy. The PTS Diagnostics A1CNow SelfCheck leads in precision with its electronic reader system, available in 2-test ($28) and 4-test ($50) packages. ReliOn A1C Test System at Walmart offers the most budget-friendly option at $20-25 per test without sacrificing reliability. CVS Health and Walgreens brand kits provide identical performance to ReliOn at slightly higher prices ($25-32 per test).
Each kit contains everything you need: single-use test cartridges, lancing device with sterile lancets, collection tubes, alcohol swabs, and detailed instructions. The electronic readers eliminate color-matching errors, displaying exact percentages within 5-10 minutes—critical for accurate diabetes management between doctor visits.
Perfect Your Home Testing Technique in 4 Steps
Wash and warm your hands thoroughly before testing—this increases blood flow significantly and ensures an adequate sample. Avoid using cold water or alcohol swabs immediately before lancing, as these constrict blood vessels.
Collect the ideal blood sample by targeting the side of your fingertip (not the center) with the lancing device set to medium depth. You need precisely 4-5 microliters of blood—about the size of a small grain of rice. Never squeeze excessively, as this dilutes your sample with interstitial fluid and skews results.
Apply blood correctly to the test cartridge within 30 seconds of collection. Most systems have a specific application spot—touch the blood drop to this area without smearing. Wait the full processing time (5-10 minutes) before reading results.
Record your exact percentage immediately after testing. Note the date, time, and any unusual factors like recent illness or inconsistent eating patterns that might affect interpretation.
Maximize Accuracy with These Pro Testing Tips
Home A1C tests must meet strict FDA standards: ±0.4% accuracy for values below 8.5%, and ±5% for higher values. Real-world results typically vary by just ±0.5% from lab testing when you follow these expert protocols.
Always check expiration dates—using expired components is the #1 cause of inaccurate home A1C results. Store unopened kits at room temperature away from direct sunlight, and never expose them to temperatures above 86°F.
Run duplicate tests when establishing your baseline. If results differ by more than 0.3%, use the average of both tests or retest with a new kit. This eliminates random errors and gives you confidence in your readings.
Calculate A1C from Fingerstick Readings Using These Formulas

The Standard A1C Conversion Formula That Works
You can estimate your A1C using this clinically validated formula: A1C = (Average glucose in mg/dL + 46.7) ÷ 28.7. For example, if your average glucose is 150 mg/dL: (150 + 46.7) ÷ 28.7 = 6.85%.
For mmol/L measurements, use: A1C = (Average glucose × 1.59) + 2.59. If your average is 8.3 mmol/L: (8.3 × 1.59) + 2.59 = 15.797, which rounds to 6.8%.
Collect Data Like a Diabetes Specialist
To get meaningful results, you’ll need at least 14 days of consistent testing, but 30 days provides optimal accuracy. Collect 3-4 fingerstick readings daily minimum—aim for fasting, pre-meal, and bedtime measurements.
For professional-grade estimation, track 7 readings daily for 30 days: before each meal, 2 hours after each meal, and at bedtime. Document everything in a spreadsheet with columns for date, time, reading, and notes about meals, exercise, or stress.
Critical tip: Don’t test at the same time each day—this creates blind spots in your data. Vary your testing times to capture your full glucose pattern.
Improve Accuracy with Weighted Averages
Simple averages often underestimate true A1C by 0.2-0.4% due to glucose variability. Weight your readings by giving fasting and pre-meal values 1.5x importance compared to post-meal readings.
If your glucose swings widely (high standard deviation), add 0.2-0.4% to your calculated A1C. This adjustment accounts for the fact that higher variability typically corresponds to higher actual A1C than the simple average suggests.
Get Instant A1C Estimates Using Your CGM Data

Understand Your Glucose Management Indicator (GMI)
If you use a continuous glucose monitor, your device likely displays GMI (Glucose Management Indicator)—a direct A1C estimation based on your sensor data. This method uses 14-90 days of CGM readings, making it more reliable than fingerstick-based calculations.
For accurate GMI, ensure your sensor is properly calibrated and you’ve collected at least 70% of possible data. Missing significant data chunks (like overnight gaps) skews the calculation—aim for 80%+ data completeness.
Translate Time-in-Range to A1C Values
Strong correlations exist between time-in-range percentages and A1C levels. 70% time-in-range (70-180 mg/dL) typically corresponds to an A1C of 7.0%. Each 10% increase in time-in-range generally lowers your A1C by 0.5-0.8%.
Use this quick reference:
– 90% time-in-range ≈ A1C 6.0%
– 80% time-in-range ≈ A1C 6.5%
– 70% time-in-range ≈ A1C 7.0%
– 60% time-in-range ≈ A1C 7.5%
Decode Your Home A1C Results Correctly
Interpret Your Numbers with These Guidelines
- Normal: Below 5.7% (healthy blood sugar control)
- Prediabetes: 5.7% to 6.4% (increased diabetes risk)
- Diabetes: 6.5% or higher (requires medical management)
- Well-controlled diabetes: Below 7.0% (individual targets vary)
Warning: Never diagnose yourself based solely on home testing. Any home A1C of 6.5% or higher requires laboratory confirmation before making treatment decisions.
Identify Hidden Factors That Skew Results
Anemia can falsely lower A1C by 0.5-1.0% because it reduces red blood cell count. Hemoglobin variants like sickle cell trait affect certain test methods—ask your doctor if you’re unsure. Kidney disease alters red blood cell lifespan, making A1C less reliable.
Technical errors are more common: improper sample collection, expired test components, or exposure to extreme temperatures. If your result seems inconsistent with your glucose patterns, retest with a new kit.
Save Money on Home A1C Testing With These Strategies
Smart Shopping Guide for Budget-Conscious Users
Buy 4-test packages to reduce per-test cost by 15-20%. The A1CNow 4-test kit ($50) brings the per-test cost down to $12.50 compared to $17.50 for the 2-test version.
Check insurance coverage—Medicare covers 2 home tests yearly with prescription, and most private insurers allow FSA/HSA reimbursement. Even without insurance, home testing often costs less than co-pays for lab visits when you factor in transportation and time.
Split kits with a friend or family member managing diabetes. Store unopened tests properly (cool, dry place away from sunlight) and they’ll remain accurate until expiration—typically 12-18 months.
Troubleshoot These Common Home Testing Problems
Fix Error Codes in Minutes
E1/E2 errors indicate insufficient blood sample—repeat with a larger drop (4-5 microliters). High temperature warnings mean the kit was exposed to >86°F; let it reach room temperature for 30 minutes before testing.
Control solution failures usually signal expired reagents or improper storage. Run a control test monthly to verify your kit’s accuracy—this simple step catches 90% of potential problems before they affect your results.
Solve Sample Collection Issues
Poor blood flow? Warm hands thoroughly under warm running water for 2-3 minutes, then shake hands downward to pool blood in fingertips. Use a larger lancet size (25-28 gauge) if needed.
Clotting during collection suggests lancet depth is too shallow or you’re squeezing excessively. Reset your lancing device to deeper setting and let blood form a natural droplet without pressure.
Final Tip: Home A1C calculation gives you unprecedented control over your diabetes management. Start with FDA-approved test kits for the most reliable results, then incorporate smartphone apps or mathematical formulas as supplementary tools. Test quarterly for routine monitoring, and always compare home results with lab tests at least once a year. With proper technique, your home A1C measurements will become an indispensable part of your health toolkit—saving you time, money, and unnecessary trips to the lab while keeping your diabetes management on track.


