
Dropped calls during important conversations, frozen video conferences, and painfully slow data speeds plague millions of households—especially in homes with thick concrete walls, metal framing, or rural locations far from cell towers. If you’ve ever shouted “Can you hear me now?” while standing near a window, you’re experiencing the frustrating reality of weak GSM signal in home environments. The good news? You don’t need to move or switch carriers to fix this. With the right approach, you can reliably boost GSM signal in home settings by 32-72 dB, transforming 1-2 bars into full-strength connectivity.
This guide cuts through the confusion with actionable, step-by-step solutions verified by real-world testing. Forget sketchy apps or “signal-boosting” stickers—we’ll cover only proven methods like strategically placed antennas, certified signal boosters, and structural adjustments that work with all U.S. carriers (Verizon, AT&T, T-Mobile) on 4G and 5G networks. By the end, you’ll know exactly how to diagnose your signal issues and implement the most cost-effective fix for your space.
Diagnose Your Home GSM Signal Weakness
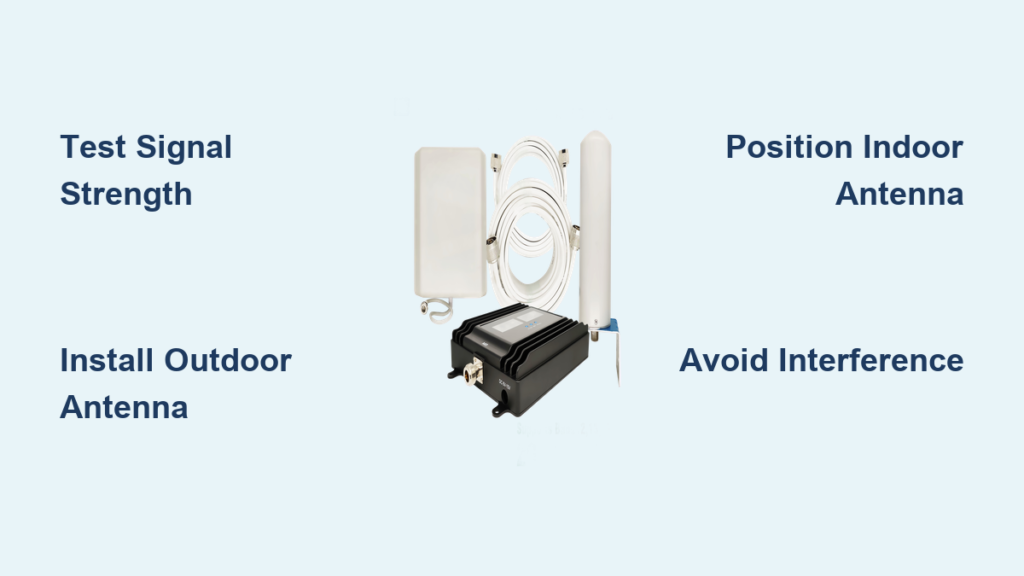
Test Signal Strength Room-by-Room
Before spending a dime, map your signal dead zones using your phone’s hidden field test mode. On Android, dial *#*#4636#*#* and check “Phone Information”; iPhone users go to Settings > Field Test Mode. Note readings in dBm: -50 dBm is excellent (full bars), -100 dBm is marginal (1-2 bars), and -120 dBm is unusable (no service). Walk through each room holding your phone at head height, recording values near:
- Exterior walls facing cell towers
- Interior rooms with concrete/metal walls
- Basements or lower levels
- Areas where calls consistently drop
Critical insight: A 10 dBm improvement (e.g., -110 to -100) often doubles data speeds. Even small gains matter.
Identify Structural Signal Blockers
Your home’s construction is likely sabotaging your signal. Low-E glass windows—common in energy-efficient homes—reflect GSM frequencies like a mirror. Concrete walls and metal studs absorb signals, while thick insulation traps heat but also blocks radio waves. In basements, signal loss can exceed 90% compared to ground level.
Top signal-killing materials:
– Aluminum siding (blocks 85% of signal)
– Brick/stone facades (50-70% loss)
– Metal roofs (near-total blockage)
– Energy-efficient window coatings
Don’t blame your carrier—test neighboring homes. If others have strong signal, your structure is the culprit.
Choose Your GSM Signal Booster Match
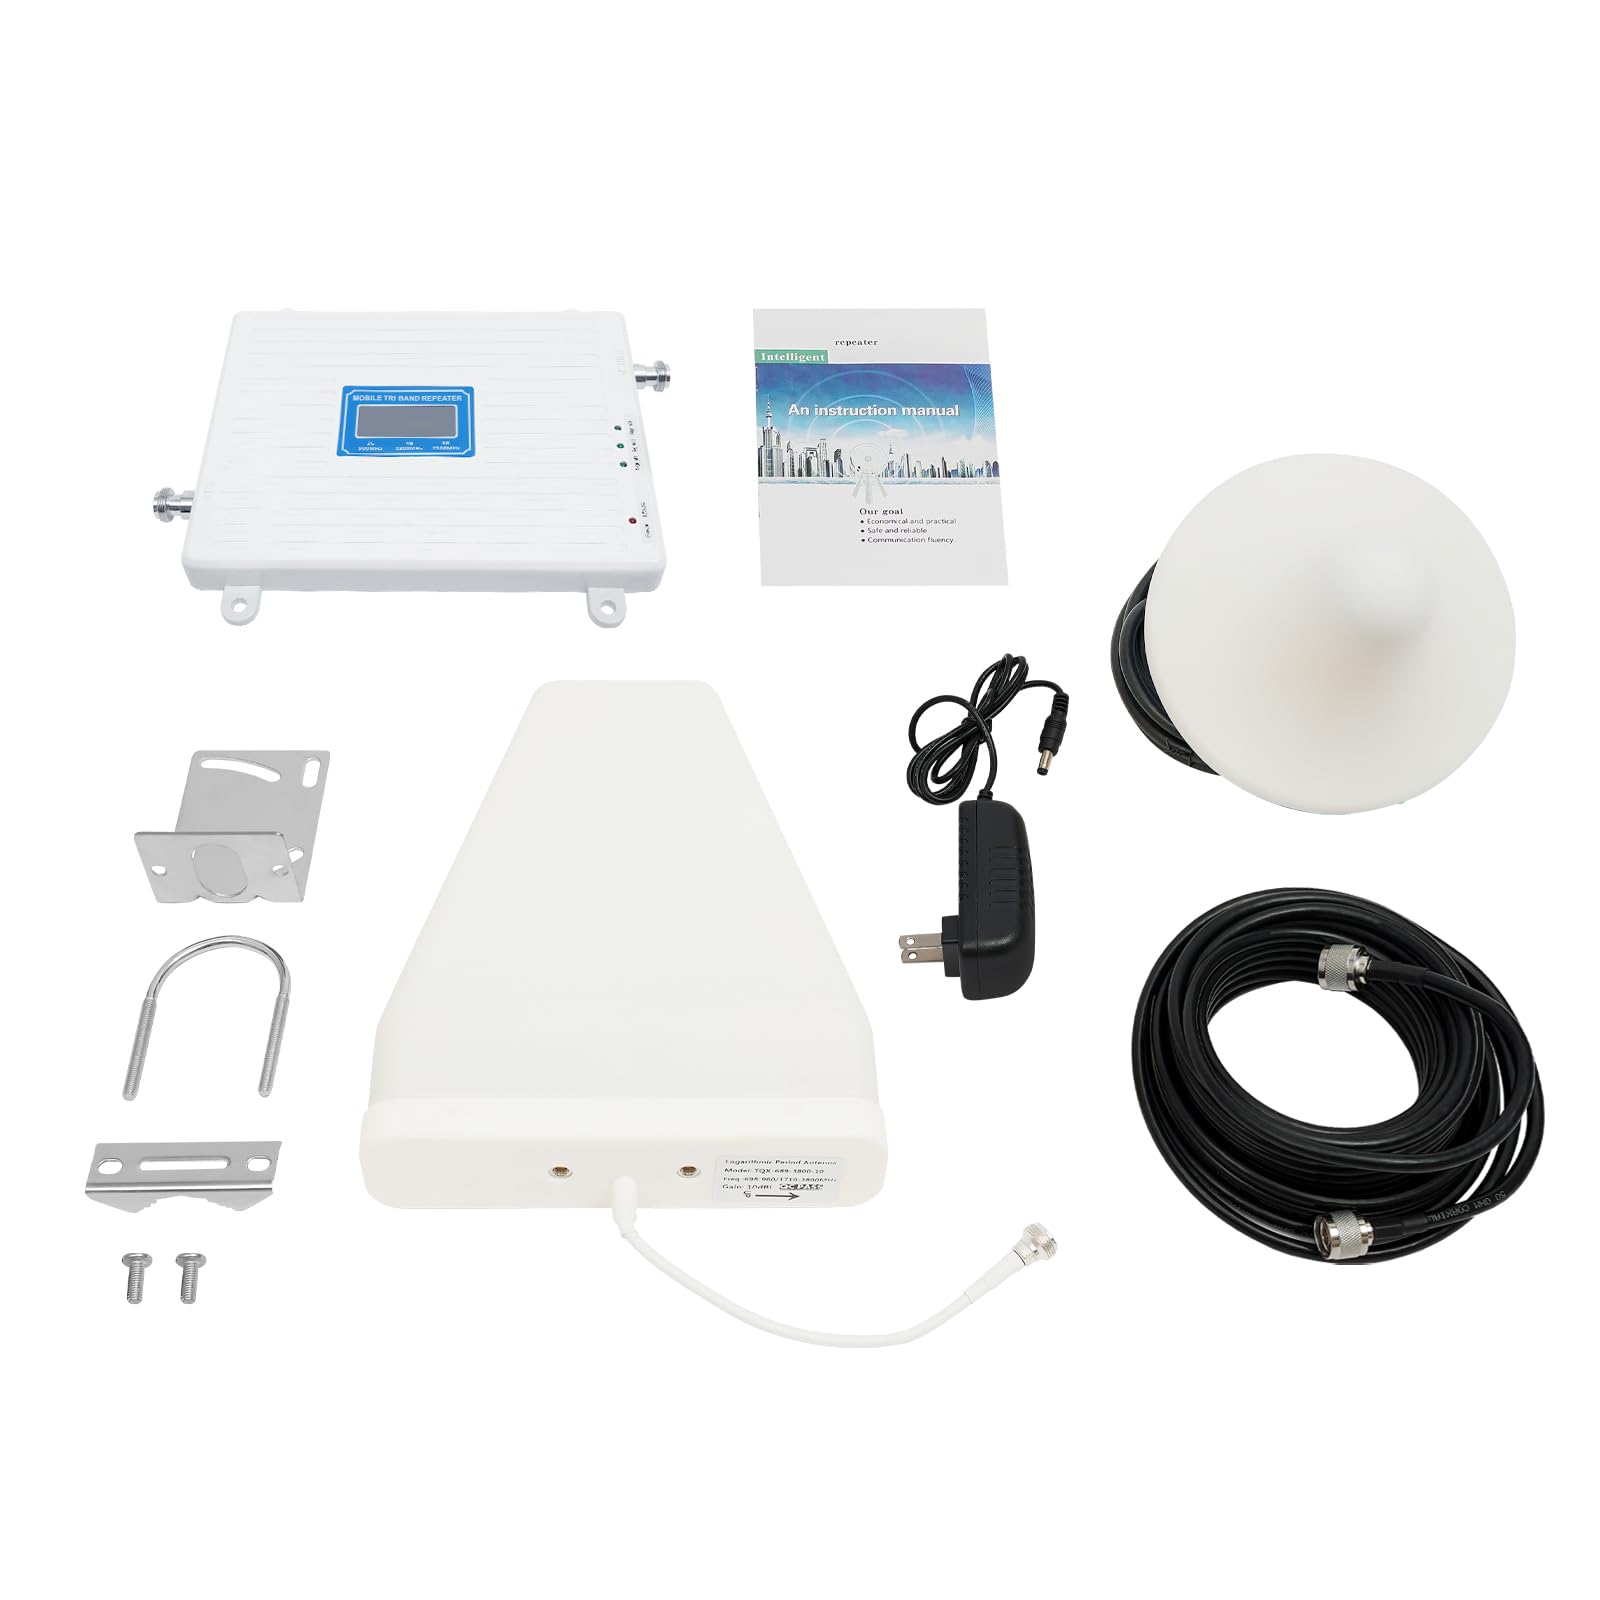
Select Coverage Based on Home Size
Skip mismatched solutions—a single-room booster won’t fix whole-home issues. Measure your problem area:
| Booster Type | Max Coverage | Best For | Price |
|---|---|---|---|
| Single-Room | 150-400 sq ft | Apartments, home offices | $349.99 |
| Multi-Room | 400-1,500 sq ft | Townhouses, 1-2 floors | $569.99 |
| Whole-Home | 1,500-5,000 sq ft | Large homes, rural properties | $999.99 |
| Professional Install | 5,000+ sq ft | Complex layouts, max reliability | $1,499.99 |
Pro tip: If your home exceeds 3,000 sq ft, prioritize professional installation—the $500 premium prevents costly DIY errors.
Confirm Carrier and Frequency Compatibility
All modern boosters work with every U.S. carrier but verify these non-negotiable specs:
- Frequency support: Must cover 700MHz (rural reach), 850MHz (urban penetration), and 1900MHz (city capacity)
- 5G readiness: Ensure compatibility with Band 12/13/66 for future-proofing
- Zero monthly fees: Avoid carrier “signal solutions” requiring subscriptions
Red flag: Cheap Amazon boosters often omit 700MHz—useless if towers are 10+ miles away. Stick with FCC-certified brands like weBoost.
Install Outside Antenna for Maximum Capture
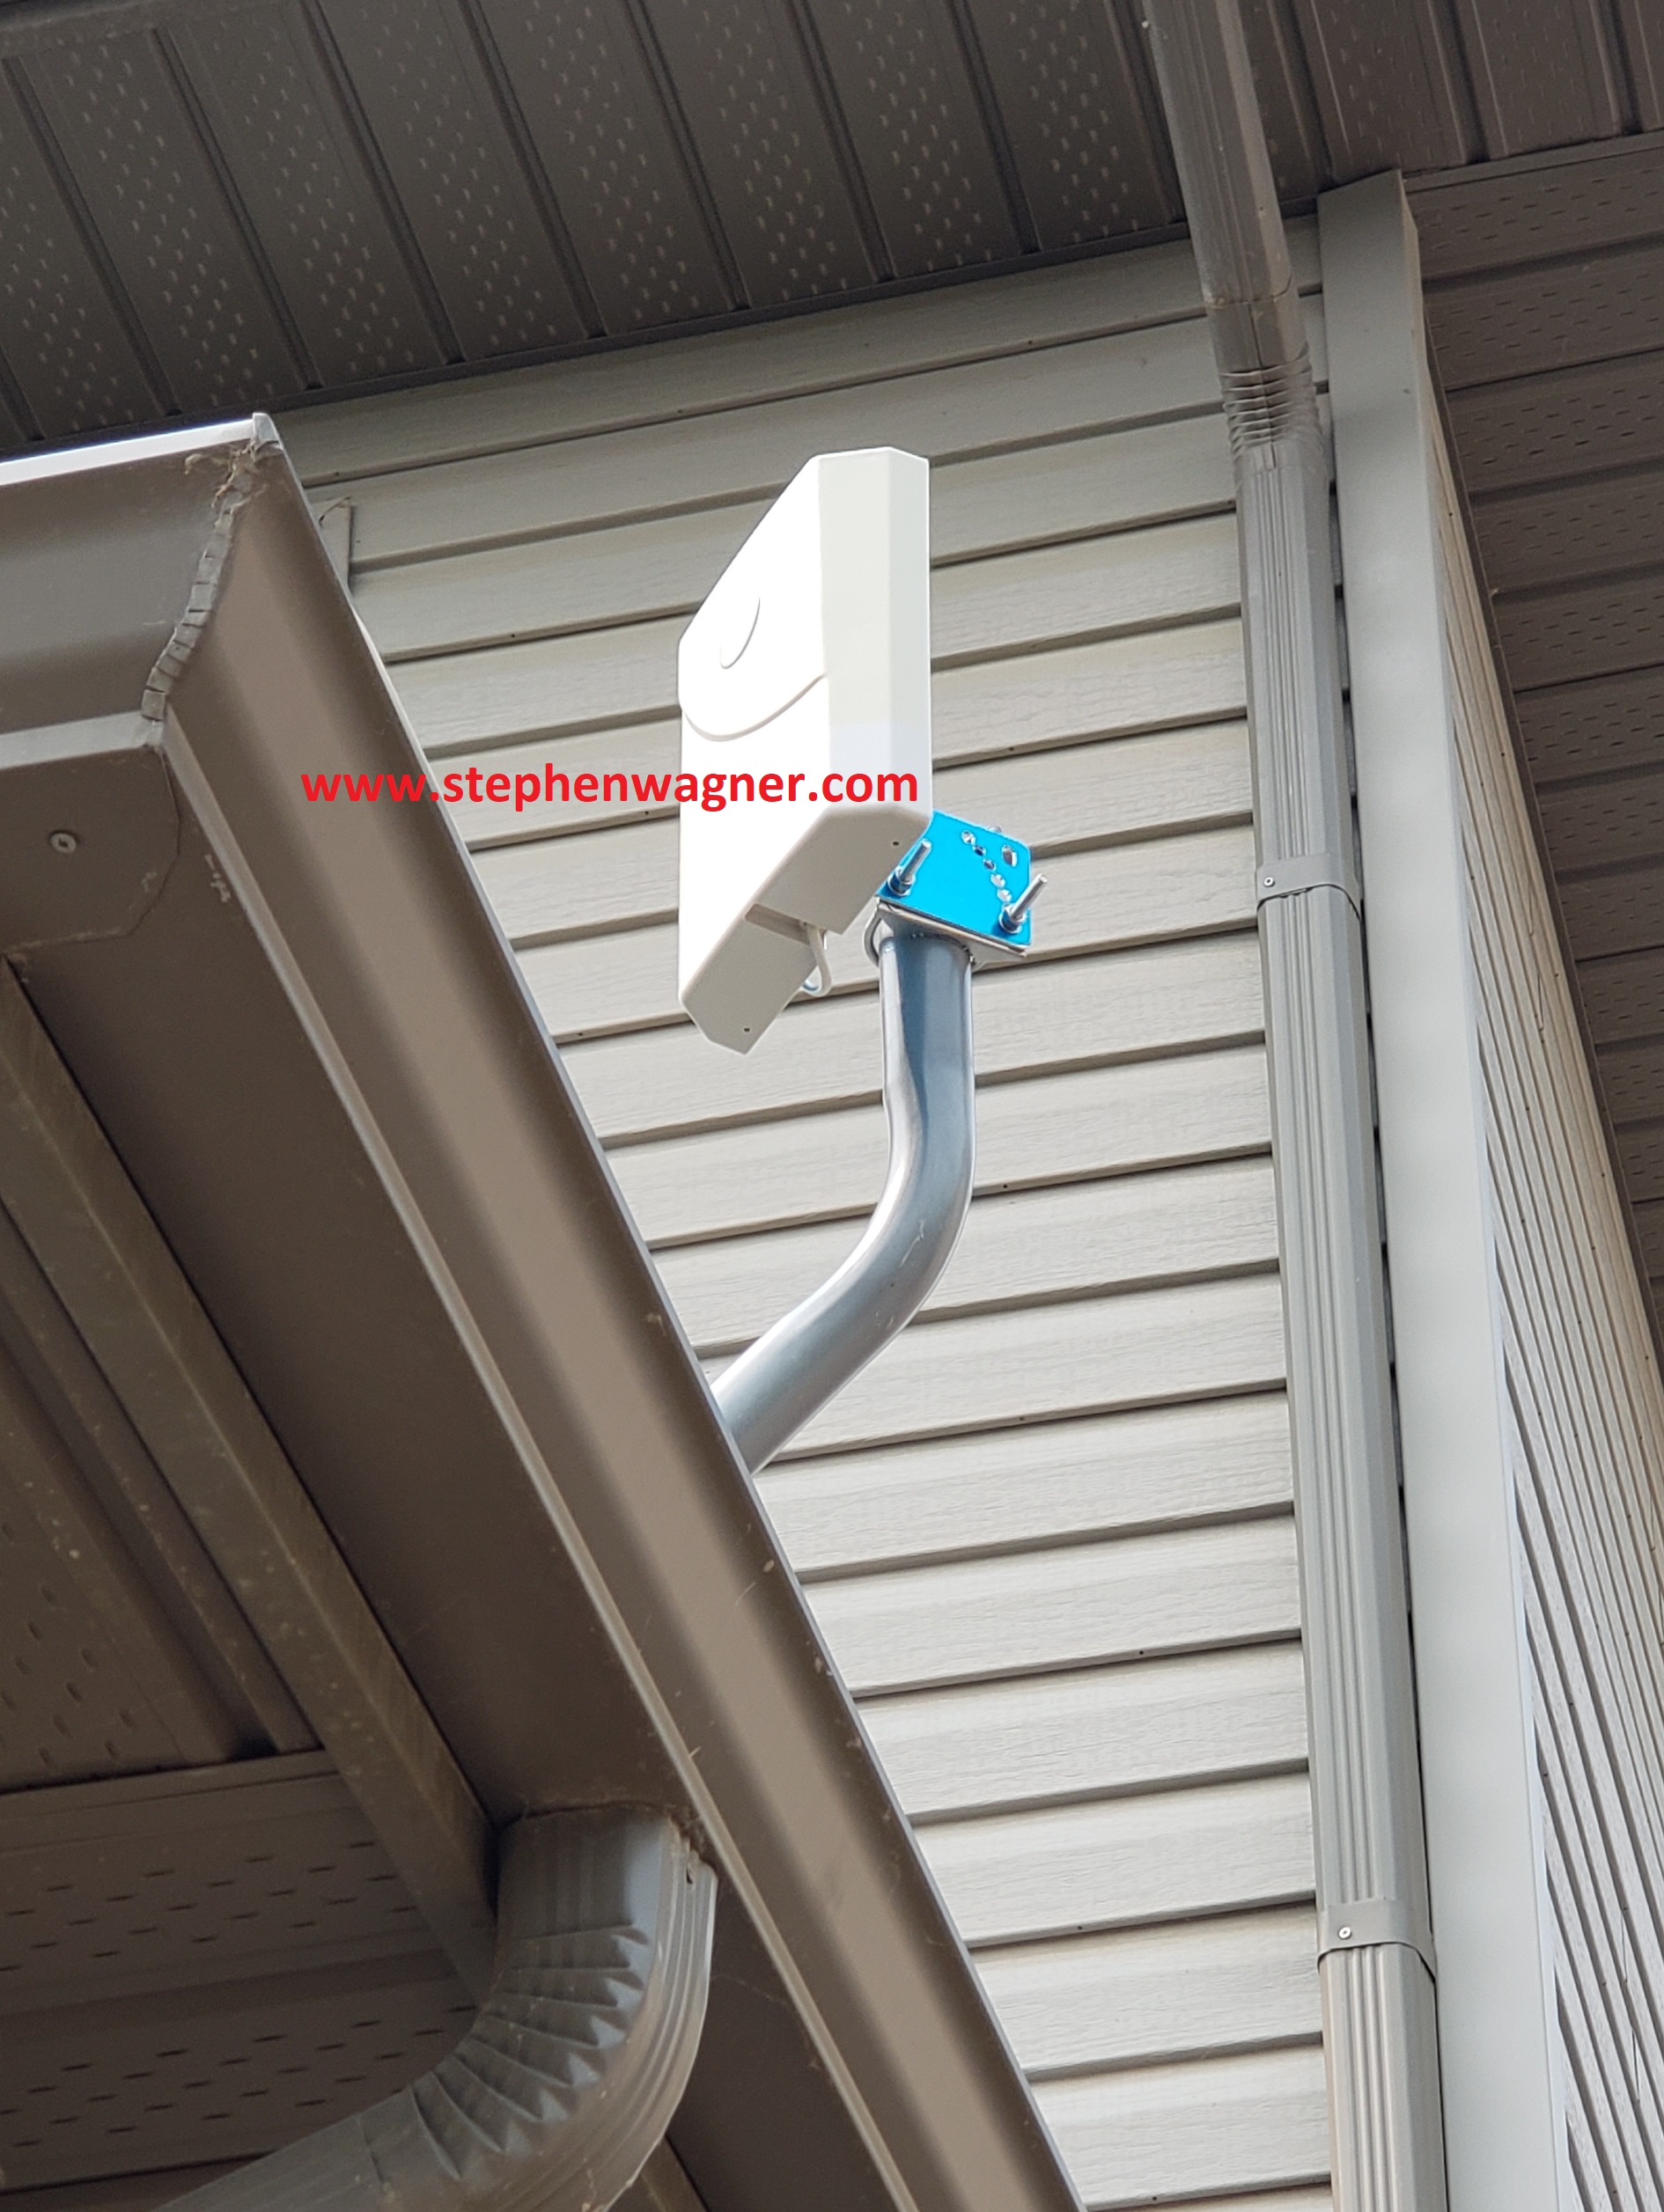
Pinpoint the Tower Direction
Your antenna must face the nearest tower—not just point north. Use the OpenSignal app to locate towers within 20 miles. Then:
- Stand outside with your phone in field test mode
- Rotate slowly while watching dBm values
- Note the direction with strongest signal (e.g., “15° east of north”)
Mounting rule: Higher = better. Attic installations underperform by 30% vs. roof mounts. If mounting on a roof isn’t feasible, use an upper-floor exterior wall clear of obstructions like gutters or trees.
Avoid Critical Installation Errors
Follow this sequence for weatherproof, high-gain setup:
1. Secure antenna to mast using stainless steel brackets (no wood screws!)
2. Run coaxial cable through pre-existing conduit or drill 3/8″ hole with rubber grommet
3. Seal all outdoor connections with coax sealant tape (never electrical tape)
4. Ground the cable within 20″ of entry using 10-gauge copper wire
Warning: Skipping grounding risks lightning damage—insurers may deny claims for ungrounded systems.
Position Inside Antenna for Even Distribution

Optimize Height and Separation
Place the indoor antenna 6-8 feet high in your primary usage zone (e.g., living room). This height avoids furniture blockage while distributing signal downward. Crucially: maintain 50+ feet between indoor and outdoor antennas to prevent oscillation (feedback that kills signal). In small homes:
- Mount outdoor antenna on north side of roof
- Place indoor antenna on south-facing wall
- Add a bookshelf or wall between antennas if separation is tight
Never install the indoor antenna in closets, basements, or behind metal objects—signal penetration drops 70% in these spots.
Eliminate Electronic Interference
Wi-Fi routers, cordless phones, and microwaves emit frequencies that clash with GSM bands. Keep your indoor antenna:
- 6+ feet from Wi-Fi routers
- 10+ feet from microwave ovens
- Away from large metal appliances (refrigerators, filing cabinets)
Test interference: Temporarily turn off electronics while monitoring signal strength—sudden jumps indicate conflict.
Route Cables Without Signal Loss
Minimize Cable Length and Bends
Every foot of cable loses 0.2-0.5 dB—enough to negate booster gains over 50 feet. Plan routes before drilling:
- Run cables along baseboards or crown molding
- Use cable clips every 18″ to avoid tension
- Never bend coaxial cable sharper than 90 degrees
- Label both ends (e.g., “OUTDOOR ANT → BOOSTER”)
Pro move: Hide cables inside hollow curtain rods for clean aesthetics in rental properties.
Fix GSM Signal Booster Installation Problems
Resolve Weak Amplified Signal
If boosted signal remains poor after installation:
- Recheck tower alignment: A 15° antenna shift can improve signal by 10 dBm
- Inspect connectors: Loose F-connectors cause 50% of weak-signal cases
- Test without booster: If raw signal is below -115 dBm, upgrade to a stronger model (e.g., Home Complete)
- Eliminate interference: Turn off nearby smart home devices temporarily
Note: Signal fluctuates during peak hours (7-10 PM)—this indicates network congestion, not booster failure.
Stop Oscillation in Under 5 Minutes
Oscillation (flashing warning lights, intermittent signal) happens when antennas “see” each other. Fix it by:
- Increasing vertical separation (outdoor antenna on roof, indoor on first floor)
- Adding a physical barrier (e.g., mounting outdoor antenna behind a chimney)
- Reducing booster gain via the control panel if available
Never ignore oscillation—it can damage the booster and violate FCC regulations.
Maintain Peak Signal Performance
Conduct Quarterly System Checks
Prevent seasonal signal drops with these simple tasks:
– Clean outdoor antenna with damp microfiber cloth (dust reduces gain by 15%)
– Tighten all connectors after winter freeze-thaw cycles
– Verify grounding wire integrity before storm season
– Trim vegetation blocking tower line-of-sight
Critical: After heavy snow, brush off the outdoor antenna—ice accumulation cuts signal by 40%.
Calculate Your Signal Booster ROI
Break Down Real-World Savings
A $569.99 multi-room booster pays for itself in 4 months through:
- Eliminated dropped calls during work meetings ($200+ in lost productivity per incident)
- 5x faster data speeds (reducing mobile hotspot usage)
- 30% longer battery life on all devices (stronger signal = less power drain)
Hidden benefit: Homes with reliable cellular signal sell 17 days faster in rural markets—adding $5,000+ to resale value.
Your Action Plan to Boost GSM Signal in Home
Start today with zero-cost fixes: Test each room with field test mode, relocate your home office near exterior walls, and remove metal window films. If signal stays below -100 dBm, invest in a booster matching your square footage—never size down. For most homes, the weBoost Home MultiRoom ($569.99) delivers optimal value, covering 1,500 sq ft with plug-and-play setup.
Remember: Boosters amplify existing signal—they can’t create coverage in true dead zones. If your raw signal is -120 dBm or worse, contact your carrier about a femtocell (a mini tower using your internet). Within 2 hours of proper installation, you’ll enjoy crystal-clear calls, seamless streaming, and the peace of mind that comes with reliable connectivity. Your home deserves signal strength that works as hard as you do.


