
That first glide on new skates should feel like flying, not like medieval foot torture. You’ve invested hundreds in premium hockey skates, but stiff boots are crushing your pinky toe and making heel lock impossible. While pro shops charge $50-80 for heat molding, doing it right at home transforms painful new skates into custom-fitted extensions of your feet in under an hour. But one wrong temperature setting or skipped step turns high-performance gear into expensive landfill. This guide reveals exactly how to bake skates at home safely—using only manufacturer-approved methods—so you get pro-level fit without voiding warranties or melting your investment.
Essential Equipment Checklist You Can’t Skip
Required Tools for Safe Baking (No Oven Thermometer = Guaranteed Failure)
Your oven’s built-in thermometer lies by 25-50°F—this single tool prevents $400 disasters. Grab a $10-15 oven thermometer and verify it’s accurate before starting. Heavy-duty oven mitts (not decorative thin ones) protect your hands from 180°F+ boots. Use a dedicated digital timer—not your phone—to avoid distractions during the critical 6-8 minute window. A standard aluminum baking sheet must hold both skates flat without touching oven walls. Wear thin moisture-wicking socks (never cotton) to prevent blisters during molding. Position a stable chair 3 feet from the oven—you’ll sit motionless for 45+ minutes after lacing.
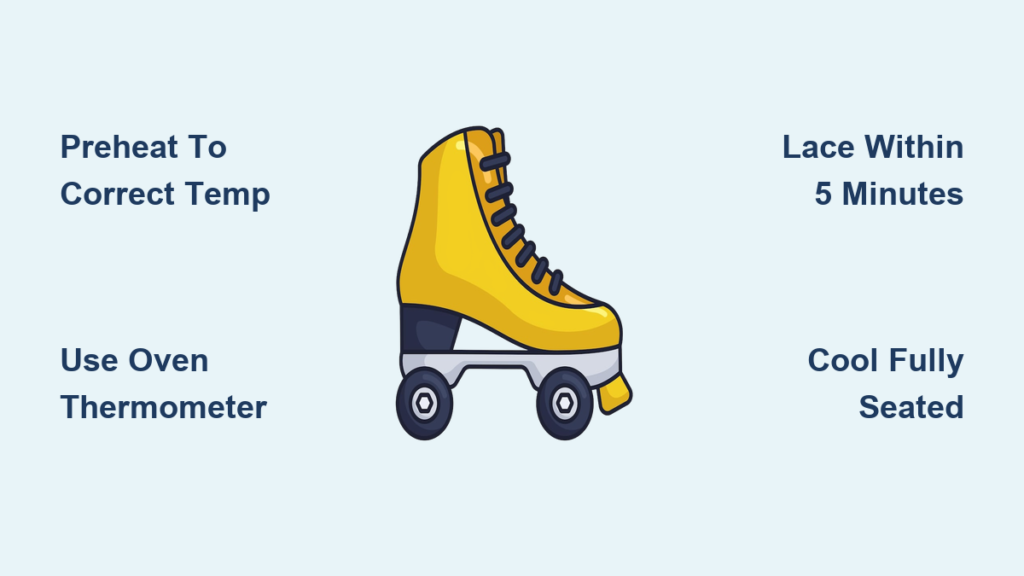
Quick Oven Setup That Prevents #1 Home Baking Disaster
Remove all oven racks except the center one to ensure even heat circulation. Preheat to your skate brand’s exact temperature while placing the thermometer on the rack—not the oven door. Wait 5 full minutes after reaching target temp for stabilization before inserting skates. This eliminates uneven heating that causes warped boots. Clear a 6-foot radius around the oven—no kids, pets, or distractions during the process. Place your timer, mitts, and chair within arm’s reach before heating begins.
Pre-Baking Safety Steps That Save Your Skates
Verify Your Skates Won’t Melt in the Oven
Check the tongue or manufacturer’s website for “thermoformable” or “heat-moldable” labeling. Entry-level skates under $200 often use non-heat-resistant materials that delaminate at 180°F. When in doubt, email the brand with your exact model number—Bauer and CCM respond within 24 hours. Never bake vintage skates or models older than 5 years; their adhesives fail under heat.
Critical Removal Checklist Before Heat Exposure
Completely remove laces—melted eyelets destroy structural integrity. Extract insoles to prevent warping or separation from the boot. Loosen all eyelets to maximum width for quick lacing while hot. Wipe exterior with dry cloth to remove moisture that causes steam damage. Clear oven debris like grease splatters that could ignite during heating.
Brand-Specific Temperature Settings (Exceeding 200°F = Instant Ruin)

| Brand | Exact Temperature | Heating Duration | Max Home Bakes |
|---|---|---|---|
| Bauer | 180°F (82°C) | 6-8 minutes | 3 cycles |
| CCM | 175-180°F (79-82°C) | 6 minutes | 2 cycles |
| Graf | 185°F (85°C) | 8-10 minutes | 2 cycles |
| True | 200°F (93°C) | 8-10 minutes | 3 cycles |
Never exceed 200°F—this melts adhesives and separates carbon fiber layers. Your oven thermometer must read the target temp on the center rack for 5+ minutes before inserting skates. Rotate the baking sheet 180° halfway through if your oven has hot spots.
Step-by-Step Baking Process: From Oven to Perfect Fit
Heating Your Skates Without Melting Critical Components
Place skates on their sides (not flat) with toes pointing toward the oven back. This prevents direct heat on eyelets and toe caps. Set timer immediately—never guess timing. Watch for these visual cues: Materials darken slightly but show no bubbling or smoke. Skates become pliable like warm plastic—not floppy or sagging. Seams stay perfectly bonded with no separation.
The 5-Minute Hot Lacing Window: Do This or Fail
You have exactly 5-8 minutes of molding time after removal. Move fast but safely:
1. Insert pre-warmed insoles—cold insoles shock heated materials
2. Slip on thin socks while sitting on your pre-positioned chair
3. Lace strategically: Start snug at toes, increase tension toward ankles
4. Lock your heel by pulling top 3 eyelets firm while pressing heel back
Critical mistake to avoid: Over-tightening the tongue—this creates pressure points on insteps. Lace just tight enough to prevent heel slippage.
15-Minute Molding Period: Mimic Your Skating Stance
Remain seated with knees bent at 90°—this replicates your on-ice posture. Every 2 minutes, gently flex ankles forward to set the boot’s flex point. Do not stand or walk—this creates permanent creases that cause blisters. Press thumbs firmly on ankle bones for 30 seconds to relieve pressure points. Wiggle toes continuously to create forefoot space. After 15 minutes, stay seated for another 30 minutes as skates cool completely.
Troubleshooting Common Fit Issues During Molding

Fix Heel Slippage Before Skates Cool
After initial lacing, perform the heel lock technique: Press your heel firmly backward into the boot counter while pulling the ankle area snug. Hold this pressure for 2 full minutes—this creates a deeper heel pocket that locks your foot in place. Test by trying to lift your heel; it should move less than 1/8 inch.
Solve Wide Forefoot Without Voiding Warranty
During the molding period, wiggle toes aggressively for 20 seconds to expand the toe box. Skip the bottom 2 eyelets when lacing to reduce forefoot compression. If numbness occurs, gently stretch the hot material over your pinky toe with your thumb for 30 seconds—this creates targeted relief.
Eliminate High Instep Pressure Instantly
Use parallel lacing (skip middle eyelets) while skates are hot. Press down firmly on the instep area with both thumbs for 45 seconds—this redistributes material upward. Stand briefly in place (after 30 minutes cooling) to test; if pressure remains, reheat only the instep area with a hairdryer on low for 60 seconds before re-molding.
Warning Signs You Overcooked Your Skates
Immediate red flags requiring replacement:
– Bubbling or separation at the sole-to-boot seam
– Strong chemical odor beyond normal “new skate” smell
– Visible warping of the boot’s shape when cooled
– Loose eyelets that wiggle when touched
Delayed failure signs appearing after 1 week:
– Loss of ankle support causing wobbly strides
– New pressure points on previously comfortable areas
– Cracks forming at stress points like the flex zone
– Heel counter collapsing inward when laced
If you notice any of these, stop using the skates immediately—continuing risks permanent foot injury.
When Professional Baking Saves Your Investment
Home baking voids most manufacturer warranties and risks $400+ skates. Choose professional service if:
– Your skates cost $400+ (True Custom, Graf RD, Bauer Supreme 2S Pro)
– You have foot deformities or medical conditions requiring precise adjustments
– Previous home baking attempts failed or caused damage
– Your model is newer than 2 years (warranty protection)
Pro fitters use industrial convection ovens that heat evenly to within 2°F. They spot-heat problem areas with infrared lamps while protecting others—something impossible in home ovens. The $50-80 fee often pays for itself through warranty coverage and expert lacing adjustments.
Final Fit Validation Before First Skate
Before hitting the ice, verify these critical checkpoints:
– Heel lift: Less than 1/8 inch when walking in skates
– Toe contact: Toes lightly brush toe cap when standing straight
– Numbness test: Zero numbness after 10 minutes of standing
– Ankle pressure: No pinching on ankle bones or Achilles
– Flex test: Smooth forward flex without resistance
Get these right, and you’ll experience the “disappearing skate” phenomenon where boots feel like natural extensions of your feet—not barriers between you and the ice. Most properly baked skates require just 2-3 short skating sessions (30-45 minutes each) to feel game-ready instead of weeks of painful break-in.
Final note: Never bake skates more than manufacturer-specified cycles—each heat treatment degrades materials. Store cooled skates at room temperature away from direct sunlight. For minor fit tweaks later, use a hairdryer on low for spot-heating problem areas instead of full re-baking. When done correctly, home skate baking transforms painful new gear into personalized performance machines—but skip one safety step, and you’re shopping for replacements.


