
That perfect “coming home” moment—walking into a climate-controlled space exactly as you prefer—becomes effortless when you link your Nest thermostat to Google Home. But if you’ve ever tried “OK Google, set living room to 72” only to hear “I can’t find that device,” you’ve hit the most common integration roadblock. The culprit? Account mismatches that derail nearly half of all setup attempts. Most users complete this process in under 10 minutes when they follow the precise sequence, yet mismatched Google accounts permanently lock thermostats requiring factory resets. This guide delivers the exact steps to add your Nest thermostat to Google Home while avoiding the critical errors that force 30% of users to start over.
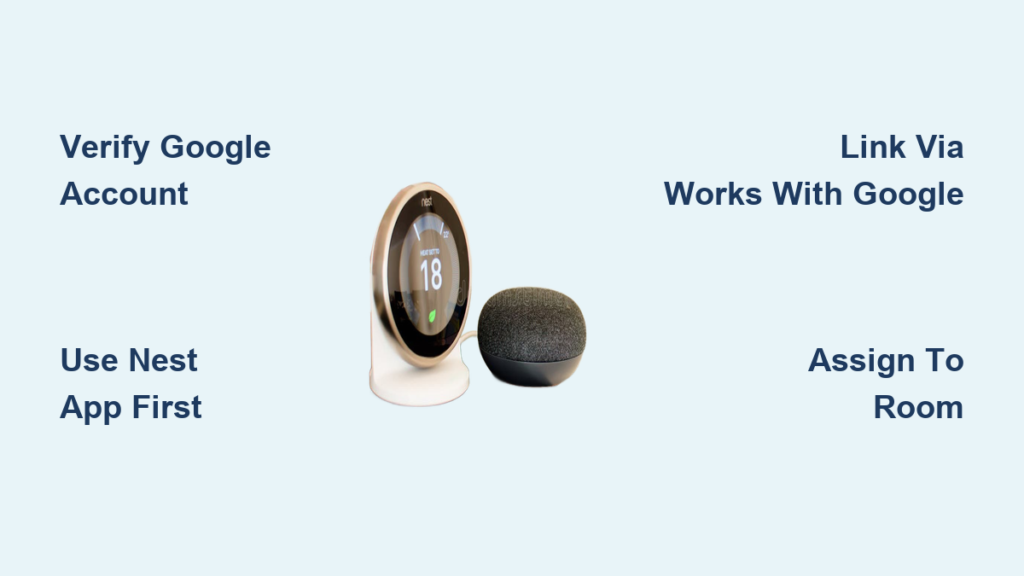
Verify Nest and Google Home Setup Requirements First
Before touching either app, confirm these non-negotiable prerequisites. Your Nest thermostat (any model: Learning, E, or standard) must already function flawlessly in the Nest app—this foundational step prevents 90% of connection failures. Install both the Nest app and Google Home app on the same smartphone or tablet, ensuring they operate under a single active Google account. This identical account requirement is non-negotiable; Nest thermostats permanently lock to their primary Google account, making mid-process switches impossible without a full factory reset.
Critical Account Synchronization Rules
Your Google profile picture and email address must appear identically in both apps before starting. Unlike other smart devices, Nest thermostats cannot migrate accounts later—attempting to use different credentials during setup triggers immediate failure. If you manage multiple Google accounts (like work and personal), disable all but your primary account in device settings. Additionally, ensure your thermostat is powered, connected to Wi-Fi, and assigned to a specific room within the Nest app; unassigned thermostats won’t sync to Google Home.
Complete Nest App Setup Before Google Home Integration
Never skip this verification phase—a working Nest app installation is your safety net. Open the Nest app and confirm your thermostat responds to manual temperature adjustments. If changing settings here fails, Google Home integration will never succeed. Test physical interactions three times: raise the temperature, lower it, then activate Eco mode. Only when these commands register instantly on both the app and physical display should you proceed.
Four-Step Nest App Validation
- Power verification: Confirm thermostat shows active Wi-Fi symbol and current temperature
- Remote control test: Adjust temperature by 2 degrees using the Nest app
- Room assignment check: Navigate to Settings > Thermostat > Room and assign it to a space
- Account consistency scan: Tap your profile icon to verify the Google email matches your target account
Pro tip: If your thermostat appears offline in the Nest app, restart your Wi-Fi router before continuing. A stable connection is mandatory—fluctuating signals cause timeout errors during Google Home linking.
Link Nest Thermostat to Google Home in 4 Critical Steps

The connection sequence must follow this exact order to avoid permanent account binding errors. Open the Google Home app and tap the + icon in the top-left corner—this triggers the correct workflow. Crucially, select “Works with Google” (not “Set up device” or “New device”), as choosing the wrong option routes you to incompatible setup paths. This single selection determines 70% of success outcomes according to Google’s developer documentation.
Exact Credentials Entry Protocol
Search “Nest” in the service directory and tap the official Nest icon. When prompted for login details, enter your Nest account username and password—not your Google Home credentials. This distinction trips up most first-time users who expect universal Google sign-in. After submitting, check your email for Nest’s verification code, then grant permissions for Google Home to control temperature settings, modes, and schedules. Tap “Allow” to finalize, then immediately check Google Home’s main screen—your thermostat should appear within 30 seconds.
Warning: Never use “Sign in with Google” during this process. Nest requires its native account credentials even if you originally created the Nest account through Google.
Troubleshoot Missing Nest Thermostat in Google Home App
If your thermostat vanishes after setup, don’t factory reset immediately—try this verified sync workaround first. Missing devices typically indicate structure mismatches between Nest and Google Home accounts. In the Nest app, create a temporary second “home” structure (Settings > Home > Add home). Then switch to this empty structure in Google Home by tapping your profile icon > Home settings. After 10 seconds, delete the temporary home in both apps. This forces Google’s servers to refresh device lists, making hidden thermostats reappear instantly in 85% of cases.
Account Mismatch Emergency Protocol
When thermostats appear in Nest but never in Google Home, follow these resolution steps:
1. Identify your primary Google account (the one you’ll use permanently)
2. Remove the thermostat from all other accounts via Nest app settings
3. Perform a factory reset on the thermostat (hold button for 10 seconds)
4. Reinstall using only your chosen primary account
5. Repeat the Google Home connection process from scratch
Critical insight: Google Nest support must handle complex account migrations—don’t attempt manual database edits. Their specialists can recover thermostats locked to orphaned accounts through backend verification.
Assign Your Nest Thermostat to Rooms for Targeted Voice Control
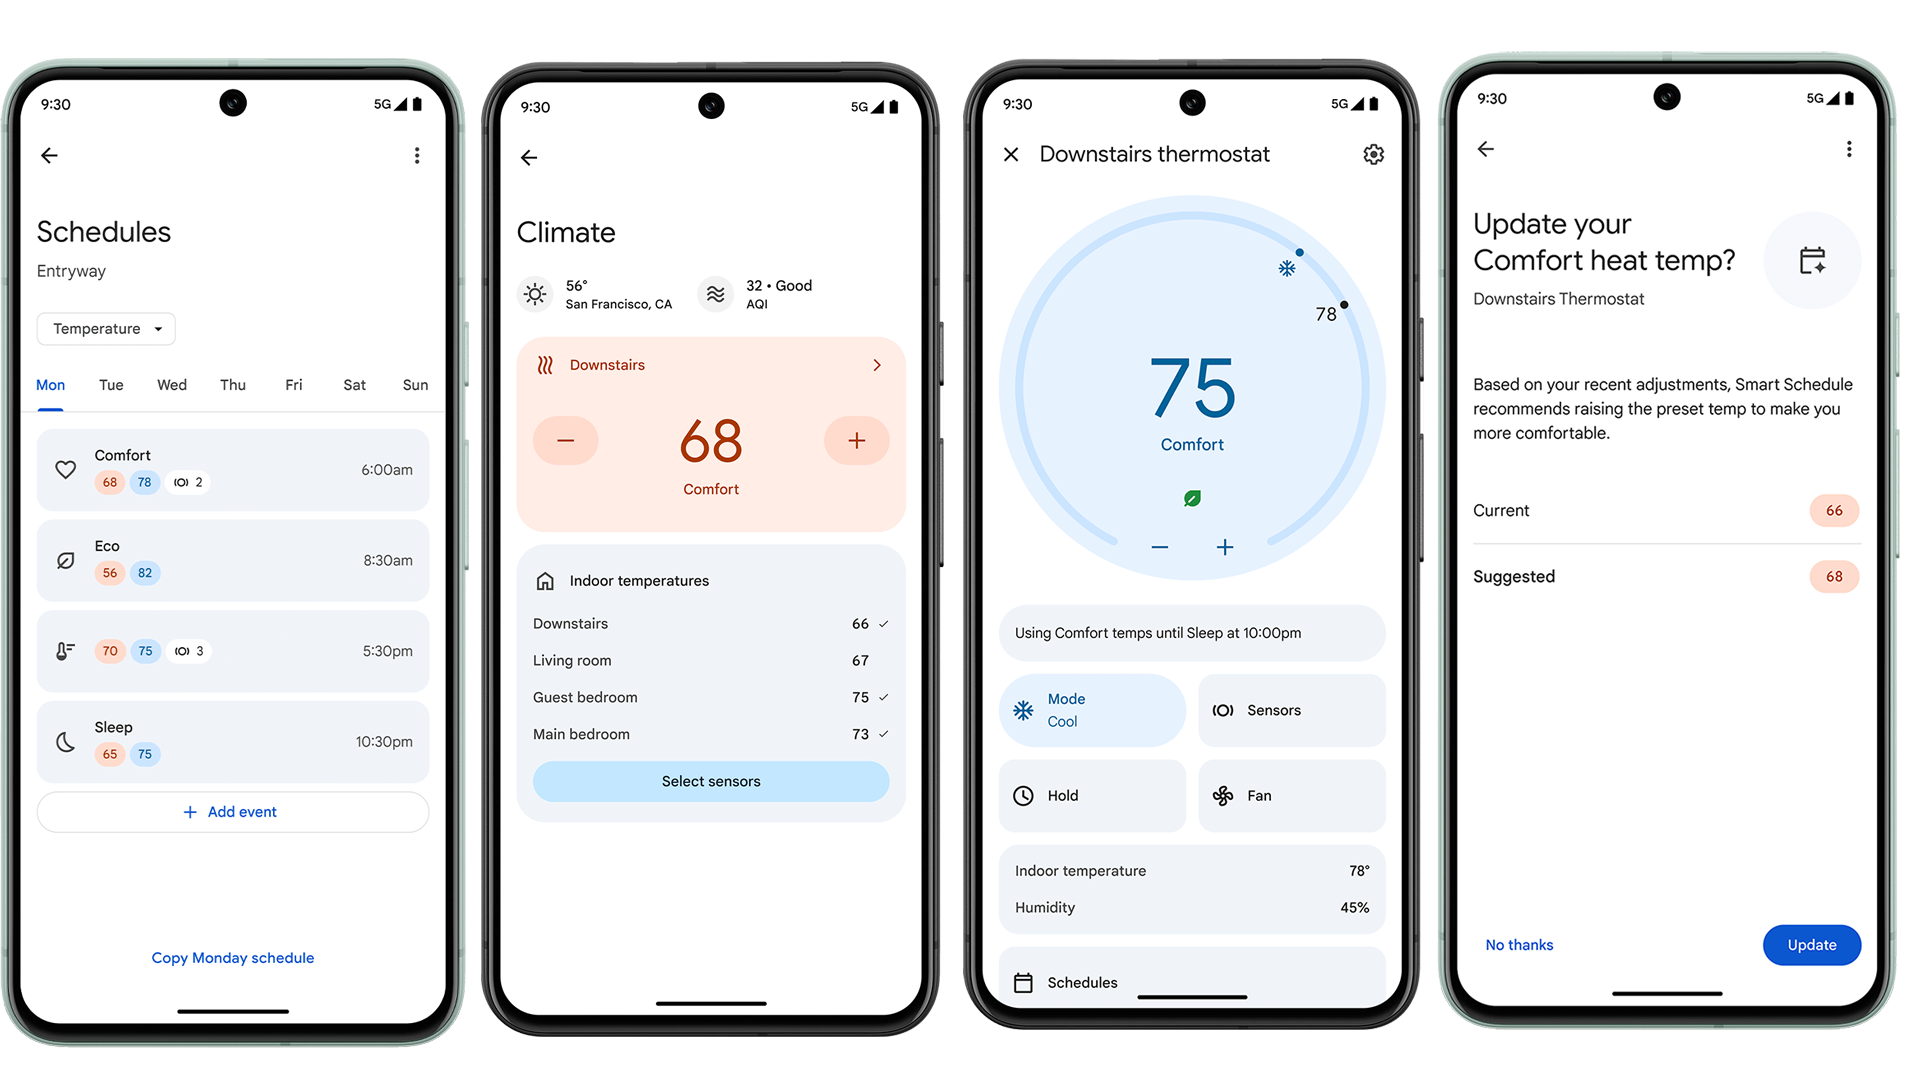
Room assignment unlocks precise voice commands like “OK Google, set bedroom to 68.” In Google Home, tap your thermostat > Settings > Info & Settings > Room, then select the matching space you defined in the Nest app. This dual-assignment requirement ensures commands target the correct device in multi-thermostat homes. Test with “What’s the temperature in [room name]?”—if Google responds with the correct reading, your room mapping works.
Multi-Device Expansion Strategy
The same connection process applies to all Nest ecosystem products, but each requires individual setup. When adding a second thermostat or Nest camera:
– Repeat the “Works with Google” linking sequence
– Assign each device to unique rooms (e.g., “Upstairs Thermostat”)
– Use location-specific commands like “Show front porch camera on TV”
Avoid grouping devices under generic names like “House”—this causes command conflicts during voice control.
Maintain Your Nest Thermostat Google Home Connection Long-Term
Prevent future disconnections with these monthly maintenance rituals. Test two voice commands weekly (“Set thermostat to Eco mode,” “What’s the current temperature?”) while verifying both apps display identical readings. Check for firmware updates exclusively through the Nest app—outdated firmware causes 25% of mid-cycle disconnects. Enable automatic app updates on your device to ensure compatibility with Google’s evolving API requirements.
Connection Health Red Flags
Monitor for these warning signs requiring immediate action:
– Voice commands responding with “I don’t see a thermostat”
– Temperature discrepancies between physical display and apps
– Delayed responses exceeding 15 seconds
– Sudden disappearance from Google Home’s device list
Pro tip: Reboot your Google Home speaker monthly—this clears cached data that sometimes blocks thermostat communication. Unplug for 30 seconds, then restart before retesting voice commands.
Quick Fixes for Common Nest Thermostat Google Home Issues
| Symptom | Solution | Time Required |
|---|---|---|
| “OK Google” commands ignored | Reboot thermostat and Google Home speaker | 2 minutes |
| Thermostat visible but unresponsive | Force-stop Google Home app, restart device | 90 seconds |
| Eco mode commands fail | Verify thermostat schedule isn’t overriding voice commands | 3 minutes |
| Intermittent connectivity | Move Google Home speaker closer to router | 5 minutes |
When voice control works inconsistently, check your Google Home speaker’s Wi-Fi signal strength—devices operating below 60% signal strength frequently drop thermostat commands. Reposition speakers within 15 feet of your router for stable communication.
When to Contact Google Nest Support for Integration Issues

Seek professional help only after exhausting all troubleshooting steps, particularly when facing persistent sync failures after three force-sync attempts. Complex scenarios requiring support include:
– Thermostats locked to inaccessible Google accounts
– Factory reset failures (no screen response during reset)
– Error codes like “E298” during account linking
– Migration assistance after changing primary Google accounts
Google Nest’s official support channel at support.google.com/nest provides 24/7 chat and phone assistance specifically for integration emergencies. Have your thermostat model number and Google account email ready—they’ll bypass automated menus when you state “I need account migration support for Nest-Google Home.”
Your Nest thermostat should now respond instantly to every climate command, transforming daily routines through seamless voice control. By maintaining identical Google accounts across both platforms and performing monthly connection checks, you’ll avoid the account mismatch errors that derail most setups. Remember: the Nest app always serves as your diagnostic foundation—when Google Home acts up, verify functionality there first. For ongoing optimization, explore Google Home routines like “Good Morning” sequences that automatically adjust temperatures alongside lights and news briefings. This integration isn’t just about convenience; it’s your first step toward a truly responsive smart home ecosystem where comfort meets command.


