
That musty basement smell might not be your only concern—odorless, invisible radon gas could be silently accumulating in your home. This radioactive gas seeps from soil and rock, potentially reaching dangerous levels without any warning signs. Learning how to detect radon in home environments is crucial for protecting your family’s long-term health, especially since radon exposure is the second leading cause of lung cancer after smoking.
Unlike carbon monoxide or natural gas leaks, radon gives no immediate symptoms. You won’t feel dizzy, smell anything unusual, or notice visible signs. The only way to know your home’s radon levels is through proper testing—fortunately, modern radon detection methods make this process straightforward and affordable. This guide walks you through every step of radon detection, from choosing the right test kit to interpreting results and deciding when professional help becomes necessary.
Radon Measurement Standards and Risk Levels
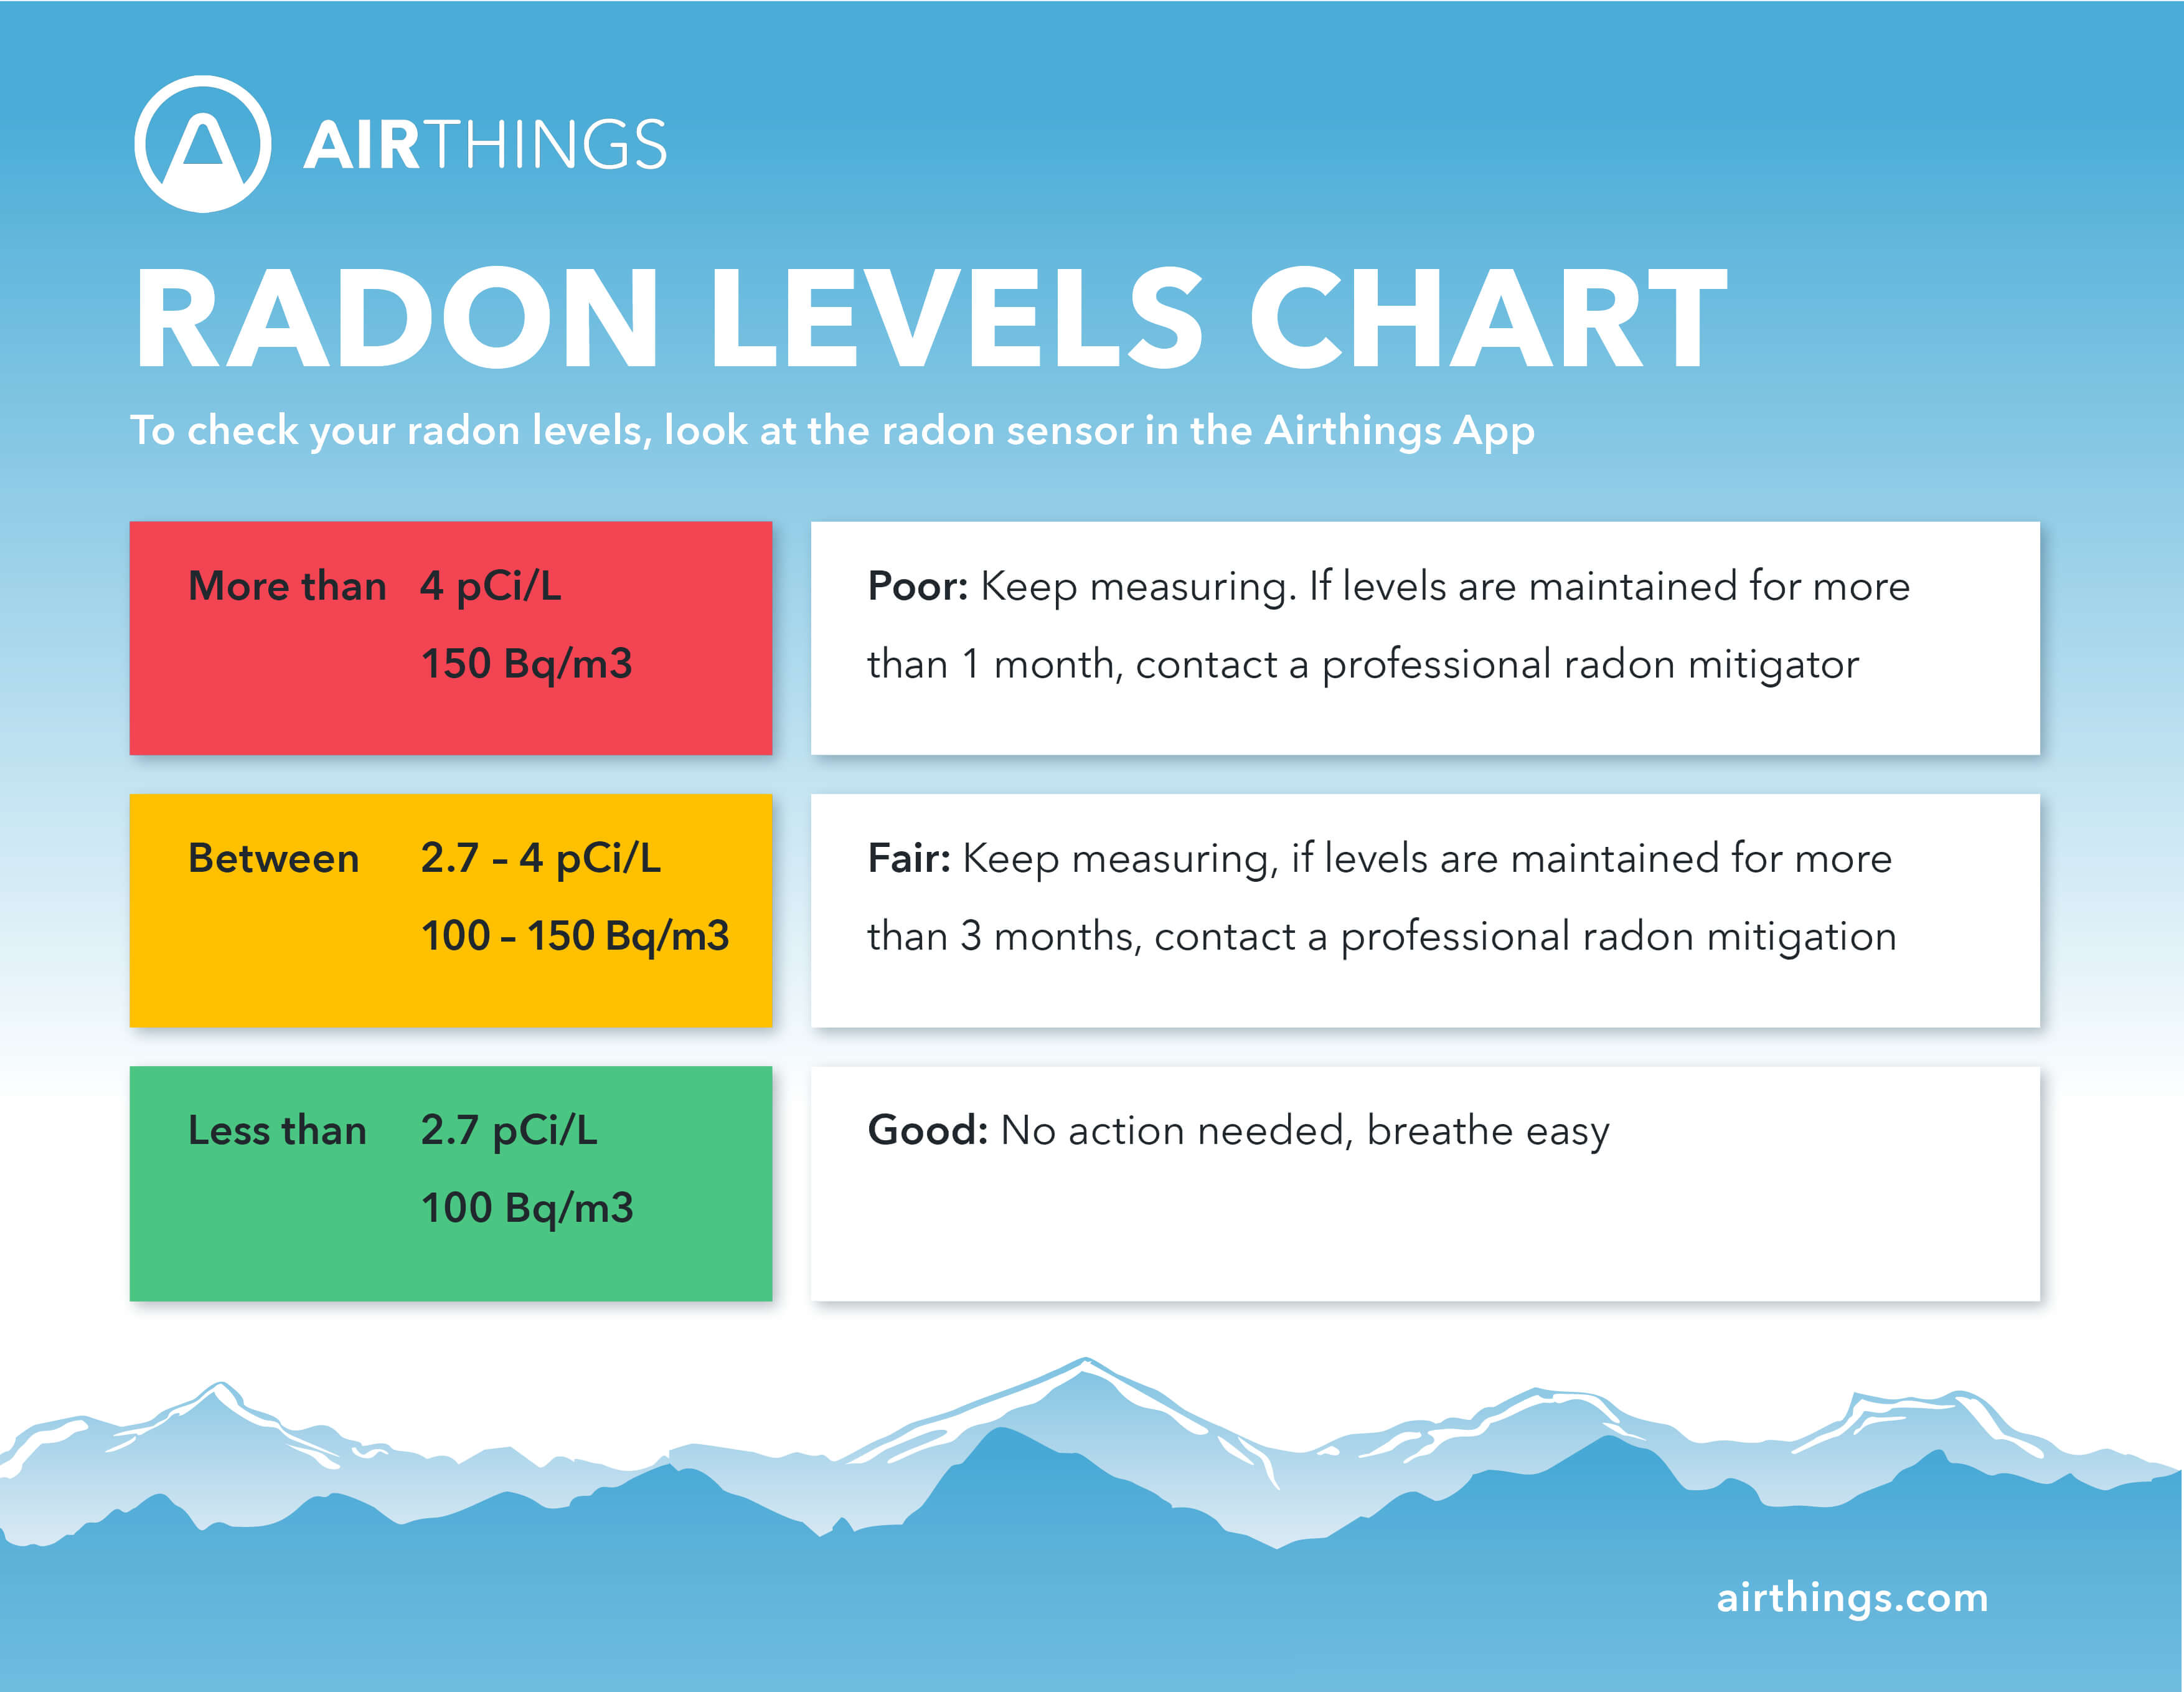
Radon concentration is measured in picocuries per liter (pCi/L), with the EPA establishing 4.0 pCi/L as the critical action level. Think of this as your home’s radon “speed limit”—exceeding it requires immediate steps to reduce exposure. However, even levels between 2-4 pCi/L warrant attention, as no radon exposure is completely risk-free.
Understanding Your Risk Thresholds
0-2 pCi/L: Generally considered low risk, though testing every 2-3 years remains wise
2-4 pCi/L: Monitor closely and consider retesting within a year
4+ pCi/L: Action required—plan mitigation within 30-60 days
The testing process itself poses no risk to occupants. Radon test kits are passive devices that simply collect air samples over time, requiring no power or chemical exposure. Your results will clearly indicate whether your home falls within safe parameters or needs professional intervention.
Short-Term vs Long-Term Radon Detection Methods

First Test: Short-Term Screening
Start with a short-term test lasting 2-7 days for immediate results. These kits use activated charcoal or electret ion chambers to capture radon particles. They’re inexpensive, widely available, and provide quick answers when you’re concerned about potential exposure.
Key advantages:
– Results within 1-2 weeks
– Costs $15-30 per kit
– Ideal for initial screening
– Easy DIY placement
Confirmation Testing Protocol
Your next steps depend entirely on short-term results:
4-8 pCi/L: Order a long-term test (3-12 months) for precise measurement. Seasonal variations can swing results by 50% or more, making extended testing essential before investing in mitigation.
8+ pCi/L: Run a second short-term test immediately. High readings often trigger false alarms due to weather patterns or testing errors. Two consecutive tests averaging 4+ pCi/L confirm the need for action.
Under 4 pCi/L: Retest every 2-3 years, especially after major renovations, foundation work, or if neighboring homes show elevated levels.
Strategic Placement for Accurate Radon Testing
Optimal Testing Locations
Choose the lowest livable level of your home—where you spend at least 4 hours daily. This might be:
- Basement: If used as living space, playroom, or bedroom
- First floor: For homes with unused basements
- Ground floor: In slab-on-grade construction
Placement Rules for Reliable Results
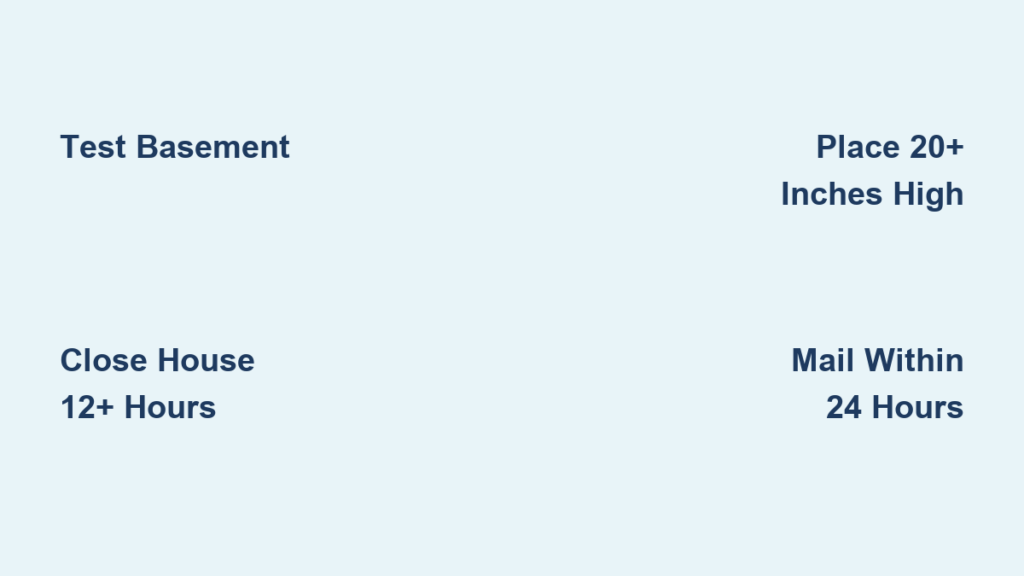
Position the test kit 20+ inches above the floor and 3+ feet from exterior walls. Avoid:
- Windows and exterior doors (within 3 feet)
- Direct sunlight or heat sources
- Damp areas like bathrooms or laundry rooms
- Drafty hallways or near HVAC vents
Living rooms, bedrooms, or home offices provide ideal placement spots since these areas reflect your actual exposure patterns. Proper placement ensures you’re measuring the air you actually breathe.
Step-by-Step DIY Radon Testing Process
Before You Begin Testing
Close your home 12+ hours prior to starting the test. This means:
– Keep windows shut
– Close exterior doors (except normal entry/exit)
– Disable whole-house fans
– Maintain normal HVAC operation
This “closed-house” condition simulates how you actually live in your home, giving you realistic exposure measurements rather than artificially low readings.
Testing Timeline Execution
Day 1: Place the test kit following placement rules
Days 2-7: Let the device collect samples undisturbed
Day 8: Seal and mail immediately (delays skew results)
Never move the test kit once placement is complete—disturbing the device invalidates your results. If you’re testing during winter, avoid placing kits near fireplaces or wood stoves that might create air disturbances.
Common Testing Mistakes to Avoid
Never:
– Move the test kit during collection
– Place in direct sunlight or near appliances
– Test during severe weather changes
– Leave the kit longer than specified
Always:
– Record start/end times precisely
– Mail within 24 hours of completion
– Test during normal living conditions (avoid vacation periods)
These simple precautions ensure your test results accurately reflect your home’s radon levels rather than testing errors.
Choosing the Right Radon Test Kit for Your Home

National Radon Program Services
Kansas State University operates the National Radon Program Services, offering EPA-approved kits at reduced prices. Order online through their secure portal or download mail-in forms. These kits include prepaid laboratory analysis and detailed reporting, making them an excellent choice for first-time testers.
Retail Options and Cost Comparisons
Home improvement stores stock reliable brands like:
– First Alert (charcoal canisters)
– Air Chek (electret devices)
– Pro-Lab (mail-in kits)
Online retailers often provide bulk discounts for testing multiple rooms. Expect $15-50 per kit depending on testing duration and analysis speed. When purchasing from retail sources, carefully follow the packaging directions for proper device placement and laboratory submission procedures.
Interpreting Your Radon Test Results Accurately
Understanding Your Laboratory Report
Laboratory reports typically show:
Average pCi/L: Your home’s radon concentration
Test duration: How long the device collected samples
Uncertainty range: Potential measurement variation
EPA action level: Your result compared to 4.0 pCi/L
Don’t panic if your reading is slightly above 4.0 pCi/L—radon levels fluctuate naturally. The critical factor is whether your long-term average exceeds the action threshold.
When Results Are Borderline
3.8-4.2 pCi/L readings create uncertainty. In these cases:
– Retest in a different season
– Use a long-term test for better accuracy
– Consider professional testing with continuous monitors
Seasonal variations can cause radon levels to swing by 20-30%, with winter readings typically higher due to the “stack effect” created by heating your home.
Professional Radon Testing Services When DIY Isn’t Enough
State-Level Resources for Certified Professionals
Your state radon program maintains lists of qualified professionals. EPA requires these programs to track certified testers and mitigators. Contact information varies by state—search “[your state] radon program” for direct access to verified service providers meeting strict credentialing standards.
Professional Credentials to Verify
Qualified testers hold certification through:
National Radon Proficiency Program (NRPP)
– Phone: (828) 348-0185
– Email: info@nrpp.info
National Radon Safety Board (NRSB)
– Phone: (914) 345-1168
– Email: info@NRSB.org
Always verify credentials before hiring any professional—reputable testers will readily provide proof of certification.
Maintaining Long-Term Radon Detection in Your Home
Ongoing Monitoring Schedule
Retest your home every 2 years, especially after:
– Major structural changes
– Foundation repairs
– HVAC system updates
– New additions or renovations
Radon levels can change over time due to shifting soil conditions, foundation cracks, or changes in your home’s ventilation patterns. Regular testing ensures you catch problems before they become serious health risks.
Seasonal Testing Considerations
Radon levels fluctuate significantly with weather. Winter testing often shows 20-30% higher readings due to stack effect and frozen ground. Summer readings may underestimate year-round exposure. For the most accurate annual average, consider testing during both heating and non-heating seasons.
Long-Term Peace of Mind Solutions
Install a continuous radon monitor ($150-300) for ongoing peace of mind. These devices provide real-time readings and alert you to concerning changes—particularly valuable in high-radon areas or after mitigation system installation. Unlike one-time tests, these monitors give you continuous protection data.
Detecting radon in your home isn’t a one-time task—it’s an ongoing commitment to indoor air quality. Start with a simple short-term test this week, then establish a regular testing schedule based on your results. Remember, radon mitigation systems effectively reduce levels to safe ranges, but only accurate testing tells you when action is needed.
Your family’s long-term health depends on addressing this invisible threat. Take the first step today: order a test kit, mark your calendar for placement, and join millions of homeowners who’ve taken control of their indoor air quality through proper how to detect radon in home practices. The peace of mind you gain is well worth the small investment in testing.


