

Your home’s siding takes constant hits from weather, debris, and accidental impacts—yet a single baseball-sized hole in vinyl or patch of rotted wood can invite water damage costing thousands. Learning how to repair home siding yourself isn’t just cost-effective; it’s critical for preventing structural decay. With 62% of homeowners delaying repairs until damage becomes severe (per industry data), this guide delivers exact steps to fix all common siding types. You’ll master damage assessment, material-specific repairs, and professional finishing techniques that make patches invisible.
Identify Your Siding Material Before Starting
Grab a flashlight and inspect a damaged section closely—each material requires unique repair approaches. Skipping this step causes costly mistakes like using wood filler on fiber cement.
Spot Vinyl Siding by Its Expansion Gaps
Look for thin PVC panels (0.040″-0.050″ thick) with overlapping joints and visible 1/4-inch expansion gaps at corners. Vinyl moves significantly with temperature—1/4″ per 12 feet—so repairs must accommodate this movement. Check color consistency; solid-through vinyl won’t show scratches deeply.
Confirm Wood Siding Through Grain and Thickness
Cedar clapboards or shingles show distinct wood grain and measure 1/2″ to 1″ thick. Probe with a screwdriver: sound wood resists penetration, while rot feels spongy. Moisture meters should read under 15%—anything higher risks immediate replacement.
Detect Fiber Cement by Its Weight and Sound
Heavier than vinyl, fiber cement produces a solid “thunk” when tapped. Edges reveal a cementitious core with fiberglass mesh. Paint chips expose gray material beneath, unlike wood. Thickness ranges from 5/16″ to 5/8″, requiring specialized cutting tools.
Rapid Damage Assessment: Find Hidden Problems
Start repairs only after pinpointing the true damage extent. Water often travels behind siding, making surface holes deceptively small.
Classify Damage Using the 3-Tier System
Minor: Surface scratches or holes under 1 inch (fixable with patch kits).
Moderate: Cracks, loose panels, or holes 1-6 inches (requires partial replacement).
Major: Holes over 6 inches, rot exceeding 10% of a board, or structural gaps (full panel replacement needed).
Test for Moisture With the Awl Method
Push an awl into suspicious spots every 2 inches. Rotted wood offers no resistance, while sound wood requires firm pressure. For wood siding, moisture above 16% demands replacement—don’t risk temporary fixes.
Essential Tools for Every Siding Repair
Bring the right tools to avoid mid-repair frustration. Generic toolkits fail on material-specific challenges like fiber cement dust or vinyl expansion.
Universal Must-Haves
- Prying: Flat pry bar and cat’s paw nail puller (gently releases interlocking panels)
- Cutting: Jigsaw with material-specific blades (vinyl requires hook blades)
- Measuring: Chalk line for straight cuts and 4-foot level to check alignment
- Safety: N95 respirator minimum—critical for fiber cement dust
Material-Specific Additions
Vinyl: Zip tool for panel removal and 1/4″ spacers for expansion gaps
Wood: Miter saw with fine-tooth blade and 8d stainless steel nails
Fiber cement: Carbide-tipped circular saw blade and P100 respirator
Metal: Tin snips and aluminum filler for dent repairs
Fix Vinyl Siding Holes Under 1 Inch in 4 Steps
Small punctures from lawn equipment or sports balls are common. Rushed repairs fail when expansion gaps get blocked—here’s the pro method.
Why Standard Patches Fail
Most DIYers glue patches directly over holes, restricting vinyl’s natural movement. This causes buckling within weeks. Successful repairs require leaving 1/4-inch expansion space around the patch.
Step-by-Step Hole Repair
- Clean thoroughly with dish soap and water—any residue prevents adhesion.
- Cut patch 1 inch larger than the hole using a scrap piece of matching siding.
- Apply exterior adhesive only to the patch’s back, then press firmly for 30 seconds.
- Seal edges with color-matched caulk, leaving a slight dome to shed water.
Pro Tip: Wait 48 hours before exposing to rain. Test caulk adhesion on a hidden area first—vinyl’s plasticizers can cause peeling.
Replace Rotted Wood Siding Boards Without Replacing Entire Walls
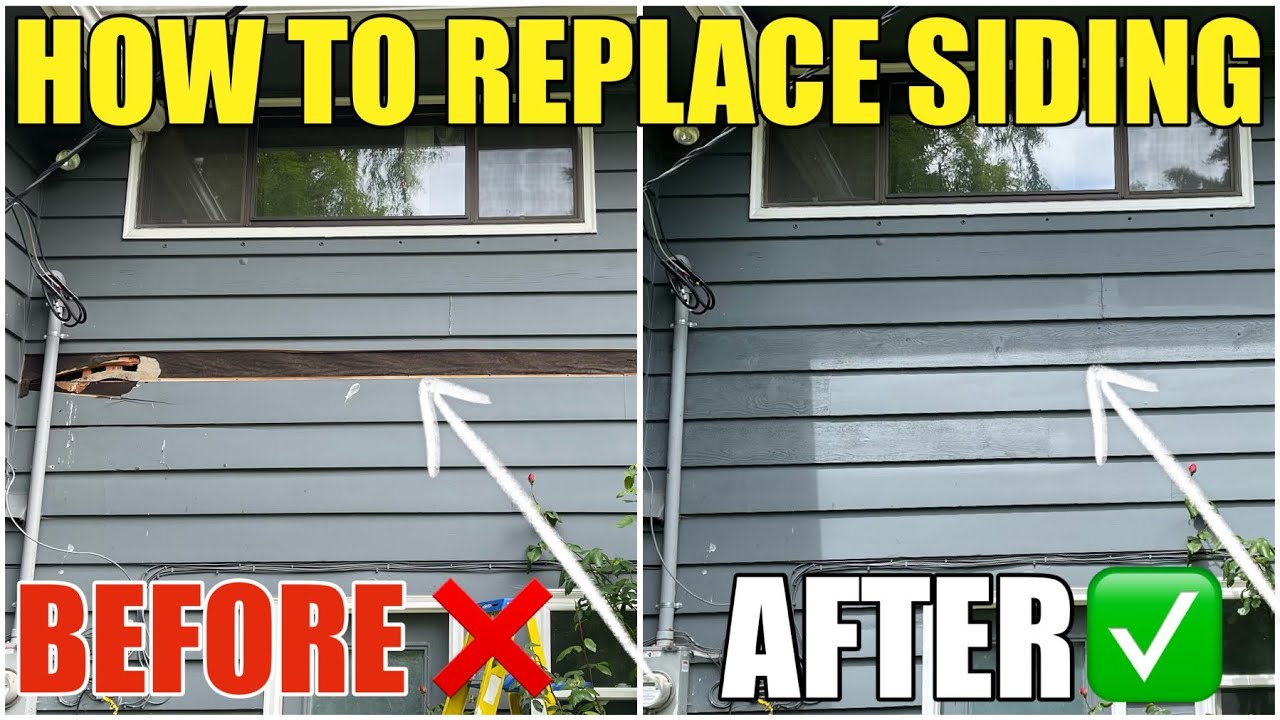
Rot often hides behind paint, spreading beyond visible damage. Cutting too close to sound wood guarantees early failure.
Critical Cut Line Rules
Always extend cuts 6 inches beyond the farthest rot detection point. Set circular saw depth to exactly match siding thickness—deeper cuts damage sheathing.
Installation Secrets Professionals Use
- Prime all surfaces of replacement boards, especially cut ends (this prevents moisture wicking).
- Nail 1 inch from edges at 16-inch intervals to avoid splitting.
- Leave 1/8-inch gaps at ends for seasonal expansion.
Warning: Never use pressure-treated wood directly against your home’s sheathing—it traps moisture. Use cedar or redwood with a moisture barrier.
Repair Fiber Cement Cracks That Won’t Recrack
Hairline cracks seem minor but channel water behind panels. Standard caulk peels off fiber cement’s dense surface within months.
Why Cementitious Patch Beats Caulk
Fiber cement requires a cement-based patch that bonds chemically with the substrate. Acrylic caulk only sits on the surface, failing under thermal stress.
Crack Repair Process
- Widen cracks with a utility knife to create a “V” groove for better adhesion.
- Apply cement patching compound with a putty knife, overfilling slightly.
- Let cure 24 hours before sanding flush with 120-grit paper.
- Seal with polyurethane caulk—silicone won’t adhere long-term.
Remove Metal Siding Dents Without Visible Repairs
Aluminum dents from hail or branches need specialized techniques. Hammering from behind often worsens the damage.
Dent Puller Method for Flawless Results
- Drill a 1/8-inch hole in the dent’s deepest point (hidden by filler later).
- Screw in a dent puller and gently lift until the surface is flush.
- Fill the hole with aluminum-specific filler, sanding when dry.
- Match the finish using automotive touch-up paint for perfect blending.
Note: Steel siding with perforated rust requires full section replacement—surface treatments won’t stop ongoing corrosion.
Match Siding Colors Perfectly on First Try
Mismatched paint is the #1 DIY giveaway. New paint always appears darker initially due to weathering differences on existing siding.
Spectrophotometer Matching Hacks
- Take a 2-inch sample to hardware stores—avoid small chips that don’t show true color.
- Test patches on hidden areas (like under eaves) and wait 48 hours to judge true match.
- Choose Light Reflective Value (LRV) over 55 for vinyl—darker colors accelerate fading.
Restore Faded Vinyl Without Painting
- Clean with oxygen bleach solution to remove surface grime.
- Apply oxidation remover using circular motions with a microfiber cloth.
- Seal with UV-protective restorer—reapplies lost plasticizers and blocks future fading.
Prevent Future Damage With Seasonal Maintenance
Most siding failures stem from neglected maintenance. A 10-minute seasonal check prevents 90% of major repairs.
Critical Spring Inspection Checklist
- Check expansion gaps—vinyl needs 1/4-inch clearance at corners.
- Clean gutters to prevent water backing up behind siding.
- Reseal all joints with polyurethane caulk before summer heat expands materials.
Power Washing Rules by Material
| Material | Max PSI | Nozzle Angle | Safe Cleaner |
|---|---|---|---|
| Vinyl | 1500 | 45° | Oxygen bleach |
| Wood | 500 | 60° | Mild detergent |
| Fiber Cement | 1200 | 45° | Dish soap |
| Metal | 1000 | 60° | Car wash soap |
Urgent: Never use high pressure on wood or fiber cement—this forces water behind panels.
Final Note: Successful how to repair home siding projects prioritize water exclusion over cosmetic perfection. Always seal gaps completely before painting, and never skip expansion gaps on vinyl. Schedule inspections every spring and fall—catching a 2-inch hole early prevents $2,000+ framing repairs. With these material-specific techniques, you’ll extend your siding’s life by 15+ years while saving thousands in contractor fees. Remember: the best repair is invisible because it works with, not against, your siding’s natural behavior.


