
That gritty brown residue clinging to your wheels isn’t just ugly—it’s actively eating into your rims. Brake dust contains microscopic metal shavings that corrode aluminum and chrome within weeks, turning expensive wheels into pitted eyesores. The good news? You can restore that mirror-like shine in your driveway using techniques professional detailers rely on, all for under $50. This guide reveals the exact process to safely clean any rim type, avoid costly mistakes, and make brake dust slide right off for months.
Skip the $40 car washes that use harsh brushes. In 45 minutes with basic supplies, you’ll achieve results that make your entire car look upgraded. Let’s dive into the rim-cleaning system that prevents scratches while dissolving baked-on grime.
Critical Tools That Actually Work (No Gimmicks)

Forget $100 detailing kits—these seven affordable items handle 99% of rim cleaning scenarios. Skip any tool claiming “magic results”; stick to proven essentials:
Your non-negotiable toolkit:
– Soft-bristle wheel brush (synthetic only—never metal)
– Stiff detailing brush for lug nut crevices
– Microfiber towels (minimum 6-pack, not bath towels)
– Two buckets with grit guards (prevents re-depositing dirt)
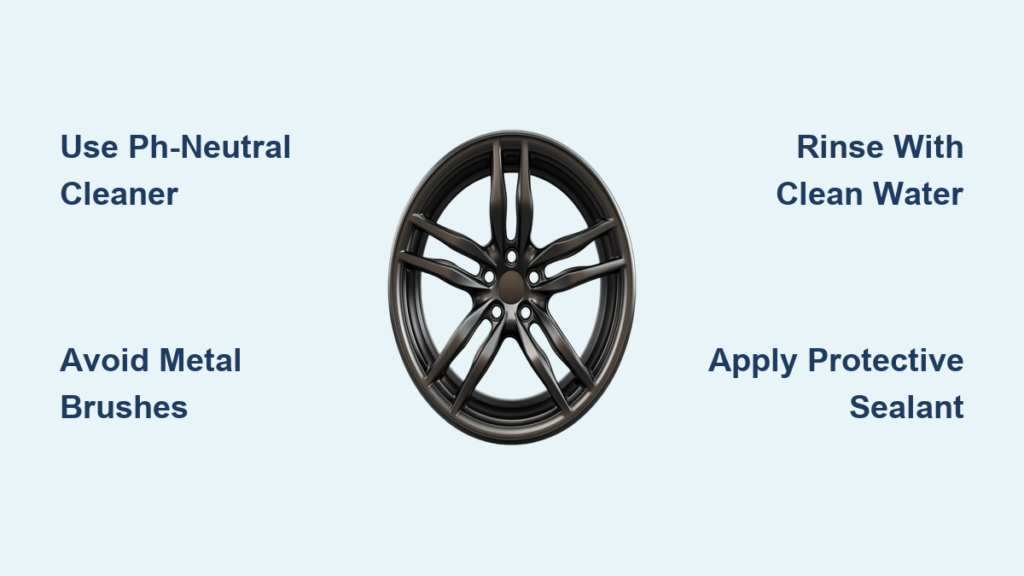
– pH-neutral wheel cleaner (safe for all finishes)
– White vinegar (for water spots)
– Garden hose with adjustable nozzle
Why the bucket system matters: Fill one bucket with your cleaning solution, the other with clean rinse water. After scrubbing, dunk your brush in the rinse bucket before reapplying cleaner. This simple step stops abrasive brake dust from scratching your rims—the #1 cause of “cleaning damage” beginners inflict.
Match Cleaners to Your Exact Rim Type (Avoid Permanent Damage)
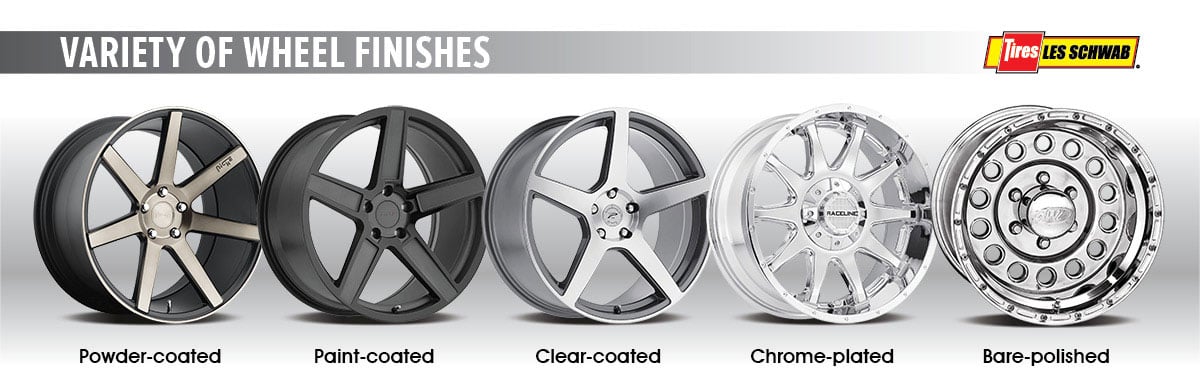
Aluminum/Alloy Wheels: Stop Oxidation Before It Bites
These lightweight wheels turn chalky gray from brake dust corrosion. Never use acid-based cleaners—they etch the porous metal permanently. Spray pH-neutral cleaner on cool rims, let it dwell 5 minutes (watch for bubbling as it lifts grime), then gently scrub with straight motions. For stubborn buildup, mix 1 part white vinegar with 2 parts water, spray on, wait 3 minutes, then rinse.
Chrome Rims: Banish Orange Rust Without Scratches
That orange “rust” on chrome is actually iron contamination from brake pads. Never use steel wool—it leaves hairline scratches destroying the reflection. Instead:
1. Ball up aluminum foil, dip in water
2. Gently rub rust spots in straight lines (not circles)
3. Rinse immediately
4. Apply polymer sealant to prevent recurrence
Pro tip: Chrome shows every fingerprint. Dry with a microfiber towel using light pressure—no wiping motions.
Painted Wheels: Protect That Clear Coat
Painted rims have a fragile clear coat layer. Always test cleaners on the backside of a spoke first. If the surface feels sticky or changes color, rinse instantly—that cleaner is stripping your protection. For curb rash, use a 2000-grit sanding block only on the damaged spot, then polish with carnauba wax.
Step-by-Step Deep Cleaning Process (Works Every Time)
Pre-Cleaning Setup: Avoid the #1 Beginner Mistake
Never clean hot rims. Park in shade for 30+ minutes after driving. Heat causes cleaners to dry instantly, leaving etched spots. Rinse each wheel for 30 seconds with a hose to remove loose debris—this prevents scratching during scrubbing.
Deep Clean Sequence: One Wheel at a Time
- Apply cleaner from bottom to top (prevents streaking as product drips down)
- Dwell time is critical: Let cleaner foam for 3-5 minutes—do not let it dry
- Scrub in this order:
– Face surface (circular motions for chrome, straight for painted)
– Spoke backs (use long-reach brush)
– Lug nut cavities (stiff brush at 45-degree angle)
– Inner barrel (flip brush to clean behind spokes) - Rinse brush every 30 seconds in your second bucket to avoid redepositing dirt
Time-saver: Clean one wheel completely before moving to the next. Rushing through all four leads to dried-on cleaner and water spots.
Fix Stubborn Contaminants in Minutes

Caked Brake Dust That Won’t Budge
Spray iron remover directly on affected areas—it’ll turn purple as it dissolves metal particles. Wait 3 minutes, then agitate with your stiff brush. Critical: Rinse thoroughly before it dries, or it leaves purple stains.
Road Tar and Winter Salt
- Tar: Apply tar remover to a microfiber towel (not directly on rim), wait 30 seconds, then wipe gently. Repeat until black residue lifts.
- Salt: Clean within 48 hours of exposure. Spray vinegar solution on inner barrels where salt collects, scrub with stiff brush, then rinse for 60+ seconds.
Water Spots on Chrome
Mix equal parts white vinegar and water in a spray bottle. Spray on, wait 2 minutes, then wipe with a damp microfiber towel. For etched spots, repeat the aluminum foil method.
Apply Protection That Repels Brake Dust for Months
Skip wax—it washes off in weeks. Instead:
| Protection Type | Cost | Duration | Application Tip |
|---|---|---|---|
| Ceramic Spray | $25 | 3-6 months | Spray on dry rim, wipe off in straight lines |
| Polymer Sealant | $18 | 6-12 months | Apply thin coat, wait 10 minutes before buffing |
| Carnauba Wax | $10 | 4-6 weeks | Only use on cool rims out of direct sunlight |
Pro move: Apply protection to completely dry rims. Any moisture trapped under the coating causes hazing.
Weekly Maintenance That Prevents Deep Cleaning
Spend 10 minutes weekly to avoid 2-hour scrub sessions:
– Quick rinse after rainy/snowy drives (salt and grime bake on within hours)
– Spot clean with waterless wash spray for light dust
– Dry thoroughly around valve stems using compressed air or a straw
– Touch-up sealant monthly where water no longer beads
Costly Mistakes That Ruin Rims Permanently
Never:
– Clean rims in direct sunlight (causes instant spotting)
– Use dish soap as primary cleaner (strips protective coatings)
– Mix different chemicals (creates toxic fumes)
– Dry with terry cloth towels (leaves micro-scratches)
Stop immediately if you see:
– Paint turning sticky or cloudy (chemical reaction)
– Chrome losing reflectivity during cleaning
– White chalky residue (oxidation accelerating)
Budget Setup Under $50 (20+ Cleanings)
- pH-neutral cleaner: $12
- Soft brush set: $18
- Microfiber towels (10-pack): $15
- Vinegar + baking soda: $5
This beats $25-$40 car washes that use abrasive brushes. For severe corrosion or peeling clear coat, seek professional help ($100-$300 per wheel)—DIY won’t fix structural damage.
Your Rim Maintenance Schedule
- Weekly: Quick rinse + dry
- Bi-weekly: Light cleaning with pH-neutral spray
- Monthly: Full deep clean + protection application
- Quarterly: Inspect for pitting/oxidation, reapply ceramic coating
Clean rims transform your car’s presence—they signal pride of ownership in a way paint jobs can’t match. By following this exact process, you’ll keep wheels showroom-sharp without professional costs. That deep, reflective finish isn’t just about looks; it’s proof you’ve stopped brake dust in its tracks before it destroys your investment. Start this weekend, and you’ll never pay for a wheel cleaning again.


