
Your diamond ring should catch light like a prism—until hand sanitizer, lotion, and skin oils transform it into a dull pebble within weeks. When that brilliant stone loses its fire, professional cleaning feels like the only solution. But you can safely restore that showroom sparkle at home with methods jewelers actually recommend. This guide reveals exactly how to clean diamond ring at home without risking stone loss or metal damage—using ingredients from your kitchen cabinet.
Most diamond rings lose 70% of their brilliance within 30 days of regular wear due to microscopic debris buildup. The good news? With the right technique, you’ll revive that fire in under 30 minutes. Skip dangerous hacks like boiling water or toothpaste that scratch metal, and follow these science-backed methods instead.
Why Your Diamond Ring Loses Sparkle in Just Weeks
Daily wear creates invisible enemies for your diamond ring. Hand sanitizer leaves polymer films, lotions build up waxy residues, and skin oils seep into microscopic crevices beneath the stone. These contaminants scatter light instead of reflecting it—making even the highest quality diamond appear cloudy. Worse, mineral deposits from hard water create permanent haze if not addressed monthly.
How Different Metals React to Daily Wear
Platinum develops a natural patina that some owners prefer, while white gold’s rhodium plating wears thin near prongs within months. Rose gold’s copper content reacts with acidic skin pH, causing darkening at contact points. Yellow gold scratches more easily from keys or countertops. Each metal requires specific cleaning approaches to prevent irreversible damage.
Critical Pre-Cleaning Inspection Steps
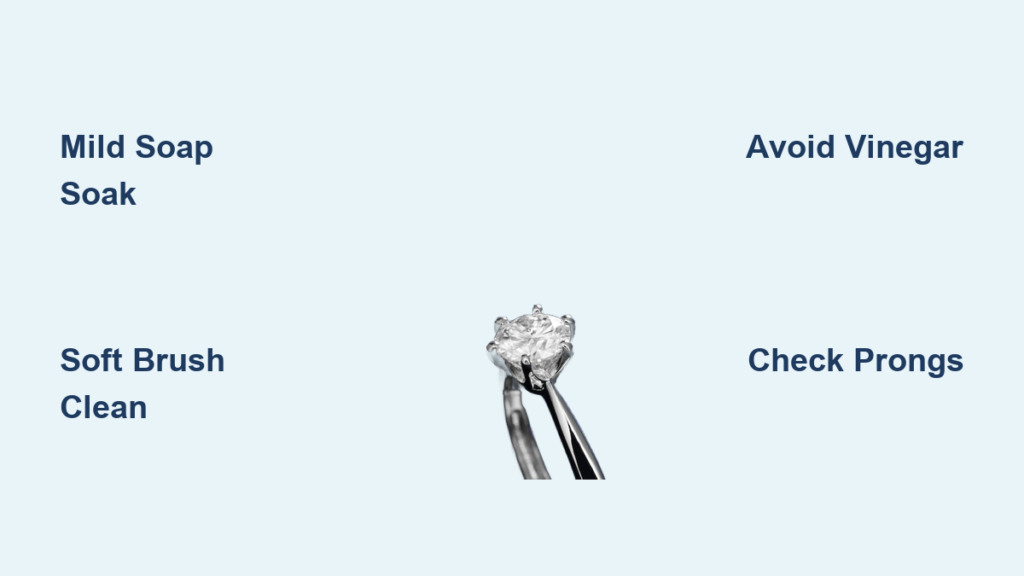
Before touching any solution, examine your ring under bright light with a 10x jeweler’s loupe. Gently press each prong—if it bends easily or the diamond wiggles, stop immediately. Check for hairline cracks radiating from the stone or missing micro-pavé accents. Cleaning a compromised setting risks immediate stone loss. If you spot any damage, skip home cleaning and visit a jeweler within 48 hours.
Safe Home Cleaning Solutions Jewelers Actually Recommend

Mild Soap Solution: Your Weekly Cleaning Workhorse
What you need:
– 1 cup warm water (100-110°F—test with elbow)
– 3-4 drops Dawn Original dish soap (scented varieties leave residue)
– New soft-bristled baby toothbrush
Why it works: Dish soap’s surfactants break oil bonds without harming metals. The lukewarm temperature prevents thermal shock to diamonds. Soak for 20 minutes, then gently brush all surfaces using circular motions—especially beneath the diamond where light enters. Rinse under running water for 30 seconds, checking for soap film in crevices.
Pro Tip: For white gold rings, skip ammonia additions—the rhodium plating degrades with repeated exposure. Stick strictly to soap and water.
Vinegar Method for Hard Water Haze
When your diamond looks permanently cloudy despite regular cleaning, mineral deposits are likely the culprit. Mix equal parts white vinegar and warm water in a glass bowl. Submerge your ring for exactly 5 minutes—any longer risks damaging porous metals. Use a wooden toothpick wrapped in microfiber cloth to dislodge deposits from tight settings. Rinse thoroughly under warm water until vinegar smell disappears completely.
Warning: Never use vinegar on rose gold—it reacts with copper content, causing permanent darkening. Skip this method entirely for yellow gold rings older than 20 years.
Step-by-Step Deep Cleaning Protocol That Works
Phase 1: Debris Removal (5 Minutes)
- Dry brush with a clean makeup brush to remove surface dust
- Lift lint using masking tape pressed gently against settings
- Identify stubborn spots with magnification—note areas needing extra attention
Phase 2: Immersion Cleaning (20 Minutes Total)
- Soak: Submerge ring in soap solution using plastic tweezers
- Agitate: Gently swirl solution every 3 minutes to dislodge debris
- Timing: Set phone alarm—over-soaking weakens metal settings
Phase 3: Mechanical Cleaning (Critical!)
Hold your baby toothbrush at 15-20 degrees to the setting. Apply pressure no greater than you’d use washing your face. Focus on the diamond’s pavilion (bottom facets) where light enters—this area collects 80% of debris. For pavé settings, brush only in the direction stones are set to avoid lifting prongs.
Pavé Setting Cleaning: Avoiding Loose Stones
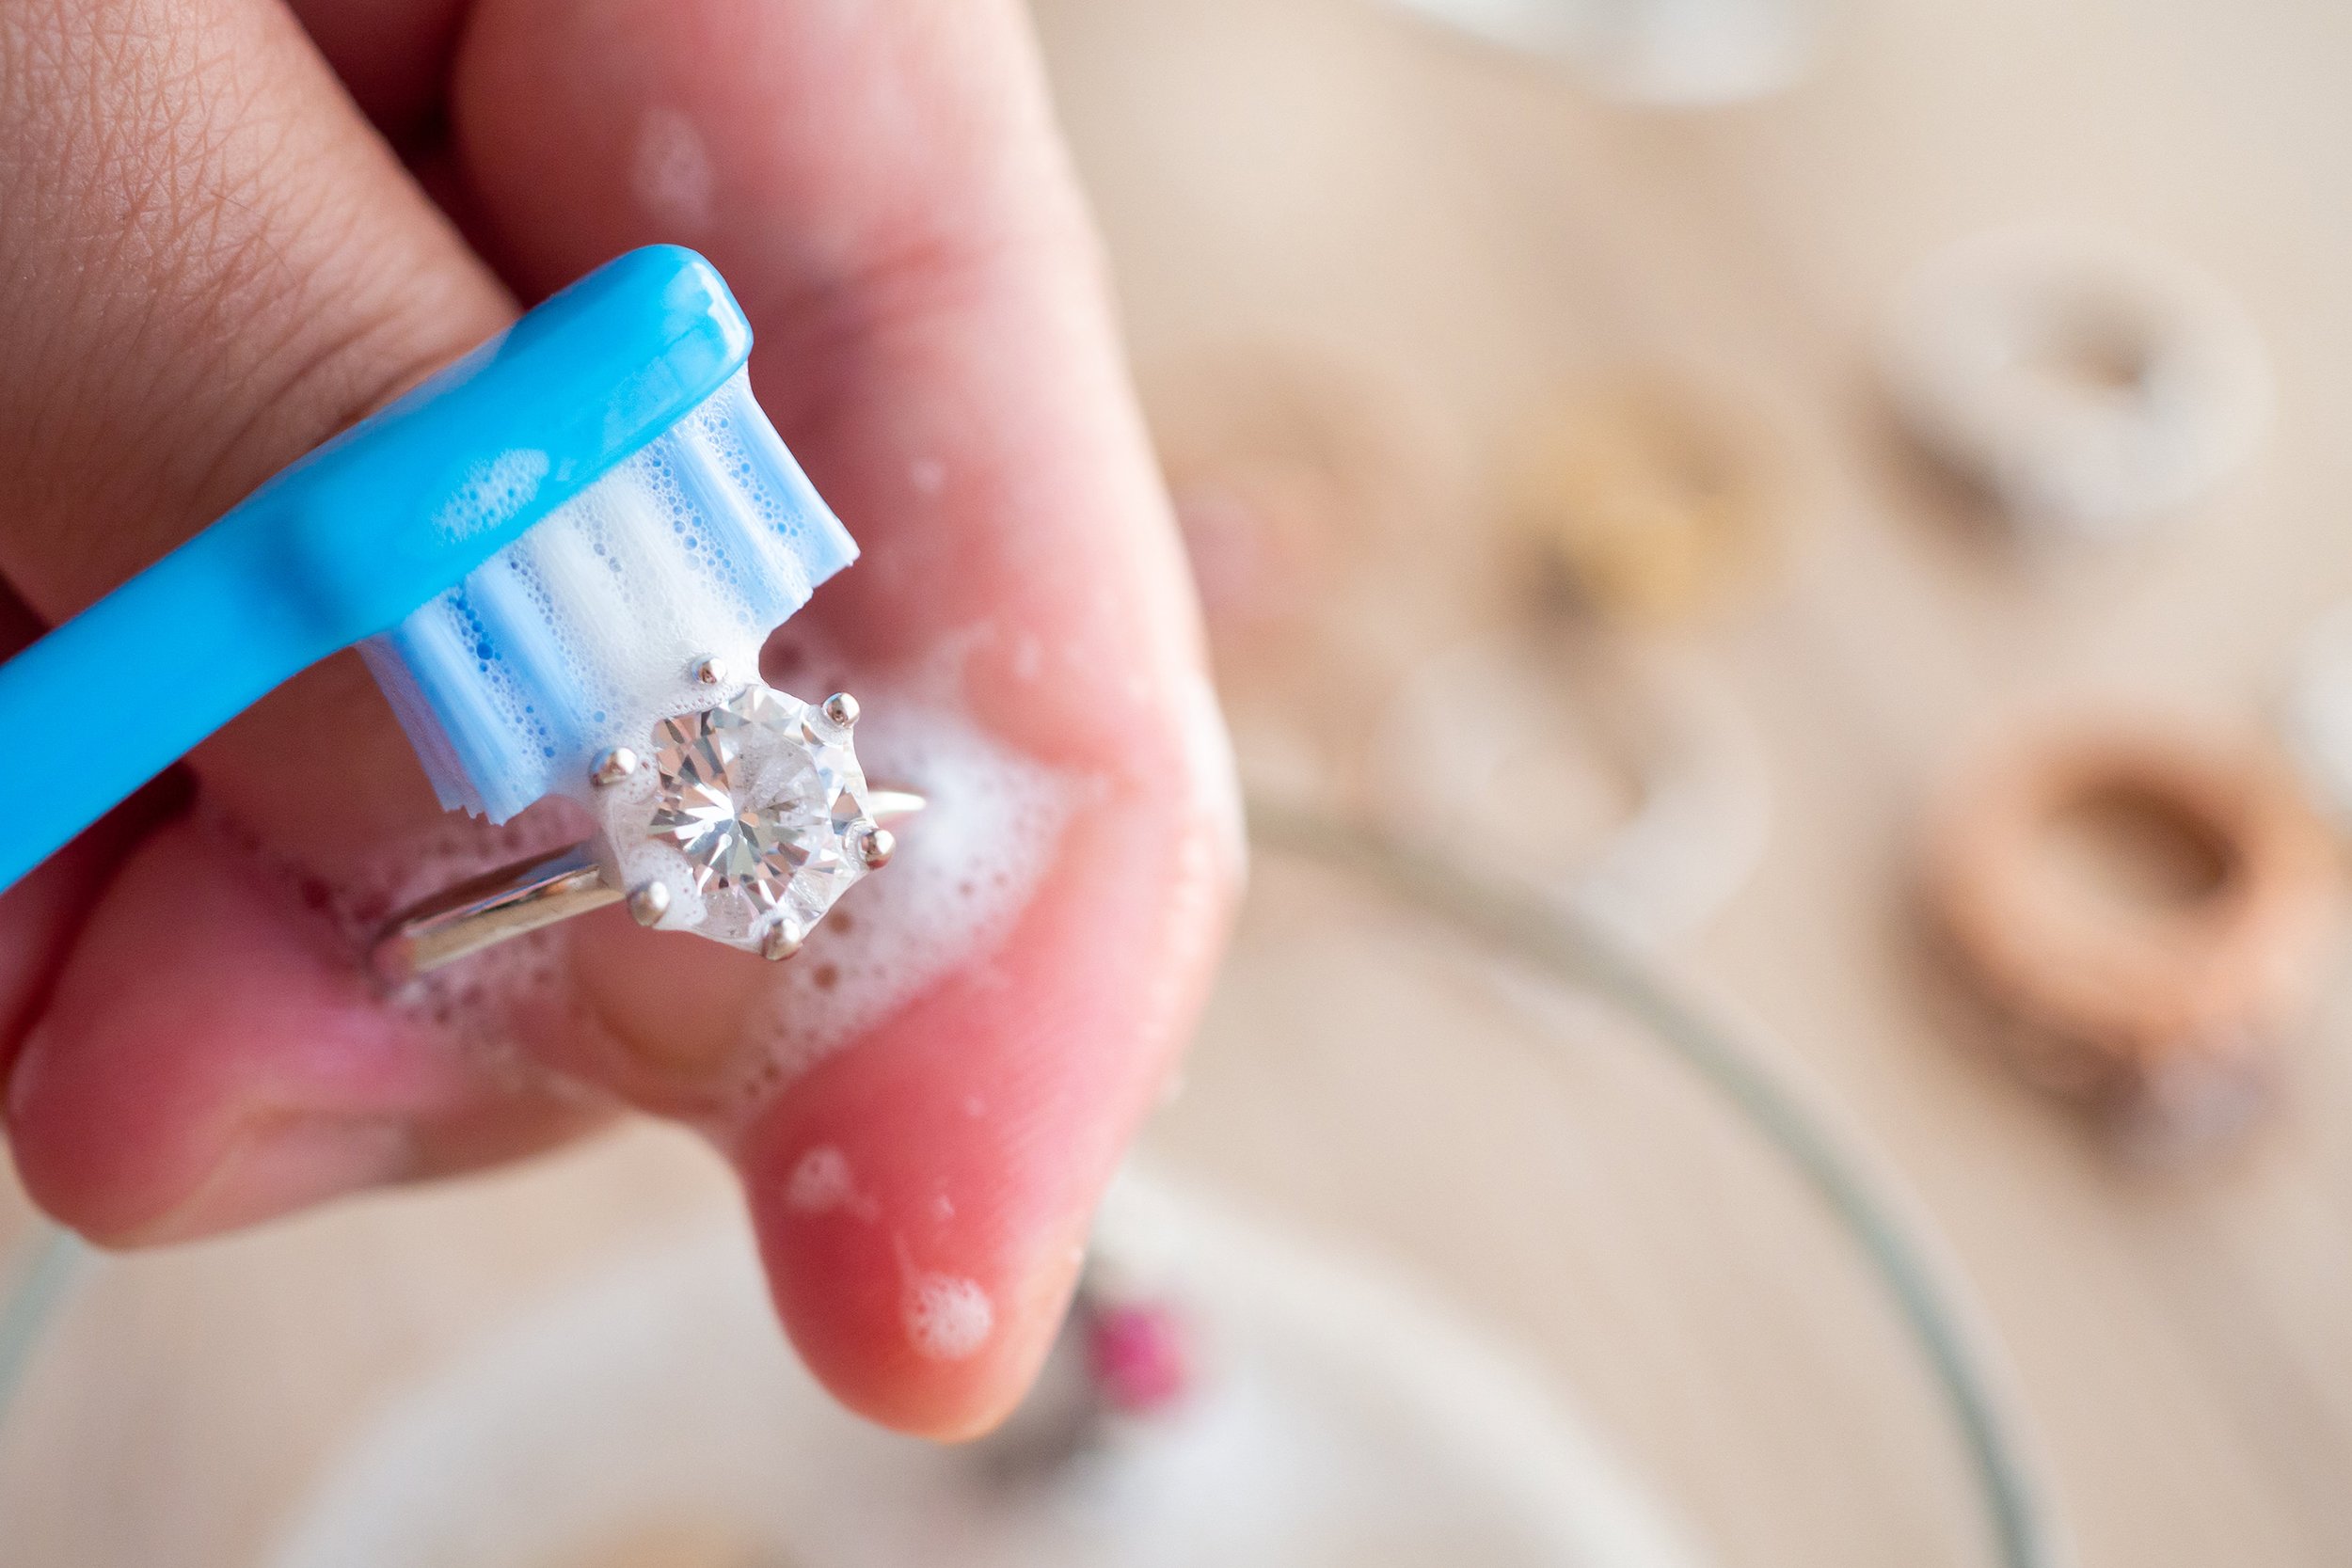
Micro-pavé settings contain dozens of tiny diamonds vulnerable to dislodging. Use a brand-new baby toothbrush with ultra-soft bristles—never an adult toothbrush. Brush exclusively toward the center stone to prevent prong deformation. After cleaning, tap the ring gently on paper—if you hear rattling, stop wearing it immediately and see a jeweler.
Visual Cue: Properly cleaned pavé settings should show distinct metal beads between each stone, not hidden under grime.
3 Deadly Cleaning Mistakes That Damage Diamond Settings
:max_bytes(150000):strip_icc()/BRI-How-to-Clean-Diamond-Ring-Graphic-d52ceeee32184fd499a746554bcb2be0.jpg)
Chemical Disasters You Must Avoid
- Toothpaste: Contains 150+ microns of abrasives that scratch gold plating
- Bleach: Causes irreversible pitting in white gold within 2 minutes
- Boiling Water: Creates thermal shock that cracks diamonds along cleavage planes
Mechanical Damage Triggers
Scrubbing with back-and-forth motions instead of circles bends prongs over time. Using metal tools to dislodge debris leaves permanent scratches on settings. Skipping the pre-cleaning inspection risks cleaning a loose stone right out of its setting.
Timing Errors That Compound Damage
Soaking more than 20 minutes in any solution weakens metal joints. Rinsing with cold tap water after warm solutions causes contraction stress. Air-drying on paper towel leaves microscopic fibers in settings—always use compressed air first.
Daily, Weekly, Monthly Maintenance Schedule
30-Second Daily Routine
Rinse your ring under warm water while washing hands. Dry with a microfiber cloth (paper towels leave fibers). Visually check prongs for security—any visible gap between stone and metal means immediate jeweler visit.
5-Minute Weekly Refresh
Soak in mild soap solution while brushing teeth. Use toothbrush to clean all angles, focusing on the band’s interior where skin oils accumulate. Polish metal with a dedicated jewelry cloth to maintain luster.
30-Minute Monthly Deep Clean
Follow the full 5-phase protocol. Photograph your ring before and after to track wear patterns. If you notice yellowing on white gold or increased cloudiness, schedule professional rhodium plating.
Cloudy Diamond After Cleaning? Fix It in 60 Seconds
If your diamond remains hazy despite proper cleaning, soap residue is likely trapped beneath the setting. Hold the ring upside down under warm running water for a full minute, directing flow toward the stone’s base. For persistent film, repeat the vinegar method—but only if your metal type allows it. If cloudiness persists, your diamond may have surface-reaching inclusions requiring professional steam cleaning.
Urgent Warning: Never use acetone to remove haze—it dissolves adhesives in fracture-filled diamonds, causing permanent damage.
When Home Cleaning Fails: Professional Help Checklist
Visit a jeweler immediately if:
– Diamond shows rainbow flashes when tilted (indicates fracture filling damage)
– White gold displays yellow patches near prongs (rhodium plating failure)
– You find metal shavings in your cleaning solution (excessive wear)
– Ring value exceeds $5,000 or has antique craftsmanship
For routine maintenance, professional cleaning costs $25-75 but includes critical services you can’t replicate at home: ultrasonic cleaning for microscopic debris, prong tightening, and fracture inspection under high magnification.
Your diamond ring should now refract light with maximum fire and brilliance—just like the day you first said yes. By following this precise home cleaning protocol monthly and incorporating the 30-second daily routine, you’ll maintain that jaw-dropping sparkle for decades. Remember: the real secret isn’t expensive products, but consistent, gentle care that respects your ring’s unique composition. Keep this guide handy for your next cleaning session, and never pay for basic maintenance again.


