
Your platinum ring’s brilliant shine has faded to a dull haze after months of daily wear, and you’re staring at it wondering if you need to pay $50+ for professional cleaning. The truth? You can restore that mirror-like luster in your kitchen using supplies already in your cabinet—without risking damage to delicate settings or gemstones. This guide reveals the exact techniques professional jewelers use, adapted for foolproof home application. You’ll discover which household ingredients actually work (hint: not vinegar!), how to clean intricate pave settings safely, and why your “quick rinse” is making the cloudiness worse.
Stop risking your heirloom jewelry with internet myths. Follow these vetted methods to maintain your platinum ring’s value while preventing common mistakes that cause permanent damage. Whether you’re dealing with a diamond engagement ring or a simple wedding band, these steps work for all platinum jewelry.
Why Your Platinum Ring Loses Shine (And How to Fix It Now)
Platinum’s natural density creates microscopic surface scratches from daily contact with surfaces like countertops and phones—this isn’t damage but expected wear. Unlike white gold, your ring won’t tarnish or need rhodium replating, but oils from skin, lotions, and hair products embed in these tiny grooves, causing that frustrating cloudy appearance. The good news? This film responds perfectly to gentle home cleaning. Skip abrasive polishes that accelerate scratching—proper technique removes buildup while preserving platinum’s desirable patina.
3 Critical Checks Before Cleaning (60 Seconds That Prevent Disaster)
Loose stone test: Tap each prong gently with a wooden toothpick. Any movement means STOP—take it to a jeweler immediately.
Prong inspection: Shine a flashlight sideways across the ring. Lifted or thin prongs (common on center stones) require professional repair before cleaning.
Non-platinum components: Identify mixed metals, enamel inlays, or glued gemstones (like some vintage rings)—these demand modified cleaning approaches.
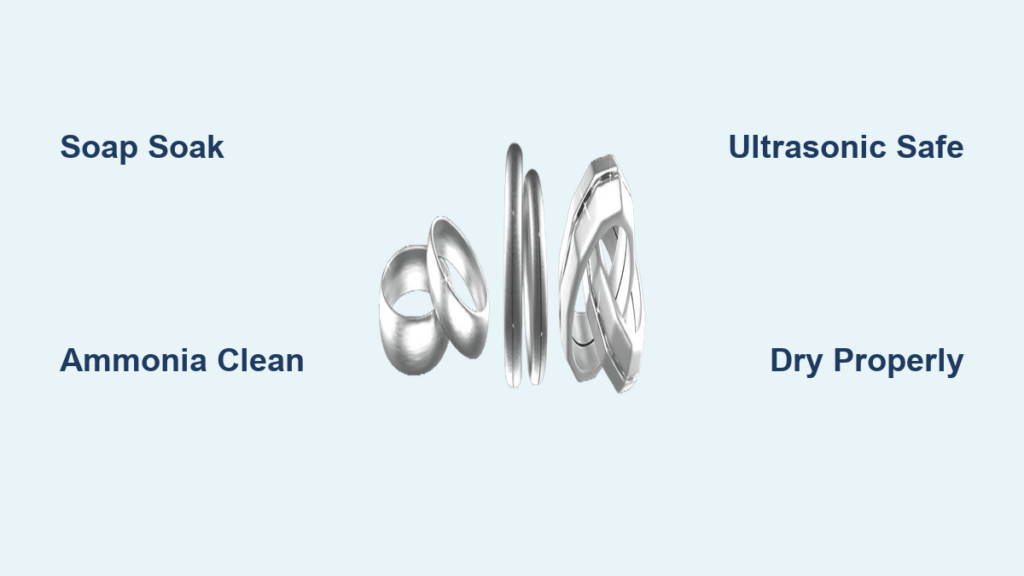
Daily Soap Soak: 20-Minute Shine Restoration for Platinum Rings
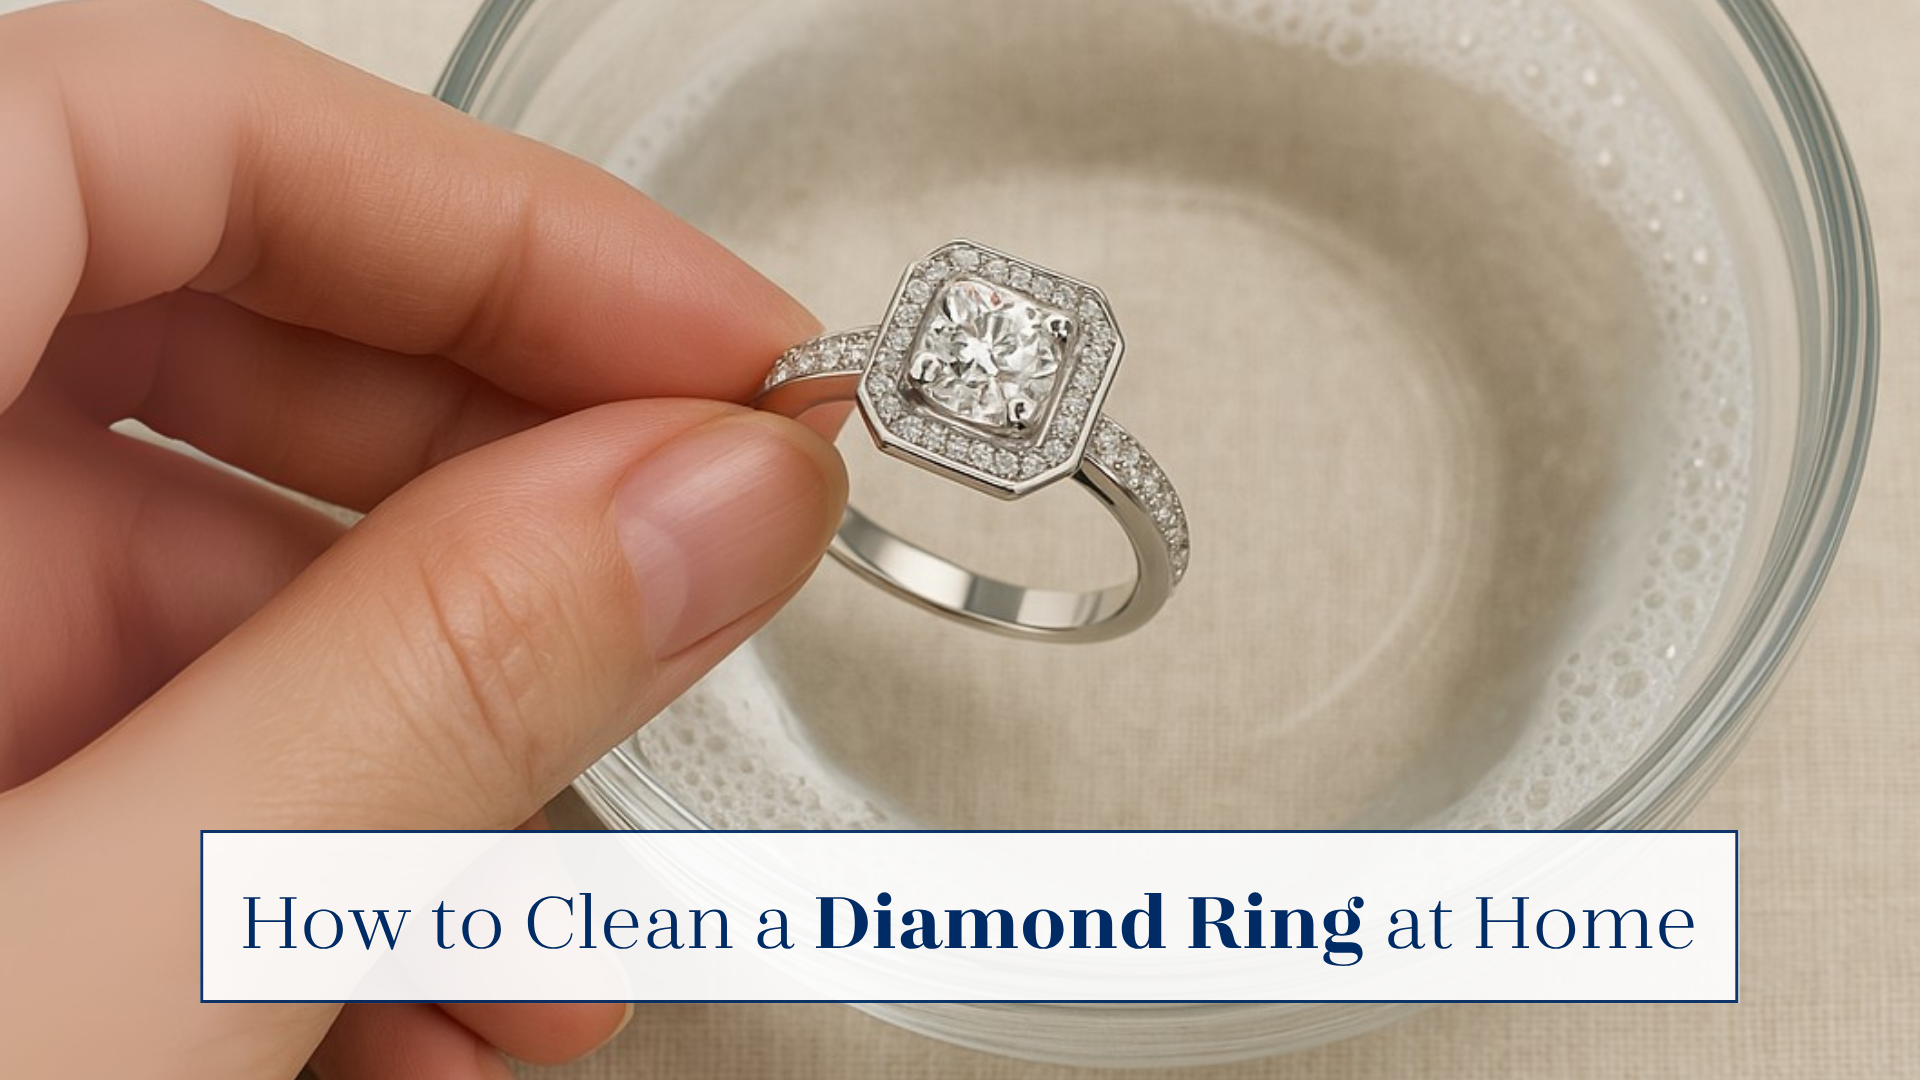
This method removes 90% of buildup for rings worn daily. It’s safe for all diamond and hard gemstone settings when done correctly.
Perfect Cleaning Solution Formula (Avoid These Mistakes)
- 2 drops Dawn Platinum dish soap (not antibacterial or moisturizing formulas)
- 1 cup warm tap water (100°F max—hot water loosens prongs)
- Small ceramic bowl (metal or plastic can react with cleaning solution)
Why this works: The soap’s degreasing agents lift oils without stripping platinum’s natural patina. Most cloudy rings result from residue left by harsher cleaners—this gentle formula avoids that trap.
Step-by-Step Brushing Technique for Maximum Sparkle
- Soak ring 15 minutes (set timer—longer causes water spots)
- Brush with baby toothbrush held vertically to clean under prongs
- Focus on the pavilion (bottom facets) of diamonds where oil hides
- Rinse under running water for 30 seconds (hold ring in palm to prevent drops)
- Critical drying step: Pat dry with microfiber cloth—never rub—then air-dry 10 minutes
Pro tip: Place a strainer over the sink during rinsing. If you see white film in the strainer, repeat soaking—this means soap residue remains.
Deep Clean for Stubborn Buildup: Ammonia Method Done Right
Use this only when soap soaking fails to restore shine. Never for emeralds, opals, pearls, or turquoise.
Why Standard Ammonia Advice is Dangerous
Most guides say “ammonia and water,” but they omit the critical third ingredient that prevents damage:
– 1 cup warm water
– ¼ cup clear household ammonia (not window cleaner!)
– 1 tsp dish soap (creates protective barrier on metal)
Soak exactly 8 minutes—any longer risks prong weakening. Remove immediately if you see bubbles forming on stones.
Ultrasonic Cleaning at Home: When It’s Safe (And When It’s Not)
Only attempt if:
– Ring has no loose stones (confirmed by pre-cleaning check)
– Settings are modern (post-1990) with thick prongs
– Never for pave, vintage, or tension settings
Procedure:
1. Fill tank with jewelry-specific solution (not water alone)
2. Run 3-minute cycle max
3. Rinse under running water for 2 full minutes
4. Inspect stones with magnifier before wearing
Warning: Ultrasonic cleaners can dislodge stones in damaged settings—when in doubt, skip this method.
Gemstone-Specific Cleaning Rules You Can’t Ignore
Diamond Settings: The Hidden Cleaning Zone Most Miss
Over 70% of diamond sparkle loss comes from dirt on the back facets. After soaking:
– Hold ring upside down under light
– Brush pavilion with toothbrush held at 45-degree angle
– Rinse with water stream directed upward through the setting
Colored Gemstone Emergency Protocol
For emeralds/opals: Skip soaking entirely. Dampen microfiber cloth with distilled water, gently wipe stone surface, and dry immediately. Ammonia or prolonged moisture causes fractures.
For sapphires/rubies: Reduce soak time to 5 minutes max in soap solution.
Pave Setting Survival Guide
:max_bytes(150000):strip_icc()/BRI-How-to-Clean-Diamond-Ring-Graphic-d52ceeee32184fd499a746554bcb2be0.jpg)
Micro-pave stones (tiny side stones) require surgical precision:
– Use unused makeup brush instead of toothbrush
– Dip only brush tips in solution—no soaking
– Brush in single direction (not circular motions)
– Stop immediately if you feel brush snagging
Drying & Polishing: Where 95% of Home Cleaners Fail
The Water Spot Fix That Jewelers Keep Secret
Pat dry with microfiber, then:
1. Dip cotton swab in isopropyl alcohol (90%+)
2. Wipe band edges where water collects
3. Air-dry 5 minutes on folded paper towel
Why it works: Alcohol evaporates faster than water, preventing mineral deposits.
Home Polishing That Won’t Ruin Your Ring
- Use only platinum-specific polishing cloths (generic silver cloths contain acids)
- Rub in straight lines along band curvature—never circular motions
- Focus on high-wear areas (palm side of band)
- Stop when you see bright streaks—over-polishing creates uneven shine
Time investment: 3 minutes weekly prevents 90% of buildup.
Weekly Maintenance Schedule by Ring Type
| Ring Type | Cleaning Frequency | Critical Focus Area |
|---|---|---|
| Daily wear engagement ring | Every 7 days | Diamond pavilion and prong bases |
| Plain platinum wedding band | Every 14 days | Entire band surface |
| Vintage ring with filigree | Professional only | N/A (home cleaning risks damage) |
Pro tip: Set phone reminders labeled “Platinum Spa Day” to maintain consistency.
When Home Cleaning Becomes Dangerous: 5 Emergency Signs
Seek professional help immediately if you see:
– Prong gaps where you can slide paper under metal
– Stone wobble when tapped with toothpick
– Deep scratches catching on clothing
– Persistent cloudiness after 3 proper cleanings (indicates chemical damage)
– Black marks (possible mercury exposure—do NOT attempt home removal)
Never attempt: Prong tightening, stone replacement, or scratch removal at home. These require specialized tools.
Hotel Room Emergency Cleaning (3 Steps)
Traveling and need quick shine?
1. Request unscented hotel hand soap and soft toothbrush from concierge
2. Soak 10 minutes in room-temperature water
3. Dry with corner of cotton t-shirt (hotel towels leave lint)
Avoid: Hotel cleaning chemicals—they contain abrasives that scratch platinum.
Cost Comparison: Home vs Professional Cleaning
| Method | Annual Cost | Best For |
|---|---|---|
| Home cleaning | $18 (soap, cloths) | Daily wear rings |
| Professional basic clean | $50-$75 | Pre-event shine |
| Professional polish/refinish | $120+ | Rings with deep scratches |
Smart strategy: Clean weekly at home, then get professional cleaning once yearly before major events. Saves $200+ annually while maintaining warranty coverage.
Your platinum ring’s brilliance depends on consistent, gentle care—not expensive treatments. By following these precise methods, you’ll maintain its lustrous shine while avoiding costly damage. Remember: When in doubt about stone security or cleaning safety, consult a professional. For daily wear rings, stick to the 15-minute soap soak weekly—it’s the single most effective habit for preserving your ring’s beauty for decades. Keep this guide bookmarked for your next cleaning session, and your platinum will thank you with generations of radiant sparkle.


