
Your first piece of handmade jewelry could be finished before lunch—no expensive tools or years of training required. Learning how to make jewellery at home transforms ordinary materials into wearable art while unlocking a 4,300-year-old craft tradition. Forget intimidating workshops: with just pliers, wire, and beads, you’ll create professional-looking pieces faster than you’d believe possible. This guide cuts through the overwhelm by focusing on three beginner-proof techniques that deliver instant results.
Skip the frustration of failed crimps and snapped threads. You’ll master wire wrapping without heat, build unbreakable beaded bracelets, and avoid the top 5 mistakes that make new makers quit. Whether you’re crafting a gift tonight or building a side business, these actionable steps work with under $50 in supplies.
Wire Wrapping Your First Pendant: No Soldering Needed Since 2300 BC
Archaeologists found wire-wrapped amulets in ancient Iraq dating back to 2300 BC—proof you can create lasting jewelry without torches or kilns. Modern makers use this same principle to secure stones and form loops using only pliers and copper wire. Start with this foolproof method that takes 15 minutes.
How to Craft a Wire-Wrapped Stone Pendant in 5 Steps
- Cut 12 inches of 20-gauge copper wire (thicker than standard beading wire but easy to bend)
- Thread your stone onto the wire’s center point—use smooth river rocks or affordable quartz points
- Cross wires above the stone and twist tightly 3 times with chain-nose pliers
- Wrap each side downward 4-5 times around the base wire, keeping tension firm but not crushing the stone
- Form a bail loop at the top by bending wire around round-nose pliers and crimping the end flush
Critical mistake to avoid: Skipping wire hardening. Hammer your finished pendant gently with a chasing hammer for 30 seconds—this compresses the metal so loops won’t loosen. Without this step, your pendant could unravel after three wears.
Why Copper Wire Beats Sterling Silver for Beginners
Copper’s softness forgives early mistakes while teaching proper tension control. When you accidentally kink a wire, simply anneal it: hold with pliers 2 inches from flame for 10 seconds until it glows dull red, then quench in water. Sterling silver requires precise torch control beginners rarely achieve—wasting $30 on a ruined piece kills motivation. Master 10 copper projects first; your silver results will improve by 80%.
Build Unbreakable Beaded Bracelets That Survive Daily Wear

Most beginners quit after their first bracelet snaps because they use thread instead of professional-grade stringing material. The secret? FireLine 6lb test braided fishing line—it’s virtually invisible, cuts cleanly, and won’t fray like nylon. This $8 spool creates bracelets that last years, not weeks.
Crimping Like a Pro: The 3-Second Fix for Loose Clasps
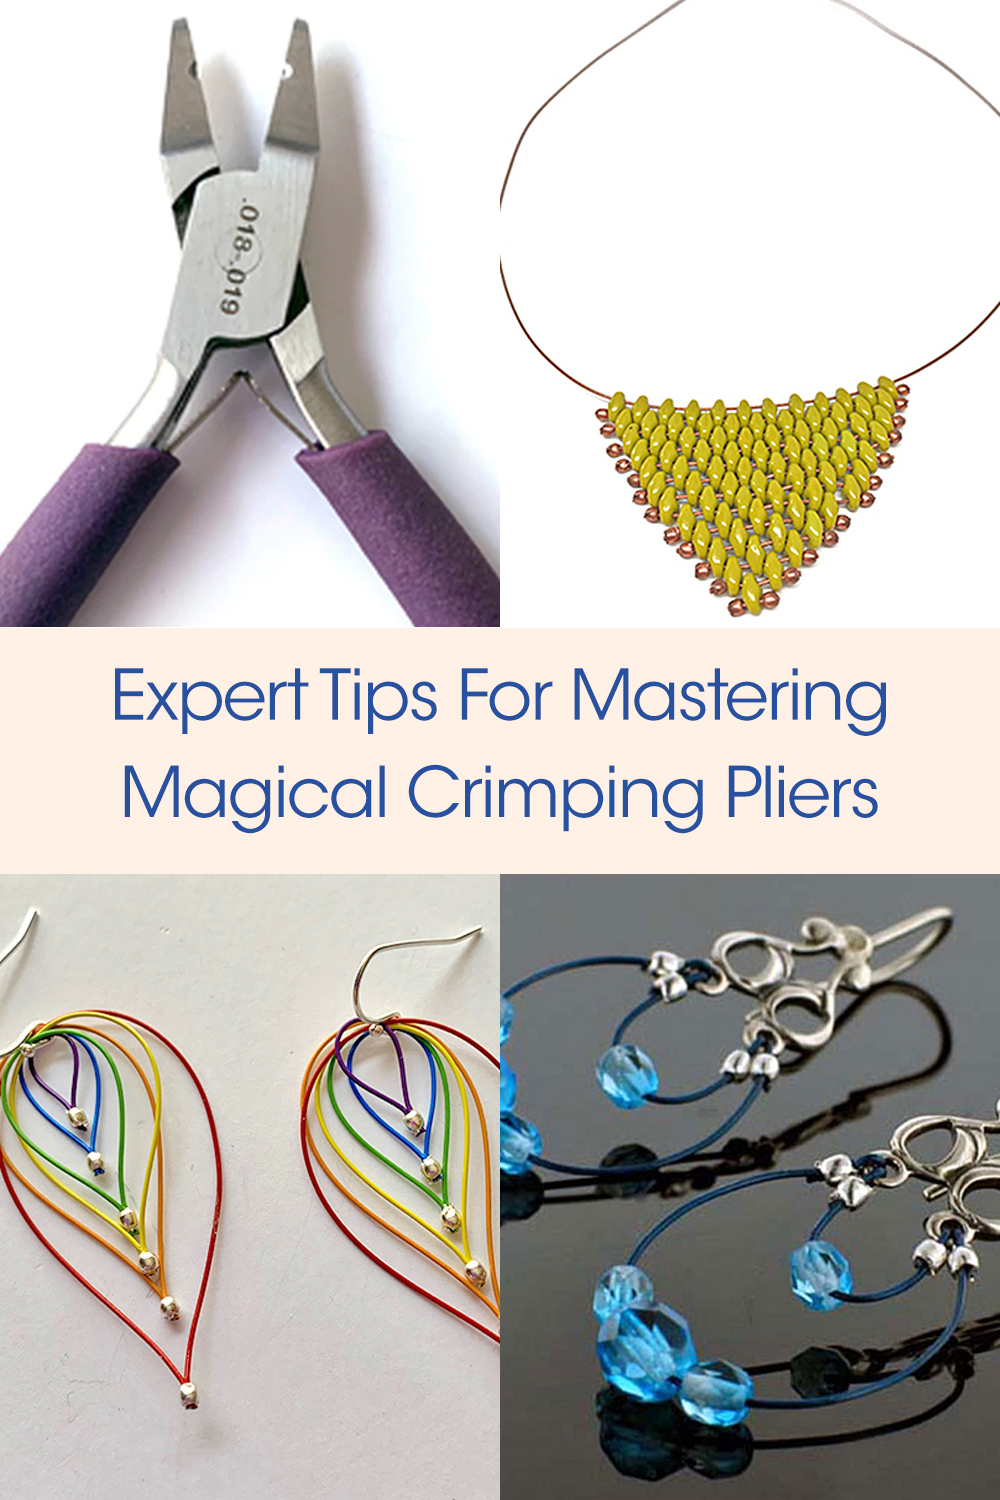
1. Thread a crimp bead onto FireLine before adding beads
2. Pass the end back through the crimp bead, leaving a 2-inch tail
3. Squeeze with crimping pliers: First notch flattens the bead, second notch folds it into a secure “U” shape
4. Trim excess thread with flush cutters angled away from the crimp
Visual cue: A properly crimped bead shows no gaps and lies flat against the clasp. If light shines through the crimp, it will fail within days. Test your work by pulling both ends firmly—any movement means re-crimping.
Why Your Bead Layout Looks “Off” (And How to Fix It)
Beginners often cram beads too tightly or leave awkward gaps. Solve this instantly with a bead board—a $5 tool with measurement markings. Lay out your design dry first:
– Space 8mm beads 1mm apart for drape
– Place focal beads (like crystals) at ⅓ points for balance
– Use spacer beads (2-3mm) between larger elements
Pro tip: Take a photo of your layout before stringing. This prevents accidental pattern changes during assembly.
Metal Clay Magic: Skip the Kiln with Torch-Fire Options
Metal clay’s play-dough texture lets you sculpt jewelry without sawing or soldering. But most beginners crack their first pieces by drying too fast. Copper clay solves this—it’s 90% cheaper than silver and torch-fireable, avoiding $600 kiln costs.
Torch-Firing Copper Clay Pendants Without Melting Your Bench
1. Roll clay to 3mm thickness using texture plates for instant detail
2. Dry overnight under a coffee filter (prevents cracking from drafts)
3. Place on vermiculite in fireproof container—never on wood!
4. Heat with butane torch 2 inches away for 2 minutes until glowing red
5. Quench in cold water—you’ll hear a satisfying hiss
Danger zone: Firing directly on a kiln brick causes hotspots that warp pieces. Vermiculite distributes heat evenly. If your pendant smokes excessively, you’re holding the torch too close—back off immediately.
Why Your First $20 Project Beats Expensive Kits

Most starter kits waste money on rarely used tools. Invest in this non-negotiable core toolkit instead:
| Tool | Purpose | Beginner Cost |
|---|---|---|
| Flush cutters | Clean wire ends | $12 |
| Round-nose pliers | Perfect loops | $15 |
| Chain-nose pliers | Tight bends | $10 |
| Copper wire (20g) | Practice without regret | $8 |
Skip “all-in-one” kits—they include pliers with plastic handles that melt near torches. Buy individual tools with steel jaws and heat-resistant grips. Your first real project? A hammered copper ring:
1. Cut 4 inches of 18g wire
2. Wrap around ring mandrel
3. Texture with chasing hammer
4. Polish with jeweler’s cloth
This $5 project teaches wire control, texturing, and finishing—skills transferable to silver work later.
Avoid These 3 Beginner Disasters (Before They Wreck Your Gear)
#1: Wire Snaps During Wrapping
Cause: Overworking metal until brittle
Fix: Anneal wire every 5 bends (heat 10 seconds, quench)
Warning: Never anneal near flammable materials—use a soldering brick
#2: Bead Thread Frays at Clasp
Cause: Rough metal findings scraping thread
Fix: Slide French wire (tiny metal coils) over thread ends before crimping
Pro move: Dip thread ends in beeswax—reduces friction by 70%
#3: Metal Clay Cracks Before Firing
Cause: Uneven drying in direct sunlight
Fix: Cover pieces with a perforated plastic container lid (like a berry basket)
Critical: Never rehydrate with water—use olive oil for 10 seconds max
Final Takeaway: Your first wearable piece should take under 45 minutes with household items. Tonight, wrap a stone with copper wire from a hardware store, or string a stretch bracelet using embroidery floss and craft beads. The key isn’t perfection—it’s starting. Every master jeweler’s first piece had lopsided loops and crooked beads. How to make jewellery at home begins with one intentional bend of wire. Grab that $10 plier set, and wear your creation by sunset. Tomorrow, you’ll already be the expert your friends ask for help.


