
Water pooling around your feet during a shower or sinks that take forever to drain aren’t just inconveniences—they’re urgent warnings that your plumbing system is compromised. When water pipes become blocked at home, everyday tasks transform into stressful battles against standing water and foul odors. The good news? Most household clogs yield to simple DIY methods using items already in your kitchen or toolbox, saving you hundreds in emergency plumber fees while restoring normal flow within an hour.
Ignoring blocked water pipes accelerates damage, potentially leading to pipe corrosion or sewage backups. This guide delivers proven, step-by-step techniques to clear blocked water pipes at home using safe, effective methods that protect your pipes and wallet. You’ll learn to diagnose clog types, deploy household solutions like boiling water and baking soda, and implement preventive habits that keep drains flowing freely for months.
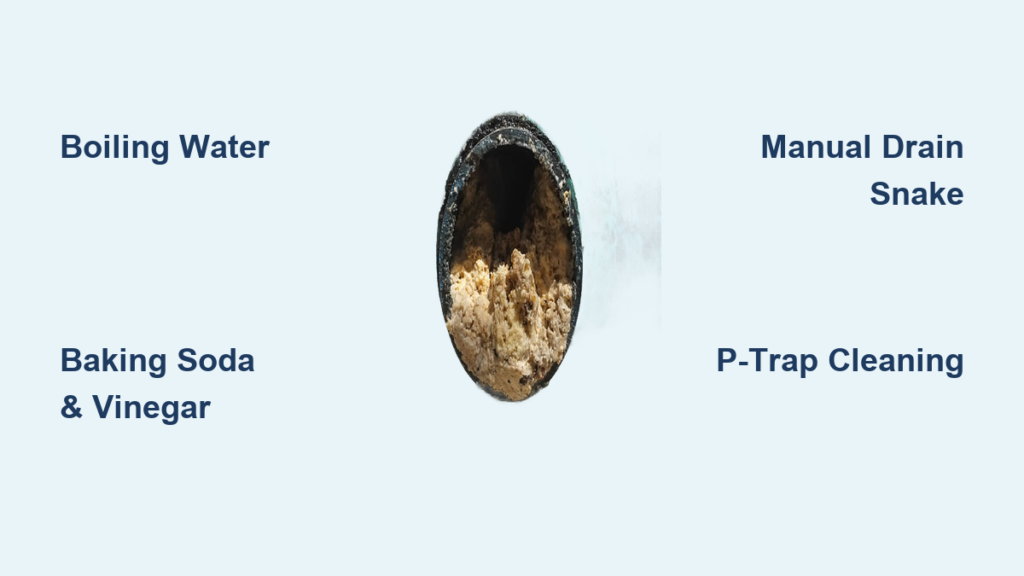
Identify Your Clog Type Before Acting
Jumping straight to plunging wastes time when you’re fighting the wrong enemy. Kitchen sink blockages announce themselves through slow-draining dishwater and gurgling sounds as air bubbles struggle through grease-laden sludge. These typically form where cooking oil solidifies with food scraps and soap in the P-trap—the curved pipe section under your sink.
Bathroom drains reveal distinct patterns: shower clogs feel like stepping on wet carpet due to hair and soap scum mats clinging to pipes, while bathroom sinks trap toothpaste residue and grooming debris. Toilet blockages often involve excessive paper or foreign objects stuck in the trap. Crucially, if multiple fixtures back up simultaneously—like toilets overflowing when you run the washing machine—you’re facing a main sewer line issue requiring professional intervention.
Gather These Unclogging Tools Before Starting
Avoid frantic tool hunts mid-crisis by assembling your arsenal first. For immediate action, grab household items you likely own: a cup plunger (different from toilet plungers), 1 cup baking soda, 1 cup white vinegar, ½ cup salt, and 2-3 quarts of boiling water. These handle 80% of common clogs without chemicals.
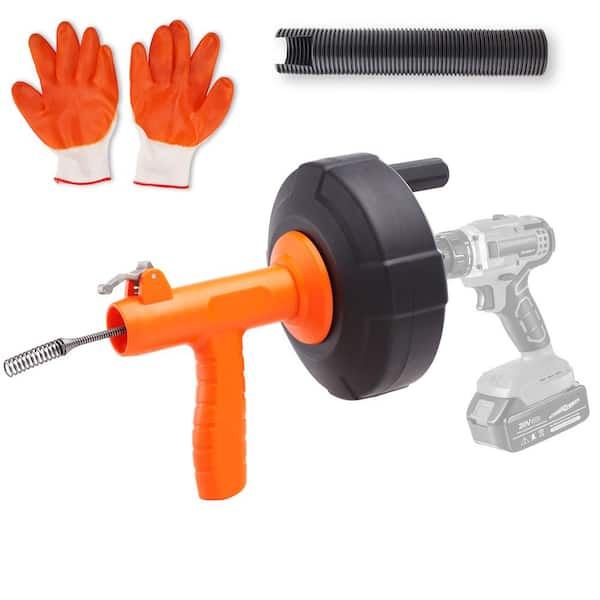
For stubborn blockages, add mechanical reinforcements: a 25-foot manual drain snake, 14-inch adjustable pipe wrench, 5-gallon bucket for messy water catchment, and heavy-duty rubber gloves. Never attempt P-trap disassembly without these—improvised tools risk cracking pipes or causing leaks that multiply your problems.
Clear Kitchen Grease Clogs With Boiling Water
Heat melts grease faster than harsh chemicals, making this your fastest first response for kitchen sink blockages. Boil 2-3 quarts of water, then remove standing water from the sink. Pour the boiling water in three separate stages, waiting 10 seconds between pours to maximize thermal impact on the clog. Test drainage—if water flows faster but still sluggish, repeat once.
Pro tip: Follow with a cold water blast to solidify remaining grease particles for easier flushing. This method works best on fresh clogs; compacted grease balls may need vinegar treatments. Never use boiling water on PVC pipes—the heat can soften plastic joints. Opt for very hot tap water instead.
Dissolve Organic Buildup With Baking Soda and Vinegar
This natural reaction creates carbon dioxide bubbles that physically agitate debris while mild acid dissolves hair and soap scum. Start by removing standing water, then pour ½ cup baking soda directly into the drain. Immediately follow with 1 cup white vinegar and cover the drain with a rubber stopper or tight cloth to contain the reaction. Let it work for 15-30 minutes before flushing with hot water for 2-3 minutes.
For shower drains, remove the strainer first to let the mixture penetrate hair mats. This method shines on bathroom clogs but struggles with deep mineral deposits. Use it monthly as preventive maintenance—even clear drains benefit from this gentle cleaning action.
Fix Slow Drains With Correct Plunging Technique
Most failed plunging attempts stem from broken seals or improper motion. For sinks and tubs, fill with 2-3 inches of water to create suction, position the cup plunger directly over the drain, and push down firmly before pulling up sharply—never break the seal. Complete 15-20 vigorous strokes, testing drainage after each set.
Toilet plunging demands special care: use a flange plunger (the one with an extra rubber lip), start with gentle pushes to expel air, then progress to forceful strokes while keeping water above the plunger cup. Aggressive initial plunging sprays contaminated water—build suction gradually. If water doesn’t recede after 3 sets, switch to a drain snake.
Remove Hair Mats With Manual Drain Snaking
When plunging fails, mechanical removal becomes essential—especially for shower clogs. Remove the drain cover or pop-up stopper, then feed a manual snake 6-8 inches into the drain while rotating clockwise. Feel for resistance indicating the clog location, then continue rotating while applying gentle forward pressure to break up or hook debris.
Critical warning: Never force the snake—excessive pressure can scratch pipes or push clogs deeper. When resistance lessens, slowly retract the snake, removing attached gunk. Flush with hot water afterward. If you hit immovable resistance after 18 inches, you likely have a main line issue requiring professional assessment.
Clean P-Traps to Eliminate Stubborn Clogs

That curved pipe under sinks often traps debris that simpler methods can’t reach. Place a 5-gallon bucket directly beneath it, then loosen slip nuts with a pipe wrench (turn left to loosen). Remove the trap carefully—water will drain immediately—and clean its interior with a bottle brush or straightened coat hanger. Check the trap arm for deeper obstructions before reassembling.
Must-do step: Take a photo before disassembly to ensure correct reconnection. Misaligned washers cause leaks that damage cabinets and floors. After reassembly, test thoroughly for both drainage speed and leaks—run water for 2 full minutes while inspecting connections.
Break Down Mineral Buildup With Salt Treatments
Hard water leaves calcium deposits that resist standard methods. Mix ½ cup table salt with ½ cup baking soda, pour the dry mixture into the dry drain, then add a small amount of hot water to move it into pipes. Leave undisturbed for 6-8 hours or overnight before flushing with very hot (not boiling) tap water.
This treatment works best on bathroom sink clogs from toothpaste and mineral deposits. For PVC pipes, skip boiling water entirely—use the hottest tap water available. Repeat monthly in problem areas to prevent buildup from narrowing pipes over time.
Prevent Future Pipe Blockages With Simple Habits
True plumbing mastery lies in prevention. Implement these no-cost habits immediately: wipe greasy pans before washing, use sink strainers religiously, and empty them daily. Weekly, run hot water down all drains for 30 seconds to flush early buildup.
Monthly, apply the baking soda-vinegar treatment to all drains—even flowing ones. Install hair catchers in showers and clean pop-up stoppers weekly by unscrewing the pivot rod. Quarterly, remove P-traps for deep cleaning and snake drains preventively with a 25-foot auger. These 2-minute routines prevent 90% of clogs.
Recognize When to Call Emergency Plumbers

DIY methods won’t fix every blockage—knowing when to stop prevents disaster. Call professionals immediately if you notice water backing up through floor drains, sewage odors permeating your home, or multiple fixtures clogging simultaneously. These signal main sewer line blockages often caused by tree roots or collapsed pipes.
During emergencies: Shut off your main water valve first, contain overflow with towels, document damage with photos, and contact a 24-hour plumber. Attempting DIY on main line issues risks raw sewage flooding your basement. While professional hydro-jetting costs $350-$600, it’s cheaper than flood restoration.
Maintain Clear Pipes With Seasonal Routines
Long-term pipe health requires strategic attention. In spring, clean outdoor drain vents after winter debris accumulation. Summer demands vigilance for tree root intrusion signs like sudden slow drainage. Fall means clearing gutters to prevent leaf-clogged downspouts from overwhelming sewer lines. Winter requires insulating exposed pipes to avoid freeze-related blockages.
For septic systems, skip chemical cleaners that kill beneficial bacteria—use enzyme treatments monthly instead. In older homes with cast iron pipes, opt for gentler methods to avoid dislodging corrosion flakes. These tailored approaches keep water pipes clear at home while extending your plumbing’s lifespan.
Clearing blocked water pipes at home transforms from crisis to routine when you understand clog types and apply targeted solutions. Start with boiling water for kitchen grease, move to baking soda-vinegar for organic buildup, and escalate to snaking only when needed. Most importantly, implement the preventive habits that stop 90% of clogs before they start. When multiple fixtures back up or sewage odors appear, call professionals immediately—your health and home’s safety depend on it. With these techniques, you’ll handle most blocked water pipes at home confidently, saving money while maintaining a smoothly flowing plumbing system.


