
That sticky feeling when you walk indoors, condensation streaming down windows, or the musty smell that won’t go away—these are telltale signs your home has a moisture problem. Left unchecked, excess humidity creates the perfect breeding ground for mold, triggers respiratory issues, and silently damages your home’s structure. The good news? You can take control starting today with proven strategies that work regardless of your budget or living situation.
A typical family generates 12 liters of water vapor daily through everyday activities—breathing, cooking, showering, and even indoor plant care. Understanding where this moisture comes from and how to manage it transforms your living space from damp and unhealthy to comfortable and safe. This guide walks you through practical solutions you can implement immediately, from quick wins to long-term strategies that permanently solve moisture issues.
Identify Your Home’s Moisture Sources
Every breath you take adds moisture to your air. A single person releases 0.8-1.7 kg of water vapor daily just through breathing and perspiration. Add cooking, showers, and houseplants, and you’ve got a constant moisture factory running 24/7.
Kitchen contributions top the list with 3 liters daily from cooking plus another liter per dishwasher load. That uncovered pot of boiling pasta? It’s releasing steam directly into your home’s air. Bathroom activities contribute 1.5 liters per shower or bath—multiply that by family members and daily routines. Laundry drying indoors releases a whopping 5 liters per load, making it the single largest controllable moisture source.
Hidden sources catch many homeowners off guard. Your houseplants release 0.5 liters weekly per plant. That beautiful aquarium adds constant evaporation unless covered. Even your morning coffee contributes to the daily moisture budget. Pinpointing these sources is your first step toward effective moisture control.
Measure Humidity Before Taking Action

You can’t fix what you can’t measure. Digital hygrometers provide accurate readings for $10-20 at hardware stores—skip analog versions that drift significantly over time. Position hygrometers away from heat sources and exterior walls, about four feet off the floor for representative readings.
Calibration matters. Test accuracy using the salt method: seal your hygrometer with a tablespoon of table salt and a few drops of water in a plastic bag for 24 hours. It should read exactly 75%. If not, note the offset for future readings.
Tracking protocol establishes baselines:
– Take readings every Sunday morning at the same time
– Record 24-hour highs and lows, not just current numbers
– Monitor problem areas: basements, bathrooms, and kitchens
– Note any visible condensation or musty odors alongside readings
Kitchen Moisture Control Tactics That Work

Cooking with lids reduces moisture release by 70%. That simple habit of covering pots prevents 2+ liters of steam from entering your air daily. Exhaust fan sizing matters—kitchens under 300 square feet need 100 CFM minimum, plus 100 CFM extra for gas cooking.
Post-cooking protocol prevents moisture migration: run exhaust fans for 15-20 minutes after cooking ends. This captures residual moisture released as food cools. Dishwasher settings make a difference—disable heat-dry and crack the door open instead. This simple change eliminates a liter of steam per load.
Quick wins you can implement today:
– Keep lids on all pots and pans
– Run exhaust fan before starting cooking
– Wipe down condensation immediately
– Open windows briefly after heavy cooking sessions
Bathroom Humidity Management That Prevents Mold
Shower timing determines moisture load. Reducing shower duration by just 2 minutes cuts moisture production by 25%. Fan requirements specify 50 CFM for bathrooms under 100 square feet, or 1 CFM per square foot for larger spaces.
Critical fan timing prevents moisture migration:
– Turn on exhaust fan before starting shower
– Keep running during entire shower
– Continue 30 minutes after shower ends
– Never rely on open windows alone during humid weather
Immediate fixes for existing bathrooms:
– Upgrade to properly sized exhaust fan
– Verify vent exhausts to exterior (not attic)
– Clean fan grills monthly—dust reduces efficiency by 50%
– Keep bathroom doors closed during showers
Eliminate Laundry Moisture Sources Completely

Indoor drying releases 5 liters per load—the equivalent of taking three extra showers. Moving clothes drying outdoors eliminates this entirely. When outdoor drying isn’t possible, proper venting becomes essential.
Venting requirements for tumble dryers:
– Use shortest possible vent path to exterior
– Clean lint filters every load
– Check exterior vent flaps quarterly for proper operation
– Never vent into attic or crawlspace
Emergency indoor drying protocol when necessary:
– Use least humid room in house
– Position dedicated fan for air circulation
– Keep doors closed to prevent moisture migration
– Run dehumidifier in drying room
Fix Basement Moisture Without Costly Contractors
Identifying the source determines the solution. Condensation issues create water droplets on cold surfaces—insulate pipes and seal air leaks. Groundwater infiltration appears as musty odors without visible water—install vapor barriers and check gutters.
HVAC-related problems require specific fixes:
– Verify ducts aren’t pulling humid outdoor air
– Ensure basement receives proper conditioning
– Check for oversized AC units causing humidity spikes
– Clean or replace HVAC filters monthly
DIY inspection checklist for basements:
– Look for condensation on cold water pipes
– Check rim joists for air leaks
– Examine foundation walls for moisture seepage
– Test gutters during heavy rain for proper drainage
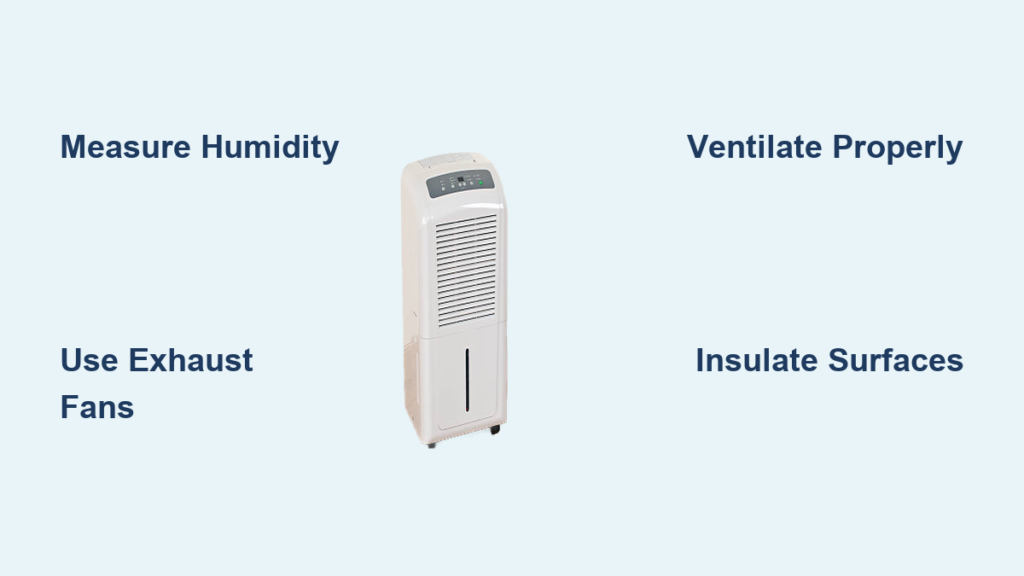
Choose the Right Dehumidifier for Your Space

Sizing guidelines eliminate guesswork:
– 30-pint units: up to 500 sq ft with moderate dampness
– 50-pint units: up to 800 sq ft or severe moisture issues
– Always select ENERGY STAR certified models
Setup essentials maximize effectiveness:
– Position 6+ inches from walls for airflow
– Ensure proper drainage—gravity drain preferred over collection tanks
– Monitor water collection to track moisture load
– Expect heat release—normal operation, not malfunction
Alternative solutions when dehumidifiers aren’t possible:
– Air conditioners remove moisture while cooling
– Proper ventilation prevents moisture accumulation
– Source control eliminates moisture at origin
Ventilation Strategies That Actually Work
Natural ventilation provides free moisture control:
– Open windows during cooler morning hours
– Focus on moisture-generating rooms first
– Create cross-ventilation with opposite windows
– Limit to 10-15 minutes during humid weather
Mechanical ventilation requirements:
– Kitchen fans: 100 CFM minimum plus cooking source additions
– Bathroom fans: 50 CFM or 1 CFM per square foot
– Verify actual exhaust to exterior (not just attic)
– Clean vents quarterly for maximum efficiency
Whole-house considerations:
– Ensure 50mm clearance around all air vents
– Check weatherstripping on windows and doors
– Consider positive input ventilation systems for persistent issues
Insulate Cold Surfaces to Stop Condensation
Surface temperature management prevents condensation. Cold water pipes sweat when warm, humid air contacts them—foam sleeves eliminate this entirely. Window improvements provide thermal barriers:
– Install storm windows for immediate improvement
– Add thermal curtains for additional insulation
– Check caulking around window frames
– Ensure weatherstripping seals properly
Air sealing priorities:
– Caulk gaps around windows and doors
– Seal rim joists in basements
– Weatherstrip attic access hatches
– Check electrical outlets on exterior walls
Implement a Weekly Moisture Monitoring Routine
Consistent tracking reveals patterns:
– Check all hygrometers every Sunday morning
– Record humidity readings in a simple log
– Note any visible condensation or musty odors
– Track seasonal changes—expect 40-50% in summer, 30-40% in winter
Adjustment protocol based on readings:
– Above 50%: increase ventilation or dehumidifier use
– Below 30%: reduce ventilation, add humidity sources
– Seasonal transitions: adjust strategies over 2-3 week periods
– Persistent issues: investigate hidden moisture sources
Seasonal Strategies for Year-Round Dryness
Summer adjustments focus on dehumidification:
– Run dehumidifiers continuously in problem areas
– Increase air conditioning usage
– Maintain 40-50% humidity for comfort
– Check drainage systems weekly
Winter considerations prevent over-drying:
– Reduce ventilation to minimum required
– Expect 30-40% humidity as normal
– Monitor for condensation on windows
– Adjust humidification sources as needed
Spring and fall require transition monitoring:
– Gradually adjust strategies over 2-3 weeks
– Watch for rapid humidity changes
– Clean and service all equipment
– Prepare for upcoming season requirements
Quick Start Action Plan for Immediate Results
Today (First 2 hours):
1. Buy digital hygrometer ($10-20)
2. Identify largest moisture source (usually laundry)
3. Open windows for 15 minutes in problem rooms
4. Check and clean AC filter
5. Wipe down visible condensation
This week establish habits:
1. Install or repair bathroom exhaust fan
2. Move clothes drying outdoors
3. Use pan lids for all cooking
4. Run exhaust fans 20 minutes post-use
5. Position furniture 50mm from walls
Moisture control isn’t a one-time fix—it’s an ongoing process that becomes second nature. Start with the quick wins: cover cooking pots, use exhaust fans properly, and move laundry outdoors. These three changes alone eliminate 60% of controllable moisture sources. Add proper measurement and weekly monitoring, and you’ll maintain healthy humidity levels year-round while preventing costly structural damage and health issues. Consistent attention to moisture management creates a healthier, more comfortable home environment for you and your family.


