
Have you ever dreamed of hatching your own chicks but been priced out by commercial incubators costing $200 or more? Learning how to make a incubator at home solves this problem completely—most designs cost under $30 and deliver hatch rates rivaling professional equipment. Whether you’re raising backyard chickens or experimenting with duck eggs, a properly built DIY incubator gives you complete control over the hatching process while teaching valuable skills.
You’ll discover three proven designs that work for beginners: a simple styrofoam cooler version perfect for your first attempt, a plastic container upgrade for better temperature stability, and a professional cabinet system for serious hatchers. This guide covers every detail from initial construction to troubleshooting common hatching problems, so you can successfully bring life into the world from your own kitchen counter.
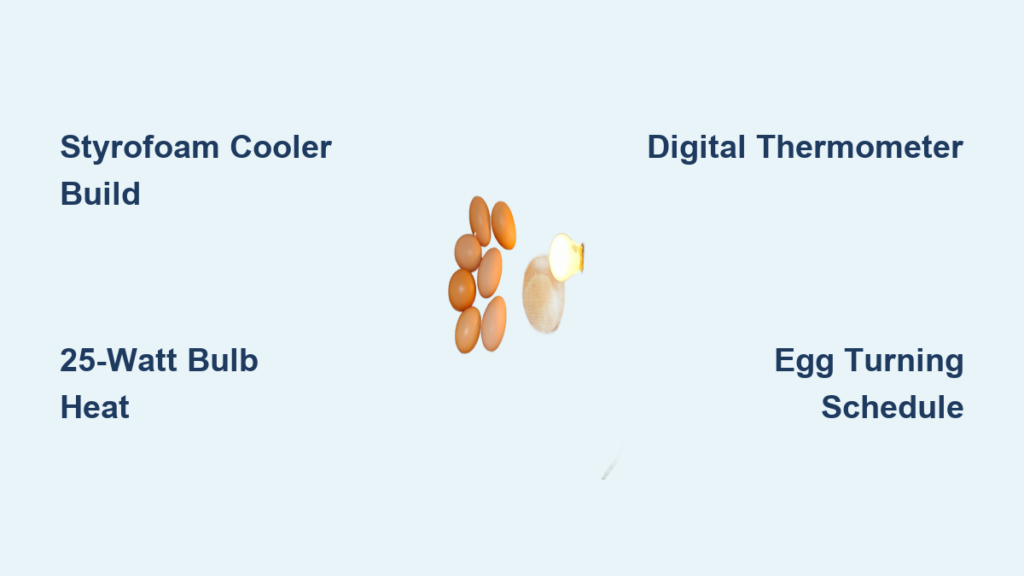
Essential Materials for DIY Incubator
Basic Styrofoam Cooler Build
Grab these supplies before starting your first how to make a incubator at home project: a 12″x12″ styrofoam cooler (ideal for insulation), a 25-watt incandescent bulb with standard lamp socket, chicken wire or hardware cloth with 1/2″ mesh, a digital thermometer/hygrometer combo, a small water bowl with sponge, picture frame glass for viewing, and plenty of duct tape for sealing. This basic setup creates a functional incubator in under an hour.
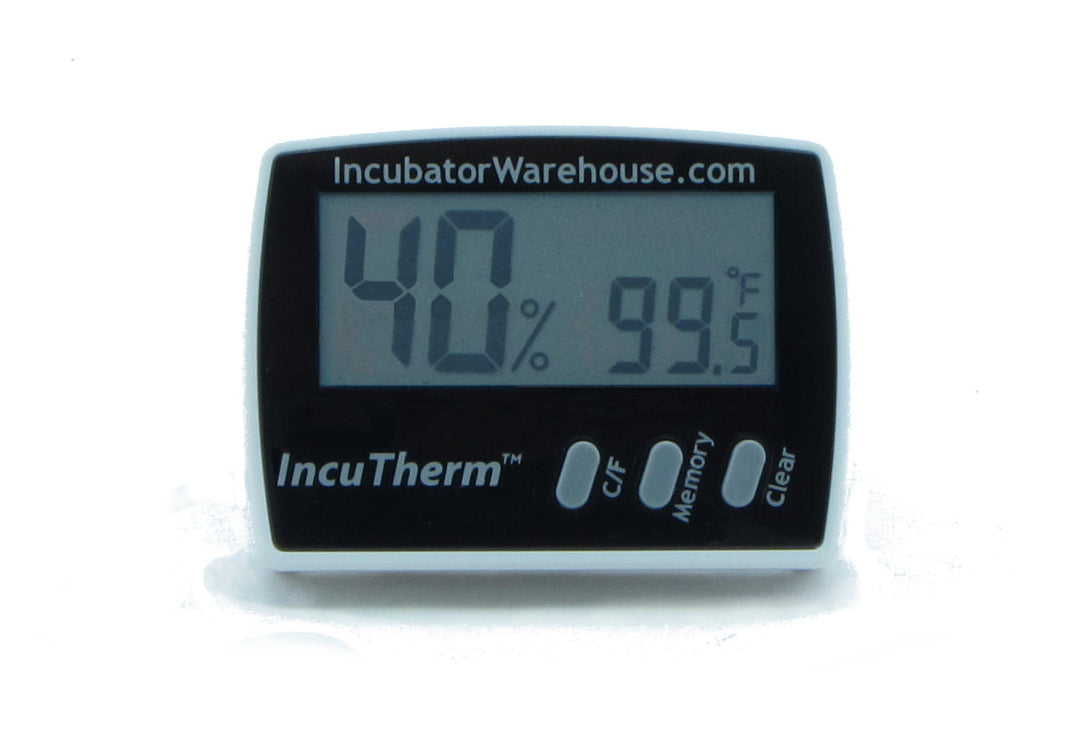
Pro tip: Always use a digital thermometer—not an analog one—for precise readings. Embryos die when temperatures vary more than 1°F from the ideal 99.5°F.
Plastic Container Upgrade
When you’re ready to scale up, switch to an 18-24″ plastic storage tub as your main container. You’ll need a 25-50 watt heating pad instead of a bulb, foam sheets or bubble wrap for additional insulation, a small computer fan for air circulation, an egg rack made of plastic or wood, and proper electrical tape plus a power strip. This design maintains temperature within 1°F even during brief power fluctuations.
Budget Breakdown
Your first how to make a incubator at home project costs remarkably little: the styrofoam design totals $15-20 using hardware store basics. The plastic container version runs $25-35 but offers better temperature stability. Serious hatchers building cabinet systems invest $150-200 but can handle 150+ eggs simultaneously. All designs prove you don’t need expensive equipment to hatch healthy chicks.
Build Your First Styrofoam Incubator
Step 1: Install Heat Source Safely
Cut a 1-inch circular hole in one end of your styrofoam cooler using a sharp knife. Push the lamp socket through from both sides, leaving the bulb inside the chamber. Secure both sides with multiple layers of duct tape—this prevents fire hazards and maintains insulation integrity. Critical warning: Never let the bulb touch styrofoam directly. The 25-watt bulb provides perfect heat without melting risks, while higher wattages could damage your incubator.
Step 2: Create Wire Partition
Measure your cooler interior and cut chicken wire to form a barrier 3-4 inches from the heat source end. This wire wall protects chicks from the hot bulb while allowing heat circulation. Secure with duct tape at top, bottom, and sides using multiple anchor points. For easier cleanup, add a second mesh layer 1 inch above the floor as a “false bottom” that catches chick waste while allowing air flow.
Step 3: Position Monitoring Equipment
Place your digital thermometer/hygrometer on the egg side of the partition, positioned precisely at egg height. This placement matters significantly—temperature varies even 2-3 inches above or below the optimal level where embryos develop. Set your device to record minimum/maximum readings so you catch fluctuations that occur when you’re not watching.
Calibrate Your Incubator Before Adding Eggs
Temperature Testing Protocol
Run your how to make a incubator at home project empty for 24-48 hours before adding eggs. Target exactly 99.5°F throughout the egg area—embryos die if temperatures exceed 102°F or drop below 97°F. Adjust using these proven methods:
Too hot? Punch 2-3 pencil-sized holes in cooler sides and monitor changes over 2 hours
Too cold? Seal existing holes with duct tape and add a second layer of insulation
Still off? Try a 40-watt bulb (warmer) or 15-watt bulb (cooler) as your primary heat source
Humidity Calibration
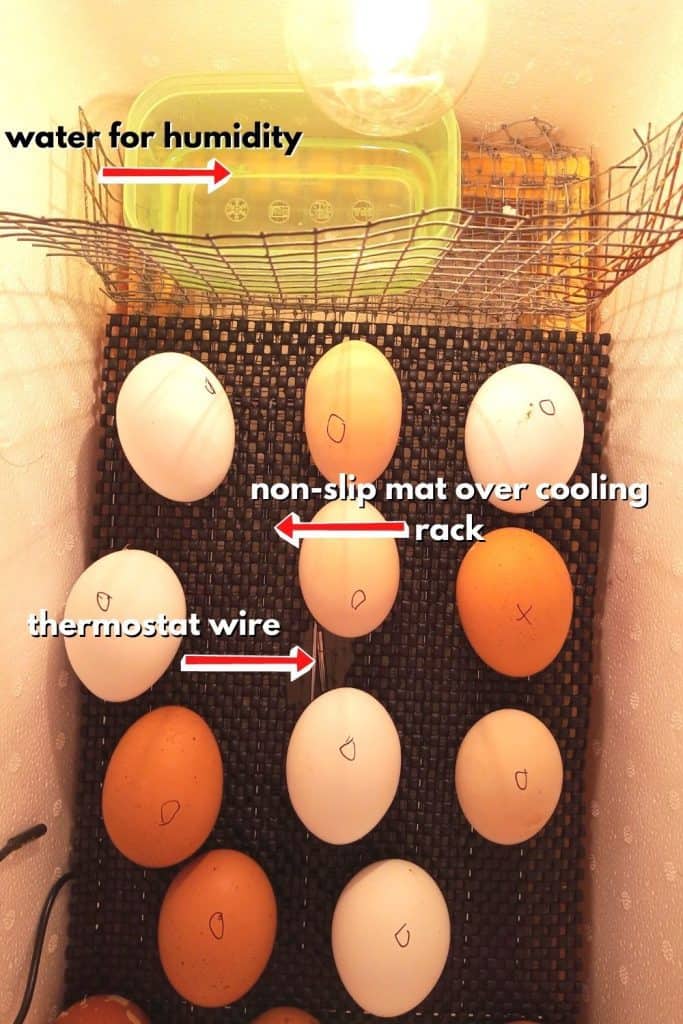
Test humidity levels for two full days before adding eggs: Days 1-18 require 40-50% humidity, while Days 19-21 need 65-75% for successful hatching. Adjustment tricks that work: For low humidity, add water to your sponge or use a larger bowl surface area. When humidity runs too high, remove half the sponge temporarily or increase ventilation holes slightly. Always make small adjustments—you can ruin an entire hatch with sudden humidity changes.
Upgrade to Plastic Container Design

Build Superior Insulation
Wrap your plastic container exterior completely with 1-inch foam sheets, securing with electrical tape every 3 inches. This thermal barrier maintains temperature within 1°F even during brief power fluctuations—a major improvement over basic styrofoam designs. Unlike styrofoam, plastic containers won’t degrade when exposed to moisture over time.
Install Heating Pad System
Attach the heating pad to the container bottom using electrical tape, ensuring direct contact with the plastic while preventing movement. The pad’s flat surface creates even heat distribution—eliminating hot spots that kill embryos near traditional bulbs. Position egg racks at least 1 inch above the heating pad to prevent direct contact while maintaining warmth.
Master Egg Incubation Process
Daily Temperature Monitoring
Check readings three times daily during the critical first week, then twice daily thereafter. Log all readings in a notebook—patterns reveal developing problems before they become catastrophic. Critical tip: Set phone alarms for consistent monitoring times, especially during the first 72 hours when embryos are most vulnerable to temperature swings.
Perfect Egg Turning Schedule
Turn eggs five times daily (every 4-5 hours) during Days 1-18 using this foolproof method: Mark eggs with “X” and “O” on opposite sides, then give a quarter-turn each time you check. Stop turning completely on Day 18—this allows chicks to position themselves correctly for hatching. Never skip turning—even one missed day significantly reduces hatch rates.
Fix Common Incubation Problems
Temperature Troubleshooting
When your how to make a incubator at home project runs hot, add ventilation holes gradually while monitoring changes. If temperatures stay too low despite adjustments, upgrade to a 40-watt bulb or add a second heat source at the opposite end for even distribution. Pro tip: Place a small fan below the heat source to circulate warm air without creating hot spots.
Humidity Issues
Struggling with humidity control? When levels run too low, double your water surface area by adding a second bowl or using wider containers. For excessive humidity, remove water sources temporarily or add dry rice as a natural desiccant. Warning: Never open the incubator during the final three days—this causes fatal humidity drops that “shrink-wrap” chicks inside their shells.
Scale Your Operation
Small Batch Options
Start with the 6-egg styrofoam cooler design to test your skills. Once comfortable, upgrade to a 12-egg capacity by adding a second level with wire racks. For 24-egg batches, use a larger cooler with dual heat sources positioned at opposite ends for even temperature distribution.
Species Adaptations
Different poultry require specific conditions when you learn how to make a incubator at home: Duck eggs need 99.3°F temperature with 55% humidity Days 1-25 and 75% Days 26-28. Turkey eggs share chicken temperature requirements but need a 28-day incubation period. Goose eggs demand lower temperatures (99.1°F) with consistently high humidity throughout.
Maintenance and Long-Term Care
Post-Hatch Cleaning
Remove all organic material immediately after hatch completion. Disinfect every surface with a 10% bleach solution, rinse thoroughly with clean water, and dry completely before storage. Replace any worn heating elements or frayed wiring—safety should always be your top priority with electrical components near moisture.
Storage Between Uses
Store your DIY incubator disassembled in a dry location. For cabinet designs, leave the door slightly ajar to prevent moisture buildup during storage. Check heating elements monthly for damage, especially if storing for extended periods. Proper maintenance ensures your how to make a incubator at home project delivers successful hatches for years to come.
Final Note: Your first successful hatch will give you both chicks and confidence to tackle more advanced designs. Start with the $20 styrofoam cooler this weekend using materials from any hardware store—once you achieve 70%+ hatch rates, consider the plastic container upgrade for better temperature stability. The satisfaction of watching life emerge from eggs you incubated yourself makes learning how to make a incubator at home one of the most rewarding DIY projects you’ll ever complete.


