
That mysterious musty smell that follows you through certain rooms might be more than just “old house odor.” Mold spores are everywhere—both inside and outside—but when they find the perfect combination of moisture and organic material, they multiply rapidly. Left unchecked, what starts as a small patch can compromise your indoor air quality and potentially affect your health. The good news? You don’t need to be a professional to catch mold early. This guide reveals exactly how to check for mold in home environments using proven techniques that actually work.
Most homeowners waste time and money on unnecessary testing when simple visual and sensory detection methods are far more reliable. By the time you finish this article, you’ll know precisely where to look, what to watch for, and when it’s time to call the experts—saving you from panic-driven decisions and costly mistakes.
Spot Visible Mold Growth in High-Risk Areas
Identify Mold by Its Distinctive Appearance
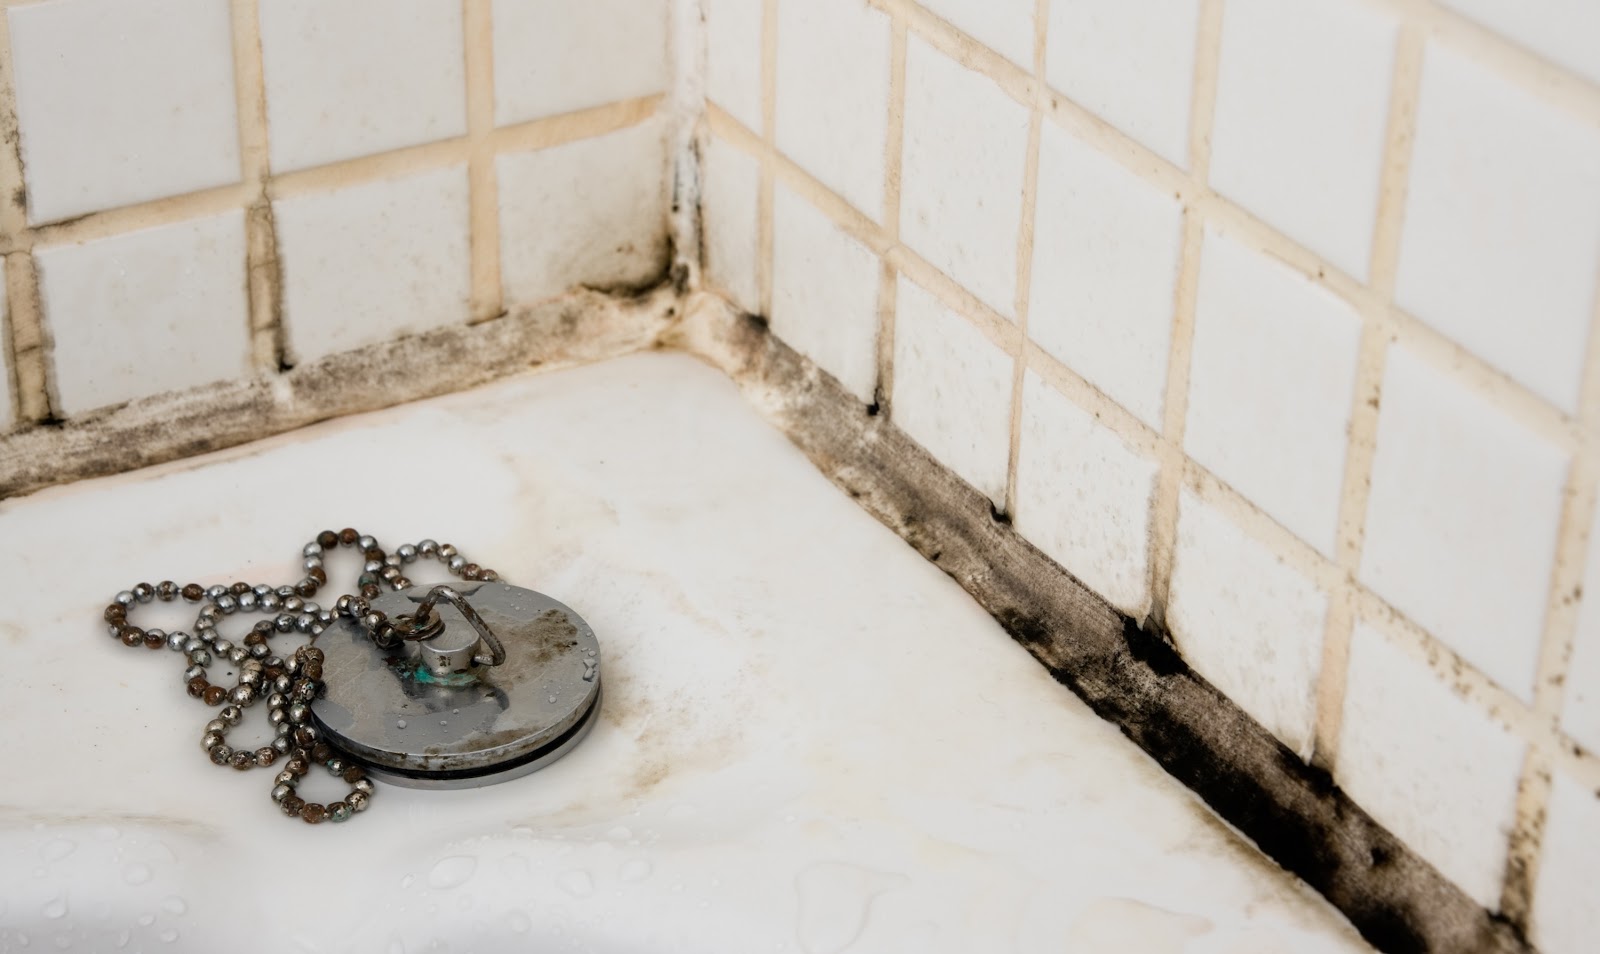
Mold appears in various colors including black, green, white, orange, and pink, but color alone won’t tell you if it’s dangerous. Look for fuzzy, slimy, or powdery textures on surfaces—these indicate active growth. Water-damaged drywall often shows gray or black spotting, while bathroom tiles develop pink or orange films. Remember that no indoor space is completely free from mold spores, but visible colonies mean moisture problems need immediate attention.
Target Mold Hotspots First During Inspection
Start your investigation where moisture regularly accumulates:
Bathroom Trouble Zones:
– Shower corners where grout meets tile
– Under sink cabinet floors showing water stains
– Around toilet bases where condensation collects
– Ceiling above showers where steam rises
Kitchen Danger Spots:
– Refrigerator drip pans hidden beneath appliances
– Dishwasher door seals that trap moisture
– Under-sink plumbing areas with potential leaks
– Window frames above sinks where condensation forms
Hidden Mold Locations:
– Behind furniture pushed against walls
– Under appliances like refrigerators and washing machines
– Ceiling corners showing water stains from roof leaks
– Basement walls with white, chalky residue (efflorescence)
Use This Professional Visual Inspection Checklist
Carry this mental checklist during every room scan to catch mold early:
– Discoloration: Yellow, brown, or black water stains on surfaces
– Texture changes: Bubbling paint, warped drywall, or crumbling grout
– Rust indicators: Orange stains on metal surfaces signaling chronic moisture
– Condensation: Water droplets on windows or pipes indicating high humidity
Detect Musty Odors Before Mold Becomes Visible

Map Odors to Find Hidden Mold Sources
Your nose is one of the most effective mold detection tools you own. Conduct a room-by-room odor sweep by walking slowly through each space while breathing normally. Get close to baseboards, under sinks, and near HVAC vents where smells concentrate. Note where odors are strongest and track intensity variations—mold-related smells often intensify after you’ve been away from home for hours or during humid weather.
Follow This Odor Investigation Process
Begin your morning routine by entering each room fresh from outdoors, as musty odors hit hardest when you’ve been away overnight. Pay attention to when smells worsen—typically during humid conditions or after showers. For persistent odors seemingly coming from behind walls, focus on electrical outlets and light switches, as these openings often concentrate mold spores. If you notice a musty smell but can’t find visible mold, investigate further as hidden growth is likely present.
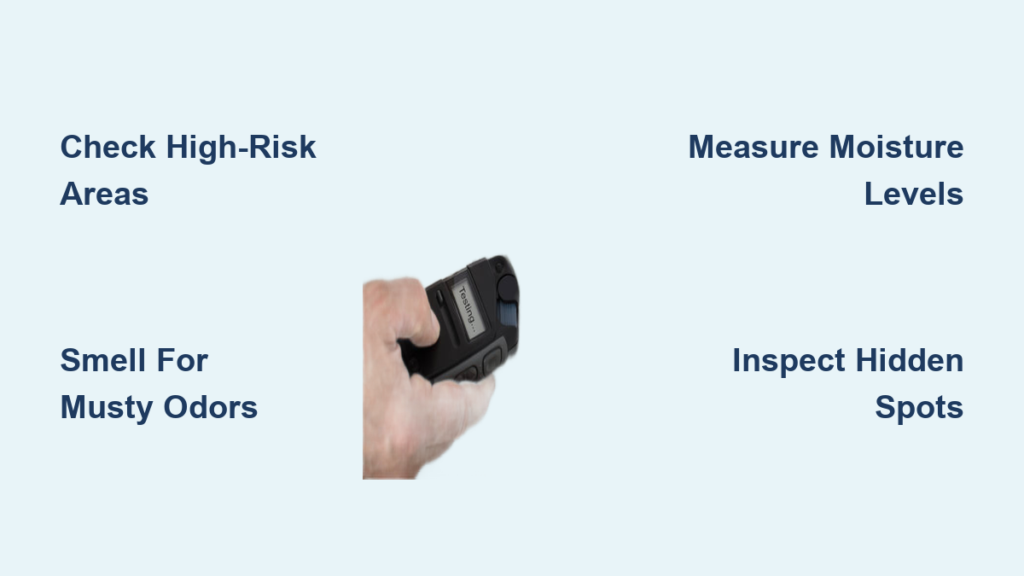
Measure Moisture Levels Accurately with Simple Tools
Use DIY Methods to Find Hidden Damp Spots
You don’t need expensive equipment to identify moisture problems. Start with visual indicators like efflorescence (white, powdery deposits on basement walls), peeling paint that bubbles or flakes, and warped floors that buckle near exterior walls. Conduct a touch test by pressing walls gently—soft spots indicate water damage behind surfaces. Feel carpets for damp areas, especially near exterior walls, and check for cold spots on walls using your hand, as these often signal moisture accumulation.
Implement an Effective Humidity Monitoring Strategy
Maintain indoor humidity between 30-50% to prevent mold growth—anything above 60% creates ideal conditions for mold. Use a simple ice water test: place ice water in a metal cup and if condensation forms on the outside in 5 minutes, humidity exceeds 60%. For precise readings, invest in a $15 hygrometer. Monitor problem areas strategically—check basements during spring thaw, attics after heavy rains, and bathrooms during humid summers to catch moisture issues before mold develops.
Investigate Hidden Mold Without Risking Exposure
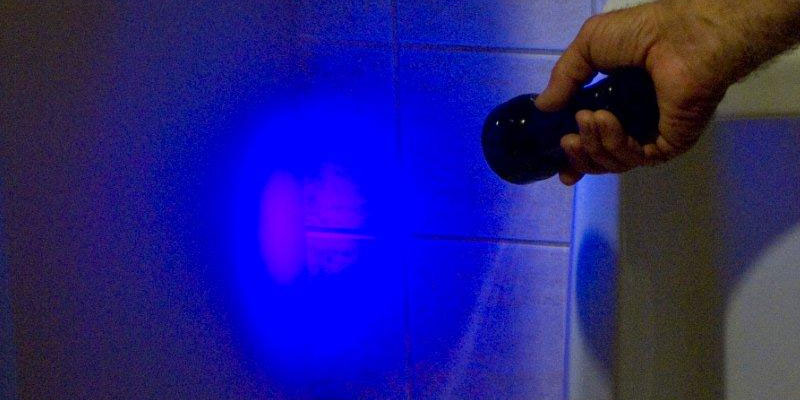
Recognize Red Flags for Concealed Mold Growth
Hidden mold often announces itself through persistent coughs that improve when you leave home, condensation on interior walls during temperature changes, musty smells from HVAC vents when the system starts, or peeling wallpaper especially at seams. If you’ve experienced water damage but can’t find visible mold, hidden growth is likely present in wall cavities, under flooring, or inside ductwork.
Conduct Safe DIY Investigations Without Spreading Spores
Never cut into walls or disturb large areas yourself, as this can release massive spore quantities. Instead, perform low-risk checks by removing wall art to inspect back surfaces, lifting carpet corners in closets, emptying and inspecting cabinet back panels with a flashlight, or using a headlamp to check attic roof decking for stains. Contact professionals immediately if you suspect mold covering more than 10 square feet, HVAC system contamination, or if occupants have respiratory conditions that worsen at home.
Document Your Mold Detection Findings Systematically
Create a Mold Detection Log for Tracking Progress
Develop a simple tracking system with these essential elements:
– Date and time of each inspection
– Specific room and location checked
– Visual findings (with photos when possible)
– Odor intensity on a 1-10 scale
– Moisture readings from hygrometer
– Action needed and timeline
Photo documentation tips include using consistent lighting for comparison shots, including a coin or ruler for scale, enabling automatic date stamps, and storing images in a cloud folder for easy access. This documentation proves invaluable if professional remediation becomes necessary or when tracking prevention efforts over time.
Take Immediate Action When Mold is Detected
Follow This Size-Based Response Plan
Small areas (under 10 sq ft): Wear an N95 mask and gloves, fix the moisture source first, clean with detergent and water, then dry completely within 48 hours. Medium areas (10-100 sq ft): Consider professional consultation, increase ventilation during cleanup, use plastic sheeting to contain the area, and document all findings thoroughly. Large areas (over 100 sq ft): Contact certified mold remediation immediately, avoid affected areas, turn off HVAC systems if contaminated, and consider temporary relocation.
Know When to Call Professionals Immediately
Contact mold remediation specialists when you notice mold covering multiple rooms, health symptoms that correlate with time spent at home, recurrent mold despite cleaning efforts, water damage from contaminated sources like sewage, or confirmed HVAC system contamination. Professionals follow industry standards with proper protective equipment, containment strategies, and remediation techniques that prevent cross-contamination.
Prevent Future Mold Through Strategic Monitoring
Establish a Monthly Inspection Routine
Set calendar reminders for systematic checks: Week 1 for kitchen and bathrooms, Week 2 for basement and utility areas, Week 3 for bedrooms and living areas, and Week 4 for attic and exterior walls. This rotating schedule ensures comprehensive coverage without overwhelming your schedule. After storms or water events, conduct immediate inspections of vulnerable areas regardless of your regular schedule.
Install Affordable Early Warning Systems
Protect your home with these cost-effective monitors: water leak detectors under sinks ($25 each), humidity sensors in basement ($30), smart thermostats with humidity tracking, and regular HVAC filter changes. Implement seasonal deep dives—check for winter damage in spring, monitor humidity levels in summer, inspect roofs and gutters in fall, and review condensation patterns and pipe insulation in winter.
Key Takeaways for Effective Home Mold Checks
Successful mold detection combines three essential skills: sharp visual observation, accurate odor identification, and consistent moisture monitoring. Start with monthly visual checks of high-risk areas like bathrooms, kitchens, and basements. Invest in a basic hygrometer and moisture meter—they’ll pay for themselves quickly by preventing costly remediation. Document everything you find, even minor issues, to track patterns over time.
Most importantly, never ignore persistent musty odors or unexplained health symptoms that correlate with time spent at home. Your house is communicating with you—learn to read the signs. By catching moisture problems early and addressing them within 24-48 hours, you’ll stay ahead of mold issues before they compromise your indoor air quality or require professional intervention. The most effective mold prevention strategy is simple: control moisture, maintain proper ventilation, and inspect regularly—your health and home depend on it.


