
That nagging feeling that you should know your cholesterol numbers but don’t want to deal with lab appointments? You’re not alone. Millions of Americans skip critical heart health checks because of inconvenient scheduling, long waits, or simply not wanting to leave home. The solution lies in your medicine cabinet: modern home cholesterol testing lets you obtain accurate readings with just a finger prick and 10 minutes of your time. This guide reveals exactly how to measure cholesterol at home effectively, interpret results like a cardiologist, and integrate testing into your heart health management—all from your kitchen table.
Whether you’re monitoring medication effectiveness, tracking dietary changes, or need more frequent insights between doctor visits, home testing provides actionable data when you need it. By mastering this process, you’ll gain control over one of the most important indicators of cardiovascular health without sacrificing accuracy or convenience.
Pick the Right Cholesterol Test Kit for Your Needs
Total Cholesterol vs. Full Lipid Panel Options
Total Cholesterol Kits ($10-25 per test) deliver a single number representing your combined cholesterol levels. These basic tests work well for routine screening when you’re generally healthy with no known risk factors. Results appear in 3-5 minutes, making them ideal for quick checks. Popular brands include CardioChek and First Check, which offer straightforward testing with minimal components.
Lipid Profile Kits ($20-50 per test) provide the complete picture by measuring total cholesterol, HDL (“good” cholesterol), LDL (“bad” cholesterol), and triglycerides—the four markers doctors use for comprehensive assessment. These advanced kits require slightly more blood and processing time (5-10 minutes) but deliver the same critical information as lab tests. Brands like Everlywell and LetsGetChecked offer these more detailed panels with digital readers for precise results.
Pro Tip: Look for CDC-traceable certification on packaging—this indicates the kit meets Centers for Disease Control and Prevention reference standards for accuracy comparable to laboratory testing.
Digital Readers vs. Color Chart Interpretation Methods
Digital Testers eliminate guesswork with precise numerical results displayed on a small screen. Though they require an initial investment ($80-150 for the device), they offer consistent accuracy and lower per-test costs over time. These electronic systems automatically time the reaction and display results, reducing human error. They’re particularly valuable if you have color vision challenges or need to track subtle changes.
Color Chart Kits use visual comparison where you match the test strip’s color change to a printed chart. While more affordable for occasional testing, they require good lighting and careful timing. The margin for error increases if you misread the color intensity or check results too early/late. These work best for basic monitoring when budget is a primary concern.
Perfect Your Testing Technique for Lab-Quality Results
Pre-Test Preparation Checklist
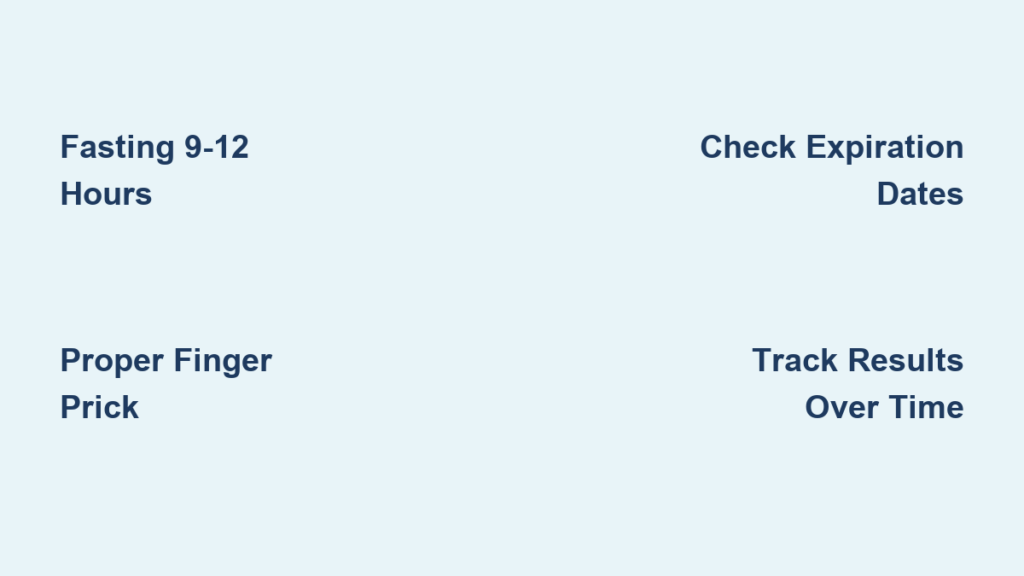
Fasting Requirements: For accurate lipid measurements, fast 9-12 hours before testing (water only). Test first thing in the morning before breakfast to maintain consistency. Avoid heavy exercise for 24 hours and alcohol for 48 hours prior, as both temporarily affect cholesterol readings.
Hand and Equipment Readiness:
– Wash hands with warm water for 2 minutes to increase blood flow
– Shake hands below heart level for 30 seconds before testing
– Dry hands completely—moisture dilutes blood samples
– Bring test kit to room temperature if stored cold
– Check all components for expiration dates
Master the Finger Prick Method
Optimal Site Selection: Target the side of your fingertip rather than the center pad—this area has fewer nerve endings and better blood flow. Rotate between fingers to prevent soreness, and avoid previously pricked sites for at least 3 days to allow healing.
Effective Lancet Technique:
1. Hold the lancet firmly against your skin (hesitation increases pain)
2. Activate quickly for a clean puncture
3. Wipe away the first blood drop (it contains tissue fluid that dilutes samples)
4. Use the second, larger drop for testing
5. Apply blood to the test strip without smearing
Critical Volume Control: Most strips require 15-30 μL of blood—typically one full droplet. Underfilling causes the most common home testing error. Touch the strip to the blood drop without squeezing excessively, then start your timer immediately. Don’t add more blood after initial application—this distorts results.
Read and Interpret Your Cholesterol Results Correctly

Understanding Your Numbers Immediately
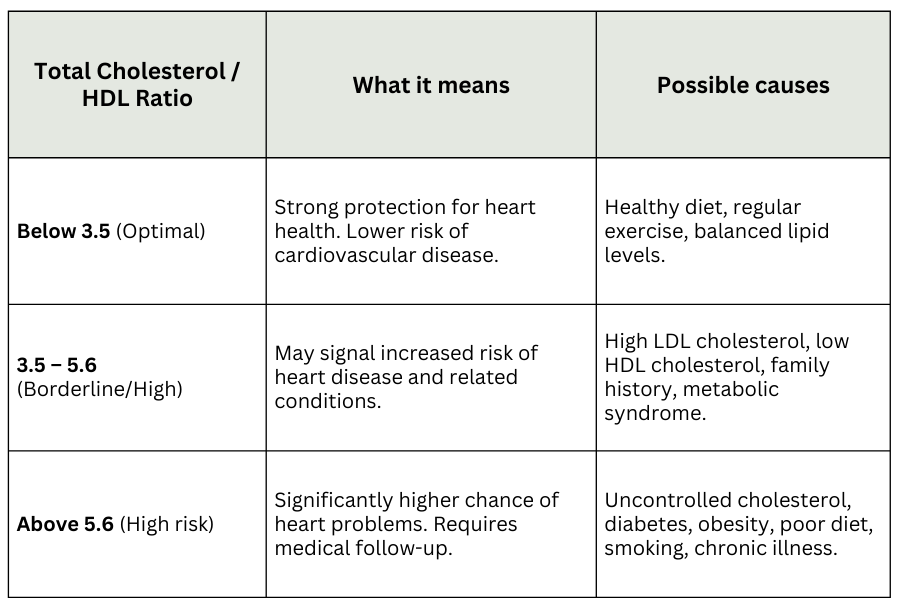
Total Cholesterol (mg/dL):
– Under 200: Desirable range
– 200-239: Borderline high—time to review diet and activity
– 240+: High risk—requires medical consultation
LDL “Bad” Cholesterol:
– Under 100: Optimal for most adults
– 100-129: Near optimal/above optimal
– 130-159: Borderline high
– 160-190: High
– 190+: Very high—immediate medical attention needed
HDL “Good” Cholesterol:
– Men: Under 40 = low risk; 60+ = protective
– Women: Under 50 = low risk; 60+ = protective
Triglycerides:
– Under 150: Normal
– 150-199: Borderline high
– 200-499: High
– 500+: Very high
Age-Specific Interpretation Guidelines
Teens and Young Adults (19 and younger):
– Total: Under 170 mg/dL
– LDL: Under 110 mg/dL
– HDL: Over 45 mg/dL
Adults (20+):
– Total: Under 200 mg/dL
– LDL: Under 100 mg/dL (or lower if high cardiovascular risk)
– HDL: 40+ mg/dL (men), 50+ mg/dL (women)
Critical Note: Single readings matter less than trends. Track results monthly for 3 months to identify meaningful patterns rather than reacting to one-off numbers.
Troubleshoot Common Testing Problems Immediately
When Results Seem Inaccurate
High Readings:
– Verify you fasted properly (9-12 hours)
– Check if strips were exposed to heat or humidity
– Confirm kit hasn’t expired (common oversight)
– Consider recent high-fat meals that might affect results
Inconsistent Results:
– Test at the same time of day for consistency
– Ensure proper blood volume each time
– Store kits in a cool, dry place away from bathroom humidity
– Replace kits every 6 months even if unused
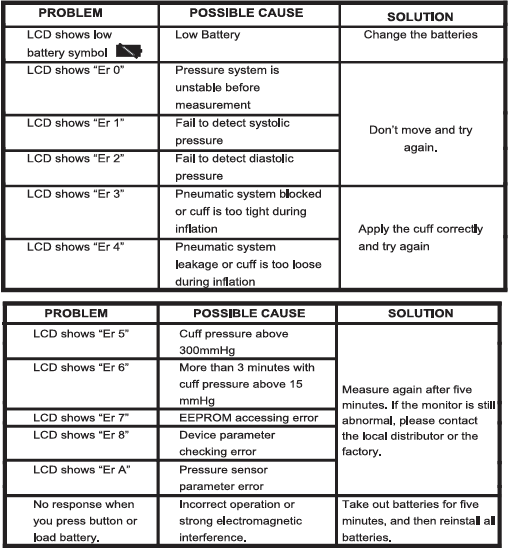
Error Codes Decoded:
– E1: Insufficient blood—retest with better technique
– E2: Strip error—use new strip and check expiration
– E3: Temperature outside operating range—move to room temperature area
Red Flags Requiring Doctor Consultation
Seek immediate medical advice if:
– Total cholesterol exceeds 300 mg/dL
– LDL surpasses 190 mg/dL
– HDL falls below 30 mg/dL
– Any reading differs by 50+ points from previous results
Maximize Value Through Smart Tracking and Budgeting
Create an Effective Monitoring System
Digital Tracking Options:
– Sync with health apps like Apple Health or Google Fit
– Use dedicated cholesterol trackers like Cholesterol Tracker Pro
– Maintain a simple spreadsheet with date, time, fasting status, and all readings
Cost-Saving Strategies:
– Buy test strips in bulk (10+ packs save 20-30%)
– Use FSA/HSA funds for reimbursement if available
– Compare costs against lab copays—home testing often pays off after 2-3 tests annually
– Split costs with household members who need monitoring
Proven Testing Schedule:
– Baseline test: Establish your starting point
– Follow-up: Retest in 3 months to assess changes
– Maintenance: Quarterly testing for stable results
– Intensive monitoring: Bi-weekly when making significant diet or medication changes
Verify Accuracy and Integrate Results with Medical Care
Build Confidence in Your Home Testing
Cross-Check Methodology:
– Schedule a lab test within 24 hours of home testing
– Expect ±10% variation between methods (normal range)
– Note testing conditions for comparison (fasting status, time of day)
Quality Control Practices:
– Perform duplicate tests when results are borderline
– Use control solutions with new kit batches
– Track your error rate—consistent mistakes indicate technique issues
– Replace lancets after 5-10 uses to maintain sharpness
Communicate Effectively With Your Healthcare Provider
Bring these details to appointments:
– Complete testing logs with dates and conditions
– Specific kit brand and model used
– Any factors that might affect accuracy (recent illness, dietary changes)
– Trend analysis showing progress over time
Key Takeaway: When you know how to measure cholesterol at home correctly, you gain powerful insights between doctor visits. Focus on consistent testing conditions, track trends rather than single readings, and always verify concerning results with professional medical testing. Home monitoring works best as part of a comprehensive heart health strategy—not as a complete replacement for professional care.
Next Step: Establish your baseline with one properly conducted home test, then retest in 3 months to identify meaningful changes. Bring your complete log to your next appointment—most doctors welcome this proactive approach and can help you interpret results within your personal health context. Start today, and take control of your cardiovascular health from home.


