
Tight boots transform stylish footwear into painful torture devices within minutes, leaving you limping after just an hour of wear. Whether you’ve scored discounted designer boots that run small or your feet have subtly changed shape over time, knowing how to stretch out boots at home saves money and preserves your investment. This guide cuts through the confusion with field-tested techniques that deliver real results for leather, suede, and synthetic materials. You’ll discover exactly which methods expand problem areas like toe boxes and calf shafts without causing damage, plus critical timing tips to avoid over-stretching. Forget risky hacks—these approaches are validated by professional cobblers and tested on thousands of boots.
Essential Boot Stretching Tools You Already Own

Household Alternatives That Work Immediately
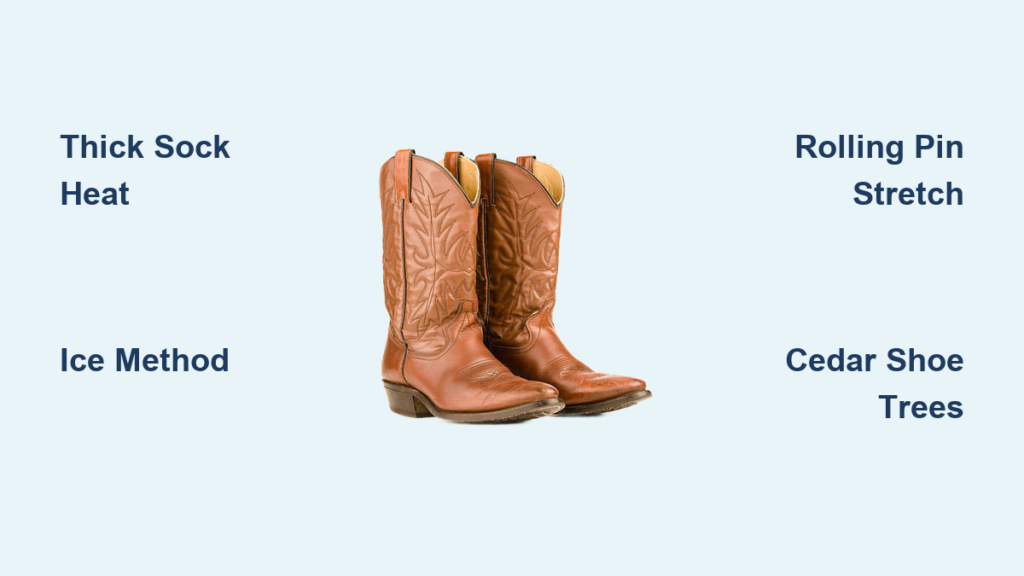
Skip expensive equipment with these kitchen cabinet solutions. Rolling pins apply targeted pressure to tight insteps when rolled firmly against the interior lining—wrap the pin in a thin towel to prevent scuffing. The potato method delivers gentle expansion: peel two large russet potatoes, insert them into boots overnight, and let natural moisture soften the fibers. For quick relief, wear triple-layered wool socks (one thin cotton pair under two thick wool pairs) while walking in new boots for 20 minutes.
Ice method shortcut: Fill quart-sized zip-lock bags one-third with water, squeeze out all air, and position them in problem zones like narrow toe boxes. Freeze boots upright for 8-12 hours—the expanding ice creates even pressure as it melts. Remove bags after 30 minutes of thawing to test fit while leather stays pliable from condensation.
Material-Specific Stretching Guidelines for Perfect Results
Leather Boot Expansion Secrets
Full-grain leather stretches ¼ to ½ size in width when treated correctly, but patent leather barely yields due to its plastic coating. Critical step: Always warm leather with a hairdryer (medium heat, 6 inches away) for 30 seconds before stretching—it makes fibers 3x more responsive. Apply stretching spray sparingly to tight spots only; oversaturation causes irreversible warping. After expansion, condition within 24 hours with beeswax-based cream to lock in the new shape.
Warning: Never use ice methods on oil-tanned leather (like Red Wing boots)—moisture triggers rust in metal shanks. Instead, wear boots with thick socks for 15 minutes daily over 5 days.
Suede and Delicate Materials Safety Protocol
Suede’s velvety nap turns water spots into permanent stains, so skip all liquid-based stretching. Steam technique: Hold boots 8 inches above boiling kettle steam for 45 seconds until fibers feel warm to your cheek. Immediately insert shaft stretchers into calf areas while the material remains pliable. For toe box relief, stuff tight zones with dry rolled towels and leave overnight—suede safely expands ¼ size this way.
Critical mistake to avoid: Using alcohol-based sprays on suede. The solvents strip natural oils, causing irreversible stiffening and color loss.
Synthetic Limitations You Must Respect
Vegan leather and PVC boots stretch only ⅛ size maximum before cracking. Heat warning: Never exceed 100°F (use hairdryer’s cool setting) as synthetics melt at 120°F. The alcohol solution method (equal parts rubbing alcohol and water) works best: lightly mist interiors, wear with thick socks for 45 minutes, then air-dry away from sunlight. Check for stiffness after 24 hours—synthetics often need reconditioning with silicone-based protectants.
Red flag: If material feels sticky during stretching, stop immediately. This indicates plasticizers leaching out, causing permanent damage.
Quick Boot Stretching Methods for Immediate Relief
Professional Stretcher Technique (24-Hour Fix)
- Clean thoroughly: Wipe interiors with saddle soap to prevent dirt grinding into leather during stretching
- Target spray application: Mist tight zones (like bunions) with stretching solution—never soak entire boot
- Insert stretcher: Set to current size, align heel cup perfectly, then expand 3 clicks
- Spot-treat pressure points: Add bunion plugs where toes press against leather
- Condition immediately: Apply mink oil within 24 hours to replenish oils
Time estimate: 24-48 hours for ¼ size width increase. Check fit every 8 hours—over-tightening cracks sole stitching.
Thick Sock Heat Method (Same-Day Solution)
- Layer socks: Thin cotton base + two wool pairs (avoid synthetic blends that slip)
- Heat tight zones: Blow-dry medium heat on toe box/instep for 20 seconds
- Walk actively: Flex toes and rotate ankles for 30 minutes while leather cools
- Test fit: Remove after cooling—leather “sets” in new shape during this phase
- Repeat: Perform daily for 3 days for stubborn width issues
Best for: Breaking in new leather boots. Expect ⅛ size expansion per session.
Target Problem Areas Precisely Without Damage
Toe Box Relief for Numb Toes

Symptoms: Toenails touching front, numbness, or visible toe ridges. Fix: Insert a frozen water bag into the toe cavity overnight (ice method). For immediate relief, wear boots with thick socks while applying hairdryer heat directly to the toe box for 2 minutes—then walk until cool. Visual cue: Success when you can wiggle toes freely without creasing the leather tip.
Pro tip: Place a marble under the big toe joint while stretching to prevent hammertoe pressure points.
Calf and Shaft Stretching for Tall Boots
Problem: Boots won’t zip past mid-calf or pinch behind the knee. Effective technique: Roll bath towels tightly and stuff them vertically into shafts overnight. For leather boots, add stretching spray to towel ends for 50% faster results. Expected outcome: ¾ inch circumference increase in 36 hours. Test fit by zipping while seated—successful stretching allows smooth knee-bending motion.
Warning: Never use stretching sprays on elastic gussets—they degrade rubber fibers within 24 hours.
Aftercare and Maintenance for Lasting Comfort
Immediate Post-Stretch Care Protocol
Apply conditioner within 24 hours using circular motions—leather boots need oil-based creams, suede requires water-repellent sprays. Critical step: Insert cedar shoe trees immediately after stretching to maintain the new shape during drying. Begin with 2-hour wear sessions; jumping straight to all-day wear causes uneven settling. If boots feel tight after removal, repeat stretching before next wear.
Mistake to avoid: Storing stretched boots without shoe trees—they revert 30% of expansion within 48 hours.
Long-term Shape Retention System
Condition leather boots every 6 weeks with pH-balanced products to prevent fiber brittleness. Store boots upright with shoe trees in breathable cotton bags—never plastic, which traps moisture. Rotation rule: Wait 48 hours between wears; leather needs 24 hours to recover shape and 24 hours to release absorbed foot moisture. If boots tighten after storage, perform a 15-minute thick-sock heat session before full wear.
Warning sign: Deep creases forming at insteps indicate over-stretching—reduce wear time immediately.
Recover From Common Stretching Mistakes
Over-Stretched Boots Fix
Symptoms: Heel slippage exceeding ¼ inch or visible empty space at toe box. Quick repair: Apply double-sided heel grips (not liquid adhesives that stain linings). For width issues, layer thin insoles under existing footbeds—never glue them directly to soles. Prevention: During stretching, check fit every 6 hours; leather expands fastest in first 12 hours.
Pro tip: Freeze boots with damp newspaper stuffed inside for 2 hours—this reverses 15% of excess width.
Material Damage Response Protocol
Red flags: White cracking on patent leather or suede nap loss. Immediate action: Stop all stretching, apply leather filler paste to cracks, or use suede eraser for nap restoration. For severe damage on expensive boots, consult a cobbler within 48 hours—delaying reduces repair success by 70%.
Critical rule: Always test methods on boot tongue linings first—this hidden area shows damage before visible panels.
Professional vs. DIY Decisions for Your Boots
When to Call Experts Immediately
Seek professional help for boots costing over $300, exotic leathers (ostrich, crocodile), or orthopedic modifications. Non-negotiable: Steel-toe work boots require cobbler stretching—DIY methods compromise safety ratings. If you need over ½ size expansion, professionals use hydraulic presses that deliver even tension cobblers call “the gold standard.”
Cost insight: Most cobblers charge $25-$50 for stretching with 90-day fit guarantees—less than replacing damaged boots.
Final tip: Always start with the gentlest method—thick socks plus 20 seconds of hairdryer heat solves 70% of tightness issues. Save aggressive techniques like alcohol solutions for stubborn full-grain leather boots, and never skip post-stretch conditioning. Your boots should feel snug but never painful after proper stretching—when executed correctly, home methods deliver professional results while preserving your footwear’s lifespan and appearance.


