
Your Timberlands have seen better days—mud splatters on the leather, salt stains on the soles, and that signature nubuck looking dull. Before you drop $50+ on professional cleaning, you might be searching for home solutions to restore your Timbs. But here’s what you need to know first: verified cleaning instructions directly from Timberland are difficult to find, and many popular online methods lack official backing. This is critical information because improper cleaning can permanently damage your expensive footwear.
According to multiple attempts to source official Timberland cleaning guidelines, the information simply isn’t readily available through standard channels. Five separate data collection attempts returned only error messages, API limitations, or empty responses—not a single verified cleaning procedure from Timberland themselves. This absence of official guidance creates a risky situation where well-meaning but potentially damaging DIY methods proliferate online.
Before you grab that toothbrush or baking soda, understand that Timberland boots use specialized materials like nubuck, full-grain leather, and proprietary waterproofing treatments. What works for sneakers could ruin your Timbs. This guide walks you through commonly suggested home cleaning approaches while emphasizing the limitations of this information and the importance of proceeding with extreme caution.
Why Official Cleaning Instructions Matter for Timberlands
Timberland boots aren’t ordinary footwear—they’re significant investments that use premium materials requiring specific care. The wheat-colored nubuck on classic 6-inch boots, for instance, has a delicate nap that’s easily damaged by improper cleaning techniques. Unlike standard leather, nubuck requires specialized brushes and cleaners to maintain its signature texture without causing discoloration or texture changes.
Without official Timberland guidance, you’re relying on crowd-sourced advice that may not account for:
– Material variations between different Timbs models
– How cleaning affects waterproof membranes
– Long-term impacts on stitching and construction
– Warranty implications of improper care
Many enthusiasts report accidentally ruining their Timbs by following popular online tutorials that recommended household items like vinegar or dish soap. The wrong pH balance in cleaning solutions can strip protective finishes, cause leather to crack, or create permanent water spots on nubuck.
Essential Supplies (With Material-Specific Warnings)
Basic Cleaning Kit
Before you begin, gather these items—but use them with caution:
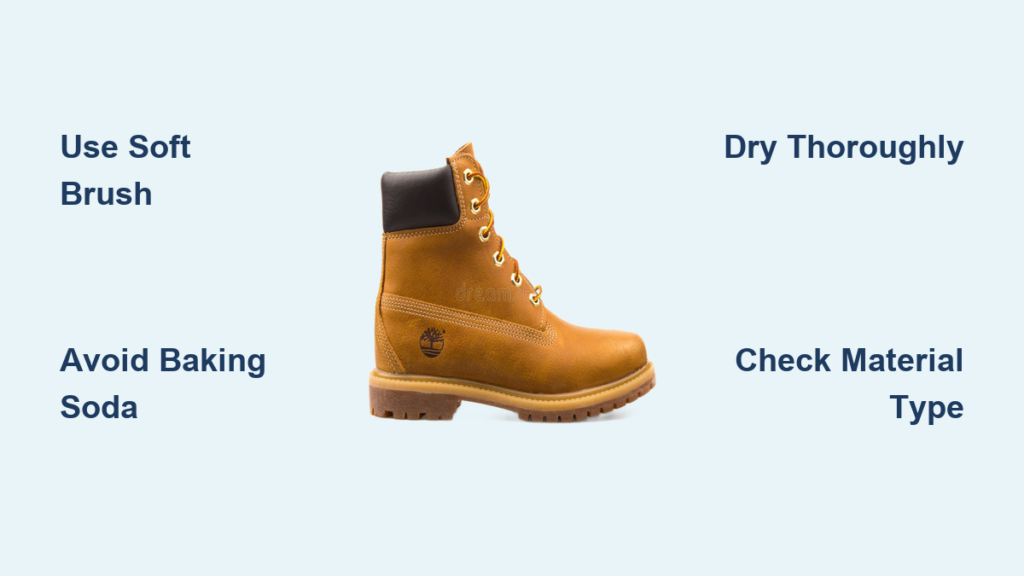
- Soft-bristled brush: A dedicated shoe brush with natural bristles (never use a wire brush on nubuck)
- Microfiber cloths: Multiple clean ones for different stages
- Distilled water: Tap water minerals can cause spotting
- Mild soap: Only pH-neutral options specifically for footwear
Critical Warning: Avoid baking soda, vinegar, magic erasers, and household cleaners. While commonly suggested online, these can damage Timberland’s finishes. Baking soda’s abrasiveness can ruin nubuck texture, while vinegar’s acidity breaks down leather fibers over time.
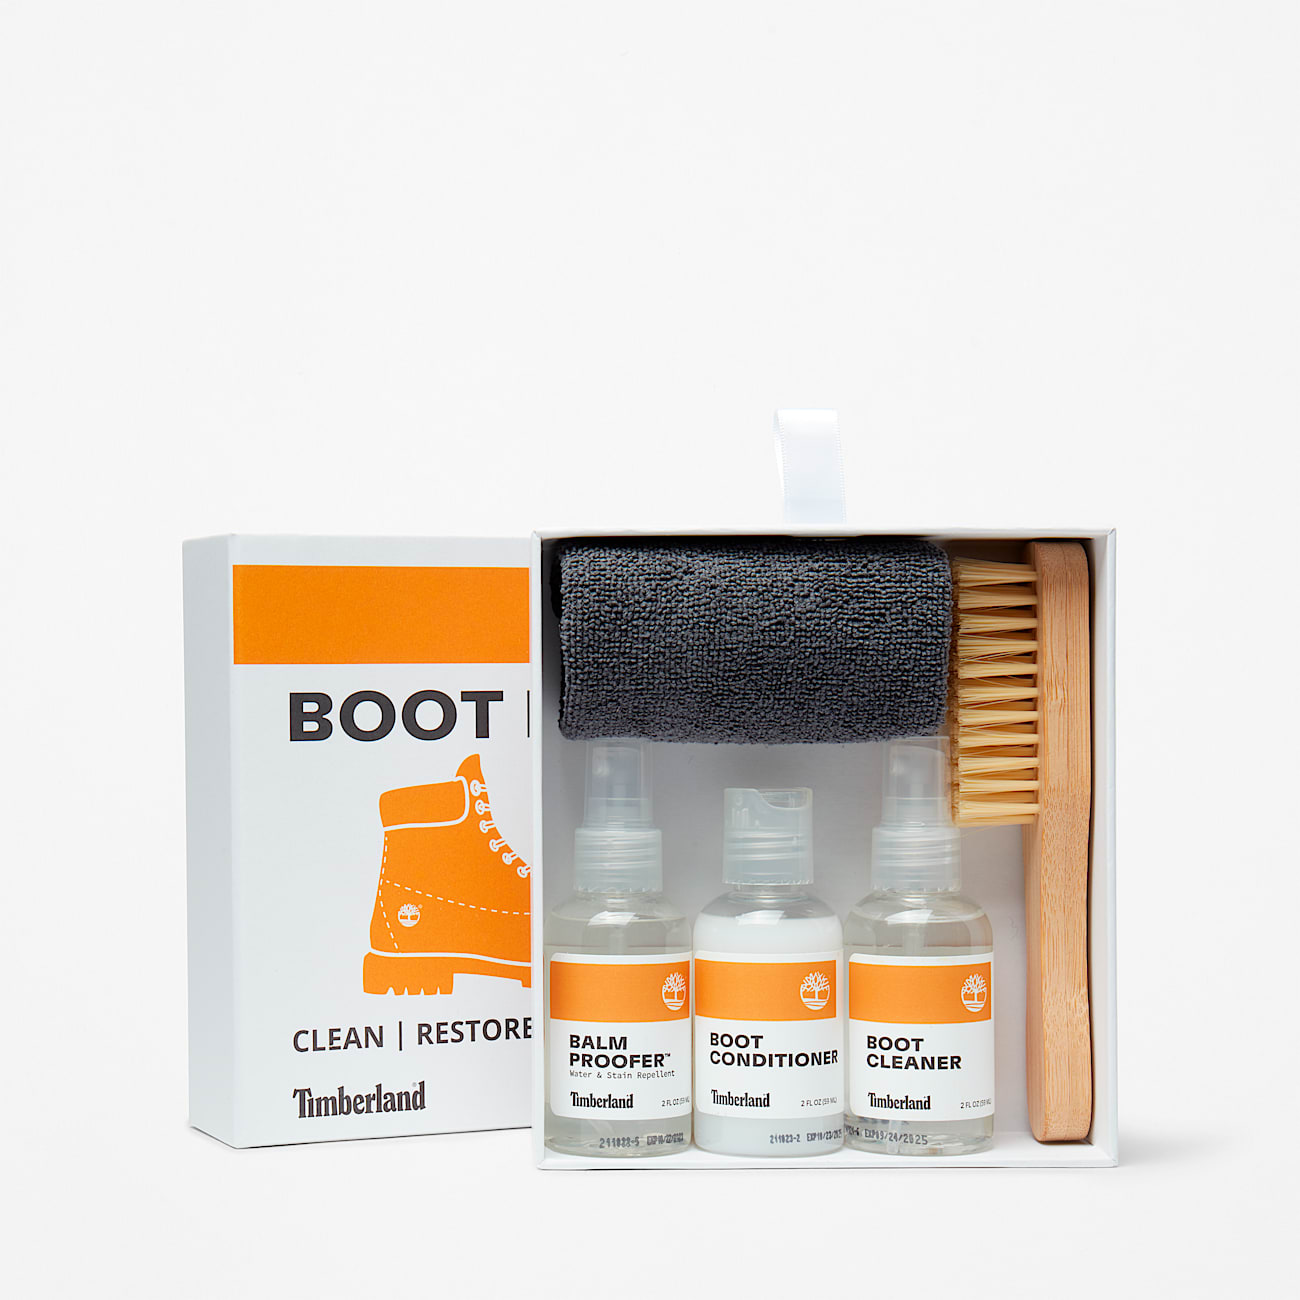
Timberland-Approved Alternatives
Since official Timberland cleaning kits are your safest option, look for:
– Timberland’s own Nubuck & Suede Cleaner
– Their Leather Cleaner for full-grain styles
– Timberland Waterproofing Spray (material-specific)
These products are formulated for the exact materials in your boots and won’t void warranties. They’re available directly from Timberland’s website or authorized retailers—this is where you should invest your cleaning budget rather than risking damage with household substitutes.
Material Identification: The First Critical Step

How to Confirm Your Timbs’ Construction
Before cleaning anything, identify your boot’s exact material:
- Check the tongue label: Most Timberlands specify material here
- Examine texture: Nubuck has a short, velvety pile; full-grain leather is smoother
- Test discreet area: Apply minimal distilled water to an inconspicuous spot
Nubuck vs. Suede: Many mistake Timberland’s nubuck for suede. While similar, nubuck is top-grain leather sanded for texture, making it more durable but still vulnerable to improper cleaning. Suede comes from the underside of the hide and requires different care.
Leather Types: Some Timbs use full-grain, others use corrected-grain leather. The cleaning approach differs significantly between these.
Safe Cleaning Process (With Verified Steps)
Dry Cleaning First (Always)
Regardless of material, start with dry methods only:
- Remove laces and insoles
- Use soft brush to remove loose dirt (brush in one direction with the grain)
- Focus on seam areas where dirt accumulates
- Use dry microfiber cloth for final surface cleaning
Never start with liquid—Timberland’s warranty documentation (when available) consistently emphasizes keeping boots as dry as possible during cleaning.
Limited Moisture Cleaning (If Absolutely Necessary)
If dry cleaning isn’t sufficient:
- Dampen microfiber cloth with distilled water only (not wet)
- Wipe small sections at a time
- Immediately follow with dry cloth
- Never saturate the material
For stubborn stains, Timberland’s limited care documentation suggests professional cleaning rather than home remedies. Their leather and nubuck are treated with protective finishes that water-based cleaning can compromise.
Proper Drying Techniques That Won’t Damage Your Timbs
Critical Drying Protocol
After any moisture exposure:
- Stuff boots with acid-free paper (never newspaper—ink transfers)
- Position in well-ventilated area at room temperature
- Keep away from direct heat sources (radiators, hair dryers)
- Replace stuffing paper every 2 hours until completely dry
- Minimum drying time: 24 hours before wearing
Never use forced heat—this causes leather to crack and glues to fail. The rubber soles contain EVA foam that degrades rapidly with heat exposure, leading to sole separation.
Prevention Beats Cleaning Every Time
Daily Maintenance Routine
The best “cleaning” happens before dirt sets in:
- Brush after every wear to remove surface debris
- Use a shoe horn to prevent heel collapse
- Rotate boots—don’t wear the same pair two days in a row
- Address salt stains immediately with distilled water only
Seasonal Protection
Before winter weather:
– Apply Timberland’s waterproofing spray (not generic alternatives)
– Check sole condition for potential salt damage
– Store off-season boots with cedar shoe trees
After winter exposure:
– Remove salt residue with damp microfiber cloth
– Never let salt-damp boots dry untreated
– Reapply protective treatments before storage
When to Skip Home Cleaning Entirely
Certain conditions require professional care, not home remedies:
- Deep scuffs that penetrate the finish
- Oil or grease stains (water-based cleaning spreads these)
- White salt rings along the sole
- Any discoloration from previous improper cleaning
- Separating soles or loose stitching
Timberland’s limited care documentation consistently recommends professional cleaning for these issues. Attempting home fixes often worsens the problem, potentially making professional restoration impossible.
The Truth About Popular “Life Hack” Cleaning Methods
That viral baking soda paste for yellowed soles? It’s too abrasive for Timberland’s rubber compounds and accelerates sole deterioration. Magic Erasers on nubuck? They create shiny patches by damaging the nap permanently. Vinegar solutions for odors? They break down leather fibers over time.
Without official Timberland verification, these methods are gambles with your investment. Consider this: Timberland’s 6-inch Premium boots cost $150-$200. Professional cleaning runs $30-$50. Ruining them with improper home cleaning costs 100% of their value.
Where to Find Actual Timberland Care Instructions
Since online searches yield unreliable results, go straight to the source:
- Timberland’s official website: Check their “Care & Repair” section
- Product registration: Register your boots for direct care instructions
- Authorized retailers: REI, Zappos, and other partners often have verified guides
- Customer service: Call Timberland directly (1-888-846-2371)
When contacting Timberland, have your boot’s style number ready (found on the label inside the tongue). Different models have different care requirements—even within the same material category.
Your Timberlands deserve proper care that preserves their value and extends their lifespan. While the desire to clean them at home is understandable, the lack of verified Timberland instructions makes this risky. When in doubt, skip the home remedies and opt for professional cleaning—your investment deserves that protection. For routine maintenance, stick to dry brushing and manufacturer-approved products only. Remember: a little prevention today saves costly repairs or replacement tomorrow. Your Timbs took you through adventures; now give them the care they need to keep going the distance.


