
That bright red streak across your white bumper from a careless shopping cart. The blue scuff on your door after brushing against a painted pole. These annoying paint transfers happen to every car owner, but you don’t need expensive body shop visits to fix them. Knowing how to get paint scuff off car at home properly can save you hundreds while preserving your vehicle’s finish. Unlike deep scratches that cut through your clear coat, most scuffs sit harmlessly on top and come off completely with the right technique.
Paint scuffs occur when paint from another object transfers onto your car’s surface during light contact. The good news? These surface marks respond well to home treatment when addressed promptly. This guide walks you through every method, from simple soap washing to professional-grade compound techniques, so you can choose the perfect approach for your specific scuff without risking further damage to your car’s finish.
Why Your White Car Keeps Getting Red Scuffs From Shopping Carts
Most paint transfers happen during low-speed contact with painted surfaces like shopping carts, garage doors, or other vehicles. The red paint isn’t actually embedding into your clear coat—it’s sitting on top like chalk on a chalkboard. When you understand this, you’ll realize aggressive scrubbing often makes things worse by grinding the foreign paint deeper into your finish.
The Critical Difference Between Surface Scuffs and Deep Scratches
Run your fingernail across the mark—if it catches significantly, you’re likely dealing with an actual scratch rather than a surface scuff. True paint scuffs disappear when you wet the area, while scratches remain visible. Never attempt scuff removal techniques on actual scratches, as this can worsen the damage and spread metal particles across your paint.
How to Test If Your Scuff Will Come Off With Simple Home Methods
Wash the area with automotive soap and dry completely. Apply a small amount of WD-40 to a microfiber towel and rub gently on a hidden section first. If the mark lightens significantly within 10 seconds, your scuff will respond well to home treatment. If no change occurs after 30 seconds of gentle rubbing, you’ll need more advanced techniques.
6 Must-Have Supplies for Safe Paint Scuff Removal
Using household cleaners or paper towels creates more damage than the original scuff. Professional results require proper tools that won’t scratch your delicate clear coat. Skip the dish soap—it strips protective coatings and leaves residue that attracts more contaminants.
Required Microfiber Towels and pH-Balanced Soap Ratio
You need 6-8 clean microfiber towels minimum: some for washing, others exclusively for paint correction work. Mix pH-balanced car wash soap at the exact 1:1 ratio specified on the bottle—too concentrated can leave streaks. A dedicated spray bottle with water maintains lubrication during treatment and prevents unnecessary friction.
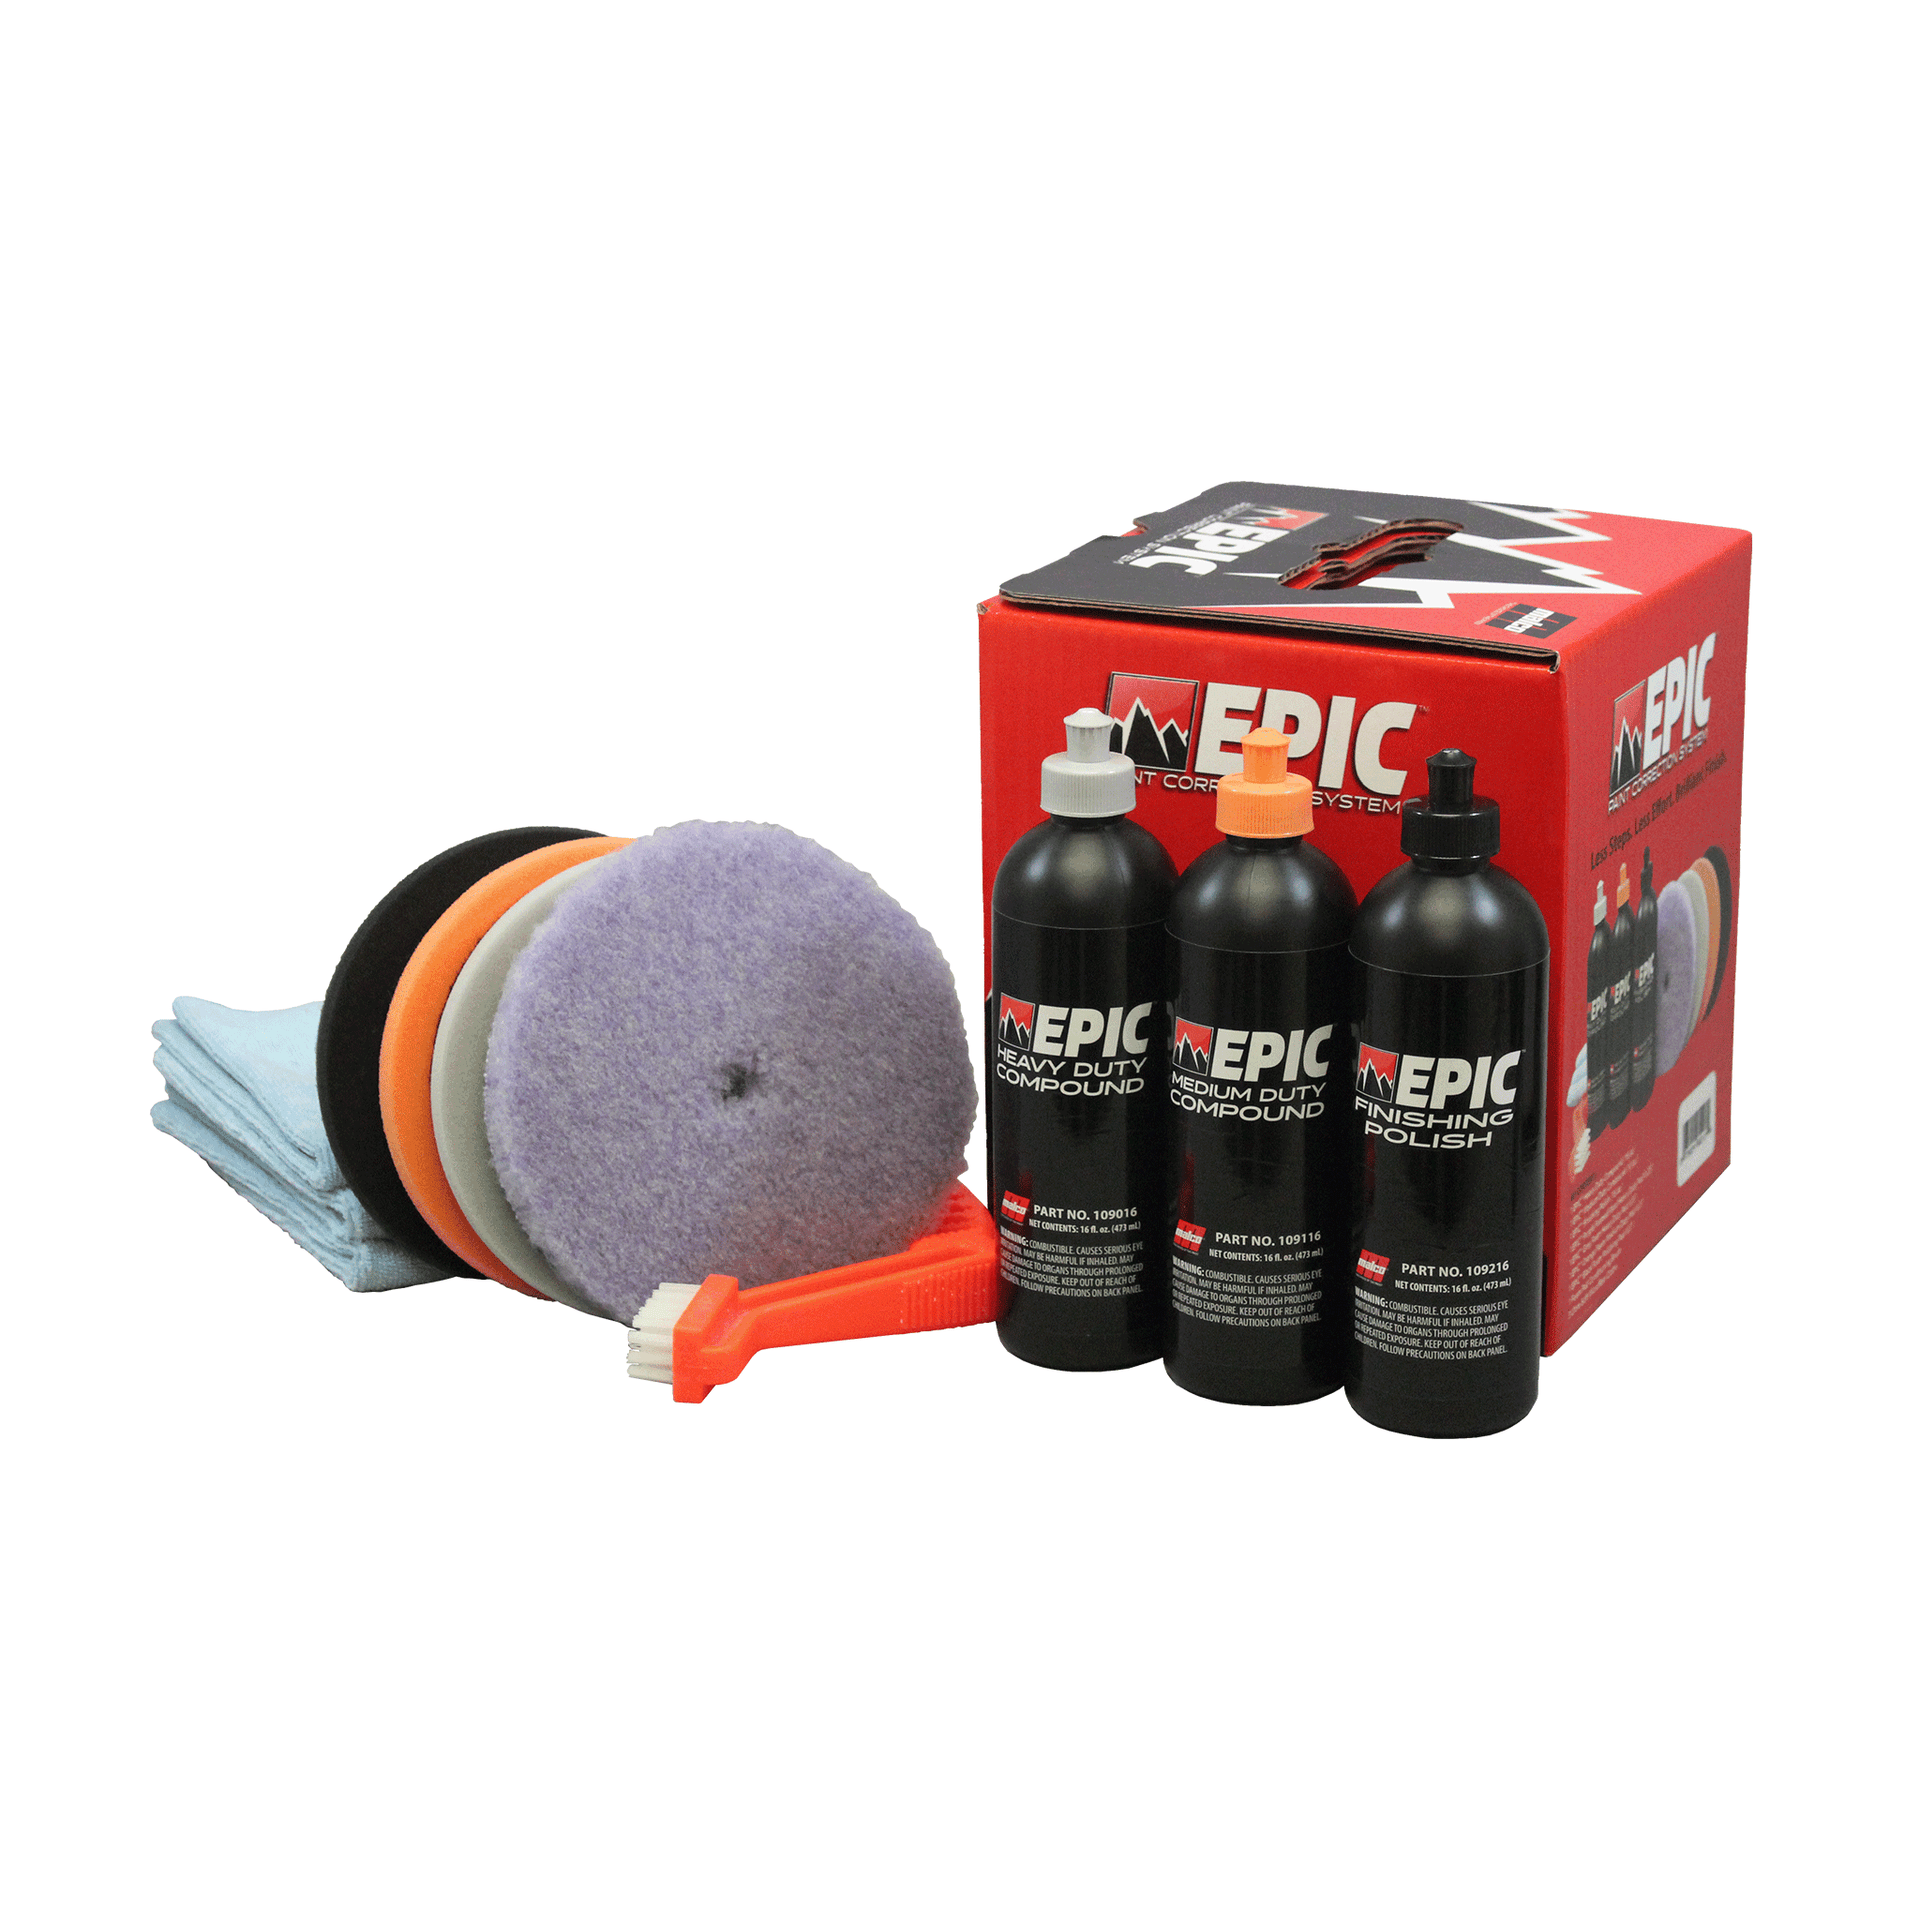
Essential Paint Correction Products You Can’t Skip
Fine-cut rubbing compound handles most scuffs without being too aggressive. Pair it with automotive polish to restore shine afterward. Isopropyl alcohol (70%) removes oily residues between steps. For stubborn marks, keep clay bar lubricant and a quality clay bar on hand. Never substitute glass cleaner for isopropyl alcohol—ammonia-based products can damage clear coat.
30-Second Soap Wash That Removes Fresh Parking Lot Scuffs
This surprisingly effective technique works on recent paint transfers, especially from rubber or plastic objects. Most light scuffs disappear completely with proper washing technique—no special products needed.
Step-by-Step: How to Rub Without Creating Swirl Marks
Mix car wash soap in your bucket following manufacturer dilution ratios. Using your microfiber mitt, create thick suds and apply directly to the scuff. Work in straight, overlapping motions—not circles—for exactly 30 seconds. Circular motions create visible swirl marks that require professional correction. Rinse thoroughly and dry with a plush towel. Repeat up to three times if the mark lightens but persists.
When to Stop Washing and Move to Clay Bar Treatment
Fresh scuffs often disappear completely within the first attempt. If you see improvement but the mark remains, move to clay bar treatment. No improvement after three washes means the mark has bonded to your clear coat—proceed to the next method. Never scrub more than 30 seconds per attempt, as excessive friction heats the paint and can cause hazing.
Clay Bar Technique That Pulls Paint Transfer Without Scratching
When soap won’t cut it, clay bar safely extracts paint transfer from the clear coat without abrasion. Most moderate scuffs disappear after 2-3 passes with proper technique.
How Much Lubricant You Really Need (Most People Use Too Little)
Knead your clay bar until soft and flat. Generously lubricate the scuffed area—visible puddles should form on the surface. Glide the bar across using minimal pressure, letting the clay grab contaminants. Insufficient lubrication is the #1 cause of micro-scratches during clay bar treatment. Fold frequently to expose clean surface and wipe residue with fresh microfiber.
The Folding Trick That Keeps Your Clay Bar Effective Longer
After each pass across the scuff, fold the clay bar in half to expose a clean surface. This prevents re-depositing removed contaminants back onto your paint. Replace clay immediately if dropped—road grit embedded in the clay will scratch your finish. Most scuffs require 3-5 folds before complete removal.
Compound Application Process for Heavy Blue Paint Scuffs
Severe paint transfer requires mechanical removal through compounding, followed by polishing. This method removes a microscopic layer of clear coat to eliminate the scuff while preserving your paint’s integrity.
Cross-Hatch Pattern That Removes Scuffs in Half the Time
Tape off surrounding areas with automotive masking tape. Apply nickel-sized compound to your foam pad. Work in 2×2 foot sections using cross-hatch patterns: horizontal passes, then vertical. This technique ensures complete coverage without missing spots. Check progress every 30 seconds by wiping clean—most heavy scuffs vanish within 2-5 minutes of careful work.
How to Tell When You’ve Removed the Scuff Without Damaging Clear Coat
Wipe the area clean every 30 seconds to check progress. Stop immediately when the scuff disappears—over-polishing creates hazing. If you notice a dull spot where the scuff was, you’ve removed too much clear coat. Apply polish immediately to restore gloss before proceeding to the next section.
Emergency Home Remedies When You’re Out of Car Care Products
Stuck without professional products? These household items work in emergencies, but require caution to avoid damaging your paint.
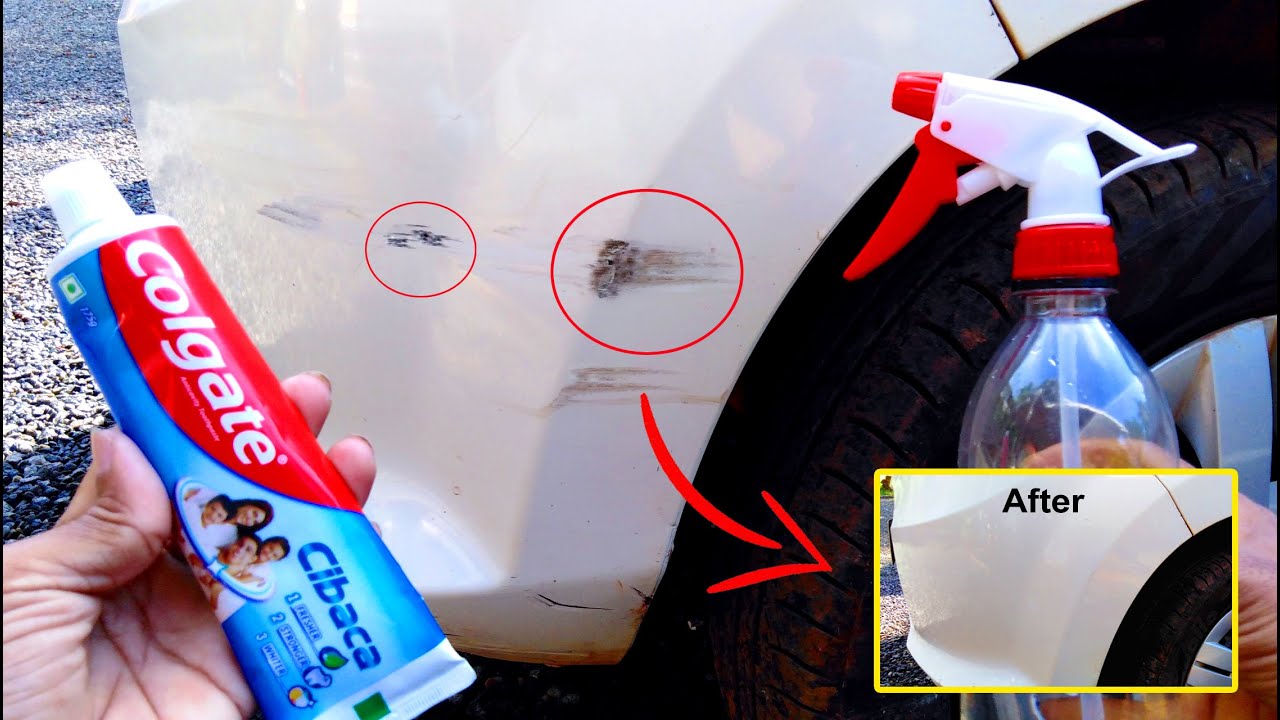
White Toothpaste Method That Actually Works (Not Gel)
Use plain white toothpaste—gel types lack sufficient abrasives. Apply small amount to damp microfiber cloth. Rub in straight-line motions for 2-3 minutes using moderate pressure. Never use circular motions, which create visible swirls. Rinse thoroughly and inspect. This works best on light scuffs but may require 3-4 applications.
Why Baking Soda Can Damage Your Paint If Used Wrong
Mix 3:1 baking soda to water for a mild paste. Apply gently and rinse immediately—never let it dry on paint. Baking soda is too abrasive for frequent use and can leave micro-scratches. Always follow with thorough automotive soap wash to remove all residue. Limit this method to emergency situations only.
Post-Scuff Removal Protocol to Prevent Future Damage
Your clear coat now has microscopic imperfections from removal—protect it immediately to prevent oxidation and future scuffs.
The 72-Hour Rule for Wax Application After Scuff Removal
Wash the entire treated area with automotive soap to remove all residues. Alcohol-wipe to ensure complete contaminant removal. Apply paint sealant or quality wax according to product instructions. Avoid washing for 48-72 hours to let protection cure fully—water spots during this period can etch into unprotected clear coat.
How Often to Wax to Keep Future Scuffs From Sticking
Monthly wax applications maintain protection and create a slick surface that prevents paint from bonding during contact. Quick detailer spray after washes enhances this effect. Regular decontamination washes every 3 months prevent buildup that makes scuffs harder to remove later.
When to Stop DIY and Call a Professional Paint Specialist
Some situations exceed DIY capabilities—knowing when to step back prevents costly damage.
3 Red Flags That Mean Your Scuff Needs Professional Attention
Scuffs larger than a dinner plate need professional equipment for consistent results. Multiple scuffs across different panels indicate possible underlying damage. Any cracking or flaking paint requires immediate professional attention—DIY attempts will worsen the situation and increase repair costs significantly.
Cost Comparison: DIY vs. Body Shop for Different Scuff Sizes
Basic supplies run $30-50 for soap, towels, and compound. After initial investment, each scuff removal costs $2-5 in supplies. Paint correction detail pricing ranges $200-600. For single small scuffs, DIY saves money. For multiple or large scuffs, professional service often provides better value through expertise and guaranteed results.
Paint scuffs happen—they’re part of car ownership. By starting with the gentlest methods first, protecting your work afterward, and recognizing when professional help makes better sense, you can maintain your car’s appearance for years. Remember that proper technique matters more than expensive products—most scuffs disappear with the right approach and a little patience. Your car’s finish will thank you with years of flawless appearance.


