
Your car seats endure daily abuse—spilled coffee, muddy shoe prints, pet hair, and food crumbs transform them from pristine to practically unusable. Before you spend hundreds on professional detailing services, discover how to achieve professional-level results using household items you already own. This comprehensive guide shows you exactly how to clean all types of car seats at home, whether they’re cloth, leather, or vinyl, saving you money while extending your vehicle’s interior lifespan.
Essential Cleaning Supplies for Any Car Seat Material
Skip the expensive specialty products and create your own effective cleaning arsenal with these affordable household items. You’ll spend less than $30 total for supplies that can clean your car seats multiple times.
Must-Have Cleaning Tools
Gather these critical items before starting your car seat cleaning project:
– Powerful vacuum with attachments (a shop-vac works best for deep cleaning)
– Soft-bristled brushes (an old toothbrush works perfectly for tight spaces)
– High-quality microfiber cloths (paper towels can scratch delicate surfaces)
– Mild dish soap (Dawn effectively breaks down grease without residue)
– White vinegar (naturally disinfects while neutralizing odors)
– Baking soda (eliminates stubborn smells from pet accidents or food spills)
– Spray bottle filled with warm water for controlled application
Optional Upgrades for Tough Jobs
While not essential, these items can enhance your cleaning results:
– Portable steam cleaner (rent one for under $25 if dealing with severe stains)
– Enzyme-based cleaner (specifically formulated for biological stains)
– Quality leather conditioner (vital for maintaining leather’s suppleness)
– Fabric protectant spray (creates a barrier against future stains)
Important note: Always test your cleaning solution on a hidden area of your seat first. Different dyes and materials react differently to cleaning agents.
Identify Your Seat Material Before Cleaning
Using the wrong cleaning method can permanently damage your car seats. Take time to correctly identify your seat material before applying any cleaning solutions.
How to Recognize Cloth Fabric Seats
Cloth seats typically:
– Feel like traditional upholstery fabric
– Absorb liquids quickly upon contact
– Show water rings when dampened
– Require deeper cleaning methods to remove embedded dirt
How to Identify Genuine Leather Upholstery
Leather seats generally:
– Feel cool and smooth to the touch
– Have a distinctive leather scent
– Resist liquid absorption (beads form on the surface)
– Develop a natural patina over time
– Require conditioning after cleaning to maintain flexibility
How to Spot Vinyl or Faux Leather
Vinyl seats usually:
– Have a shinier, more plastic-like appearance
– Feel warmer to the touch than genuine leather
– Clean up with minimal effort
– Are more common in older vehicles or commercial models
Quick identification test: Place a small drop of water on an inconspicuous area. If it beads up, you have leather or vinyl. If it soaks in immediately, you’re dealing with cloth fabric.
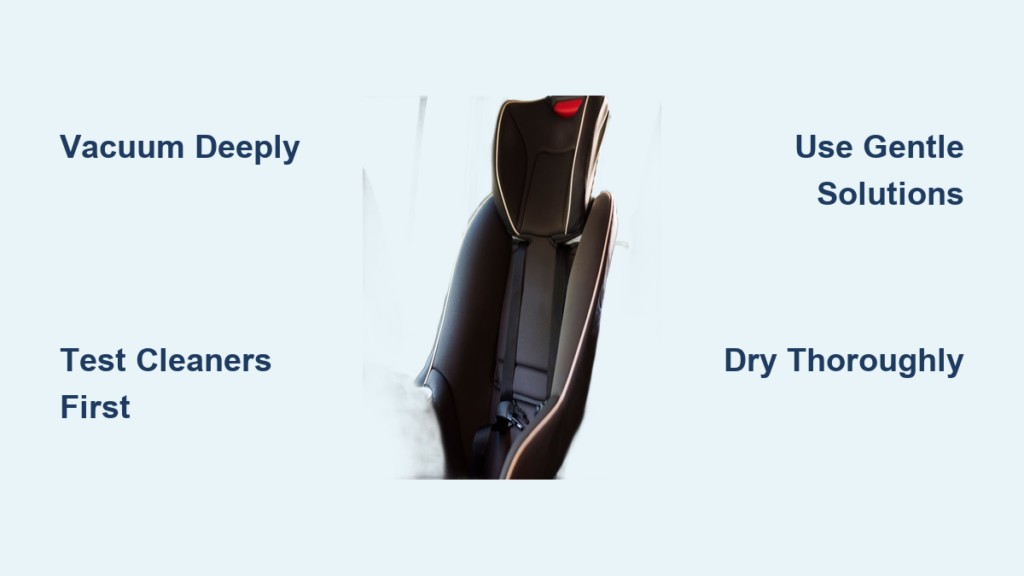
Deep Cleaning Cloth Car Seats Step-by-Step
:max_bytes(150000):strip_icc()/how-to-clean-cloth-car-seats-4693504-01-B-550a4fe9d4a340b2b13b276ac06af6c8.jpg)
Cloth seats trap dirt deep within their fibers, requiring a thorough approach to restore their appearance without causing damage.
Professional-Grade Pre-Vacuuming Technique
Never skip this critical step before applying moisture:
1. Remove floor mats and shake out large debris
2. Vacuum seat backs using slow, overlapping strokes
3. Clean seat bottoms by dividing into quadrants for thorough coverage
4. Target crevices between seats where crumbs and small items accumulate
5. Lift removable seat cushions to access hidden dirt pockets
Skipping proper vacuuming turns embedded dirt into mud when wet, making stains more difficult to remove.
Perfect Cleaning Solution for Cloth Seats
Create this effective yet gentle mixture:
– Combine 1 cup warm water with 2 drops of dish soap (excess soap creates difficult-to-remove suds)
– Add 1 tablespoon white vinegar to boost cleaning power
– Gently shake in your spray bottle to mix without creating excessive foam
Effective Scrub and Extract Method
Follow this sequence for optimal results:
1. Lightly mist your solution onto a small section (avoid soaking)
2. Wait 2-3 minutes for the solution to break down grime
3. Scrub in circular motions using your soft-bristled brush
4. Blot aggressively with dry microfiber cloths to lift dirt
5. Repeat the process until the cloth comes clean
For best results, use a wet/dry vacuum to extract moisture after scrubbing. Without one, press firmly with multiple microfiber cloths to absorb as much liquid as possible.
Specialized Stain Treatment Techniques
Address specific stains with these targeted approaches:
– Coffee spills: Blot immediately, then use a 3:1 water-to-vinegar solution
– Grease stains: Sprinkle baking soda liberally, wait 15 minutes, then vacuum
– Pet accidents: Apply enzyme cleaner and allow to sit overnight before cleaning
– Ink marks: Dab gently with rubbing alcohol on a cotton swab (never rub)
Safe Cleaning Methods for Leather Car Seats
Leather demands special care—improper cleaning can cause irreversible damage through cracking, fading, or discoloration.
Critical Leather Pre-Cleaning Assessment
Before applying any product:
– Inspect for damage (avoid getting cleaners in cracks or tears)
– Conduct patch test on a hidden area
– Determine leather type (aniline requires gentler care than protected leather)
– Remove all jewelry that could scratch the delicate surface
Gentle Leather Cleaning Procedure
Prepare this safe cleaning solution:
– Mix ½ cup distilled water with 3 drops of mild soap (baby shampoo works well)
– Never use vinegar—it dries out leather and accelerates cracking
Cleaning process:
1. Dampen microfiber cloth (not soaking wet) with your solution
2. Wipe following the leather grain in straight lines
3. Rinse cloth frequently to avoid redepositing dirt
4. Dry immediately with a clean, dry microfiber towel
5. Apply conditioner within 2 hours to replenish natural oils
Critical warning: Dish soap strips leather of its natural oils, leading to premature drying and cracking.
Material-Specific Leather Stain Removal
Address common leather issues correctly:
– Dark spots: Use dedicated leather cleaner (household products can damage)
– Water rings: Clean the entire panel to avoid noticeable cleaning lines
– Denim dye transfer: Apply specialized leather stain remover
– Grease spots: Cover with cornstarch overnight, then brush off gently
Quick Cleaning Techniques for Vinyl Seats
Vinyl seats tolerate more aggressive cleaning than other materials but still require proper technique.
Effective Vinyl Cleaning Methods

For routine maintenance:
– Mix dish soap and water in a 1:10 ratio
– Wipe with microfiber cloth using moderate pressure
– Rinse thoroughly with clean water
– Dry immediately with soft towel
For stubborn grime:
– Apply all-purpose cleaner (Simple Green works well)
– Use soft brush for textured surfaces
– Rinse completely—leftover residue attracts more dirt
– Apply vinyl protectant for UV protection and shine
Helpful tip: Magic Erasers can remove tough stains from vinyl, but always test in an inconspicuous area first as they can be slightly abrasive.
Proper Drying Techniques to Prevent Mold

Incomplete drying leads to musty odors and mold growth, undoing all your hard work.
Accelerated Drying Methods
Maximize airflow with these techniques:
– Open all doors completely for cross-ventilation
– Position fans directly at wet areas
– Park in direct sunlight if weather permits
– Use shop-vac to extract residual moisture from fabric
Expected Drying Timelines
Plan your schedule accordingly:
– Cloth seats: 4-6 hours with fans, 8-12 hours naturally
– Leather seats: 2-3 hours (minimal absorption)
– Vinyl seats: 1-2 hours (non-porous surface)
Mold prevention tip: If seats develop a musty smell after 24 hours, sprinkle baking soda generously, wait overnight, then vacuum thoroughly.
Long-Term Seat Maintenance Strategies
Preventative care significantly reduces the need for intensive deep cleaning sessions.
Weekly Maintenance Routine
Spend just 5 minutes to maintain seat appearance:
– Quick vacuum seats and crevices after each use
– Wipe leather surfaces with slightly damp microfiber
– Remove trash immediately before odors develop
– Address spills instantly—blot, never rub
Monthly Deep Touch-Up Protocol
Dedicate 15 minutes monthly for:
– Spot clean new stains while they’re still fresh
– Dust vents above seats to prevent airborne particles from resettling
– Rotate seat usage to distribute wear evenly
– Inspect for damage before small issues become major problems
Seasonal Protection Strategies
Adjust your approach based on weather:
– Winter: Use seat covers to protect against salt and slush
– Summer: Park in shade to prevent leather from drying out
– Spring: Deep clean pollen and allergens that accumulate
– Fall: Remove leaf debris before it stains upholstery
Budget-friendly hack: Keep a small towel and water bottle in your trunk for immediate spill response before stains set.
Transforming your car’s interior from grimy to showroom condition doesn’t require professional equipment or expensive products. By following these proven techniques for cloth, leather, and vinyl seats, you’ll achieve professional results at a fraction of the cost. Remember that consistent, simple maintenance prevents the need for intensive cleaning sessions later—your seats (and your wallet) will thank you for the care.


