
Your network printer vanishes from your computer every time you try to print. Your NAS storage disappears when you need files most. These common home network frustrations happen because devices keep getting new IP addresses. When your router assigns dynamic IPs that change regularly, connections break and services fail. Learning how to create static address for home network fixes these issues permanently.
This frustration ends when you establish fixed network addresses for critical devices. Without static IPs, your smart home ecosystem becomes unreliable. The good news is you can solve this in under an hour using methods that work on any home router. We’ll cover two proven approaches to create static IP addresses that keep your devices consistently accessible.
Stop Device Disconnections: Why Static IP Addresses Solve Home Network Problems
Static IP addresses eliminate the constant reconnection issues plaguing home networks. Unlike dynamic IPs that change when DHCP leases expire, static addresses remain fixed until you manually change them. This stability matters most for devices requiring consistent network identification.
Critical devices needing static IPs:
– Network printers that computers lose track of
– NAS storage devices hosting your media library
– Security cameras requiring remote access
– Smart home hubs controlling IoT devices
– Game servers needing port forwarding
– Media servers like Plex or Jellyfin
Reserve static IPs only for essential devices. Most phones, tablets, and laptops work fine with dynamic addresses. Prioritize devices that must maintain consistent network identification for reliable access.
Fix Your Printer Connectivity: DHCP Reservation Method for Home Routers
DHCP reservation provides router-managed static addresses without device configuration. This method binds specific IPs to device MAC addresses through your router settings. It’s the simplest approach for most home networks.
Access Your Router Admin Panel Without Losing Connection
Step 1: Open a web browser and enter your router’s IP address:
– 192.168.1.1
– 192.168.0.1
– 192.168.1.254
Check your router’s label if these don’t work. Pro tip: Connect via Ethernet during setup to avoid losing Wi-Fi access.
Step 2: Enter admin credentials (often printed on router bottom). Never use default passwords—change them immediately for security.
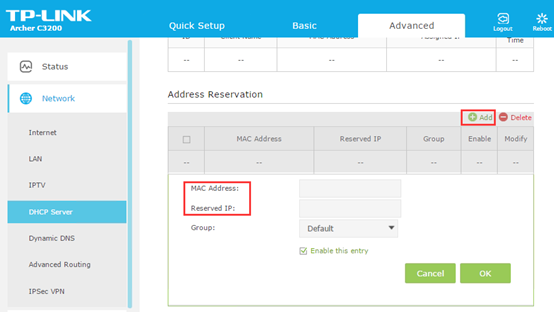
Find and Reserve IP Addresses on Any Home Router
Router interfaces vary, but look for these sections:
– TP-Link: Advanced > Network > DHCP Server > Address Reservation
– Asus: LAN > DHCP Server > Manually Assigned IP
– Netgear: Advanced > Setup > LAN Setup > Address Reservation
Reservation process:
1. View connected devices list
2. Identify target device by name or MAC address
3. Click “Reserve” or “Add to Reservation”
4. Choose IP outside DHCP range (e.g., 192.168.1.10 if DHCP uses 100-199)
5. Add descriptive label like “Office Printer”
Critical mistake to avoid: Never assign addresses within your router’s DHCP pool. Check your DHCP range first—typically 192.168.1.100-199—and reserve addresses below .100.
Configure Static IP Directly on Devices When Router Method Fails
When your router lacks DHCP reservation, configure static IPs directly on devices. This method works independently but requires more setup per device.
Set Permanent IP Address on Windows 11 for Network Devices
Step 1: Gather network details
1. Go to Settings > Network & internet > Advanced network settings
2. Click Hardware and connection properties
3. Note current IPv4 address, subnet mask, and gateway
Step 2: Configure static IP
1. Return to Network settings > Wi-Fi/Ethernet
2. Click Edit next to IP assignment
3. Select Manual > IPv4
4. Enter:
– IP address: 192.168.1.10 (outside DHCP range)
– Subnet mask: 255.255.255.0
– Gateway: 192.168.1.1 (your router IP)
– DNS: 8.8.8.8 or 1.1.1.1
Step 3: Save settings and test connectivity. If internet fails, double-check gateway and DNS entries.
Create Static IP Configuration on macOS Ventura and Later
- Open System Settings > Network
- Select active connection → Details → TCP/IP
- Change Configure IPv4 to Manually
- Enter IP address, subnet mask (255.255.255.0), router, and DNS servers
- Click OK > Apply
Troubleshooting tip: If connection drops, verify your subnet mask matches other network devices. Most home networks use 255.255.255.0.
Fix Common Static IP Errors That Break Home Network Connectivity
Even careful setups encounter problems. These solutions resolve the most frequent static IP issues.
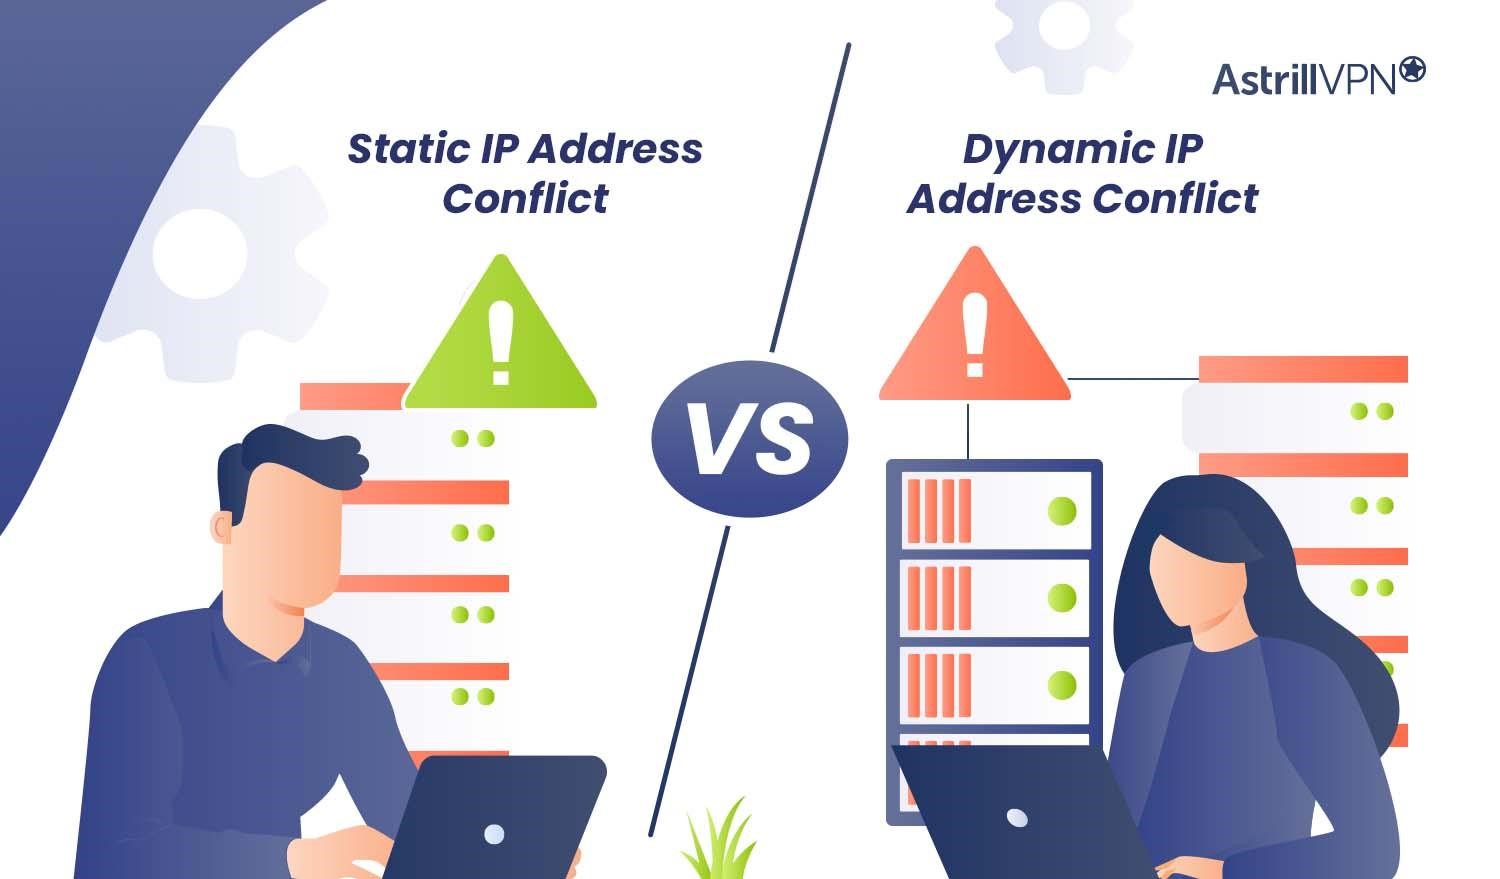
Resolve IP Address Conflicts Causing Network Disconnections
Symptoms: Intermittent connectivity, “IP conflict” warnings
Fix in 3 steps:
1. Check all devices for duplicate addresses using router’s connected devices list
2. Ensure static IPs don’t overlap with DHCP pool range
3. Test address availability: ping 192.168.1.10 (replace with your static IP)
Prevention: Maintain a simple spreadsheet documenting all static IP assignments with device names and MAC addresses.
Fix Gateway and DNS Configuration Mistakes
No internet but local devices work? You’ve likely misconfigured gateway or DNS.
Gateway fix:
– Verify router IP (usually 192.168.1.1)
– Test connectivity: ping 192.168.1.1
– If ping fails, check physical connections
DNS fix:
– Use reliable public DNS: Google (8.8.8.8) or Cloudflare (1.1.1.1)
– Flush DNS cache: Windows (ipconfig /flushdns), Mac (sudo dscacheutil -flushcache)
– Test resolution: nslookup google.com
Secure Your Home Network While Implementing Static IP Addresses
Static IPs enhance security when implemented correctly. They enable consistent firewall rules and clear device identification for monitoring.
Security best practices:
– Use private IP ranges only: 192.168.x.x, 10.x.x.x, or 172.16.x.x
– Enable WPA3 encryption on all Wi-Fi networks
– Change default passwords on every network device
– Update router firmware monthly
– Segment IoT devices on separate networks
Critical mistakes to avoid:
– ❌ Assigning predictable IP sequences (192.168.1.2, .3, .4…)
– ❌ Documenting IP assignments in unsecured locations
– ❌ Using public IP ranges internally
Plan Your Home Network IP Structure for Maximum Reliability
A well-planned IP structure prevents future conflicts and simplifies management. Reserve blocks for different device categories:
“`
Network Infrastructure:
– Router: 192.168.1.1
– Switches: 192.168.1.2-192.168.1.5
Servers & Storage:
– NAS: 192.168.1.10
– Media Server: 192.168.1.11
Peripherals:
– Printers: 192.168.1.20-192.168.1.25
– Security Cameras: 192.168.1.30-192.168.1.35
DHCP Range: 192.168.1.100-192.168.1.199
“`
Documentation template:
– Device: Living Room Printer
– IP: 192.168.1.20
– MAC: AA:BB:CC:DD:EE:FF
– Method: Router DHCP Reservation
– Date: [Assignment date]
Choose the Right Method: Router vs Device Static IP Configuration
| Method | Best For | Setup Time | Management |
|---|---|---|---|
| Router DHCP Reservation | Most home networks | 5 minutes per device | Centralized control |
| Device Static IP | Special cases/testing | 8 minutes per device | Manual per device |
Recommendation: Always start with DHCP reservation through your router. It’s simpler, prevents conflicts, and survives device reinstallation. Use device-level static IPs only when router features are limited or for testing purposes.
Creating a static address for home network transforms unreliable connections into rock-solid stability. Start with your most critical device—probably your network printer—and implement DHCP reservation through your router. Document each assignment to prevent future conflicts. Within 30 minutes, you’ll eliminate frustrating disconnections and enjoy consistent access to all network devices. Remember to prioritize security by using private IP ranges and strong passwords. The effort pays immediate dividends in network reliability—no more searching for vanished devices when you need them most.


