
Imagine standing in your living room, visualizing a kitchen renovation that opens to the backyard—but without a floor plan, your contractor keeps misinterpreting your vision. You’re not alone. Research shows 20% of homebuyers instantly skip listings without floor plans, while sellers report 42% refuse agents who don’t provide them. Whether you’re redesigning a single room or mapping your entire house, knowing how to draw home floor plans transforms vague ideas into actionable blueprints. This guide cuts through the complexity with battle-tested methods—from pencil-and-paper fundamentals to digital mastery—that deliver professional results without architecture degrees. You’ll learn precise measuring tricks contractors use, avoid costly scaling errors, and create plans that boost real estate appeal by 52% through clear spatial storytelling.
Essential Tools for Hand-Drawing Floor Plans

Skip expensive software for your first attempt. Hand-drawing builds spatial intuition while revealing layout flaws before digital commitment. The right tools make all the difference in accuracy.
Required Drawing Materials
Grab these five non-negotiables before measuring:
– Pencil: HB or 2B for effortless erasing without paper damage
– Architect’s scale ruler: Measures imperial (feet/inches) or metric (meters/cm) scales directly
– Graph paper: ¼” grid (imperial) or 5mm grid (metric) for automatic alignment
– Kneaded eraser: Lifts graphite cleanly without smudging
– Locking tape measure: 25-foot minimum to capture room diagonals
Choosing Your Scale Correctly
Your scale determines whether a bedroom looks spacious or claustrophobic. Never guess—use these standards:
– Standard rooms: ¼” = 1′-0″ (imperial) or 1:50 (metric)
– Large areas: Scale down to ⅛” = 1′-0″ or 1:100
– Detail work: Scale up to ¾” = 1′-0″ or 1:20 for intricate cabinetry
Pro tip: Print a 1-foot scale bar on your paper. Verify measurements against it during drawing.
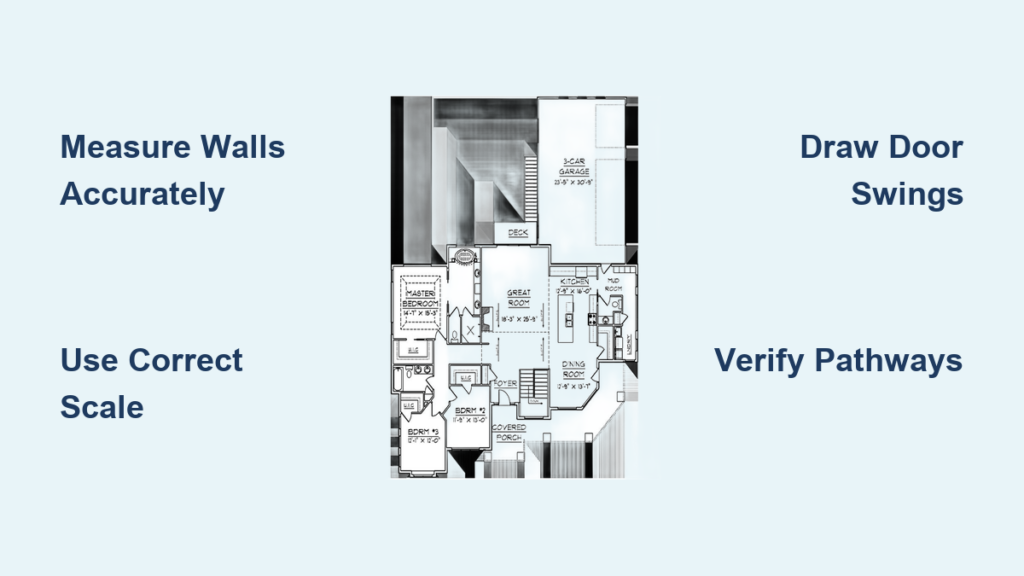
Measuring Your Space Like a Professional
Inaccurate measurements doom even the most artistic floor plans. Follow this room-by-room protocol to capture reality—not assumptions.
Room-by-Room Measurement Process
- Sketch a rough bubble diagram first—no scale needed—to map room relationships
- Measure wall-to-wall at floor level (not baseboards), noting exact inches/cm
- Record door/window openings including trim width (standard interior walls are 4-6″ thick)
- Mark ceiling heights and bulkheads affecting fixture placement
- Flag fixed obstructions: radiators, plumbing stacks, electrical panels
Critical verification step: Measure diagonals corner-to-corner. Equal distances confirm 90-degree angles—a 1″ difference means your “square” room is actually a parallelogram.
Common Measuring Mistakes That Ruin Plans
- Unit switching: Lock into metric OR imperial before starting—never mix
- Ignoring wall thickness: Exterior walls often add 2″ vs. interior walls
- Missing obstructions: Built-in cabinets or pipes eat into usable space
Example: That “10×12 room” might actually be 9’8″x11’10” after subtracting wall thickness.
Hand-Drawing Your First Floor Plan Step-by-Step
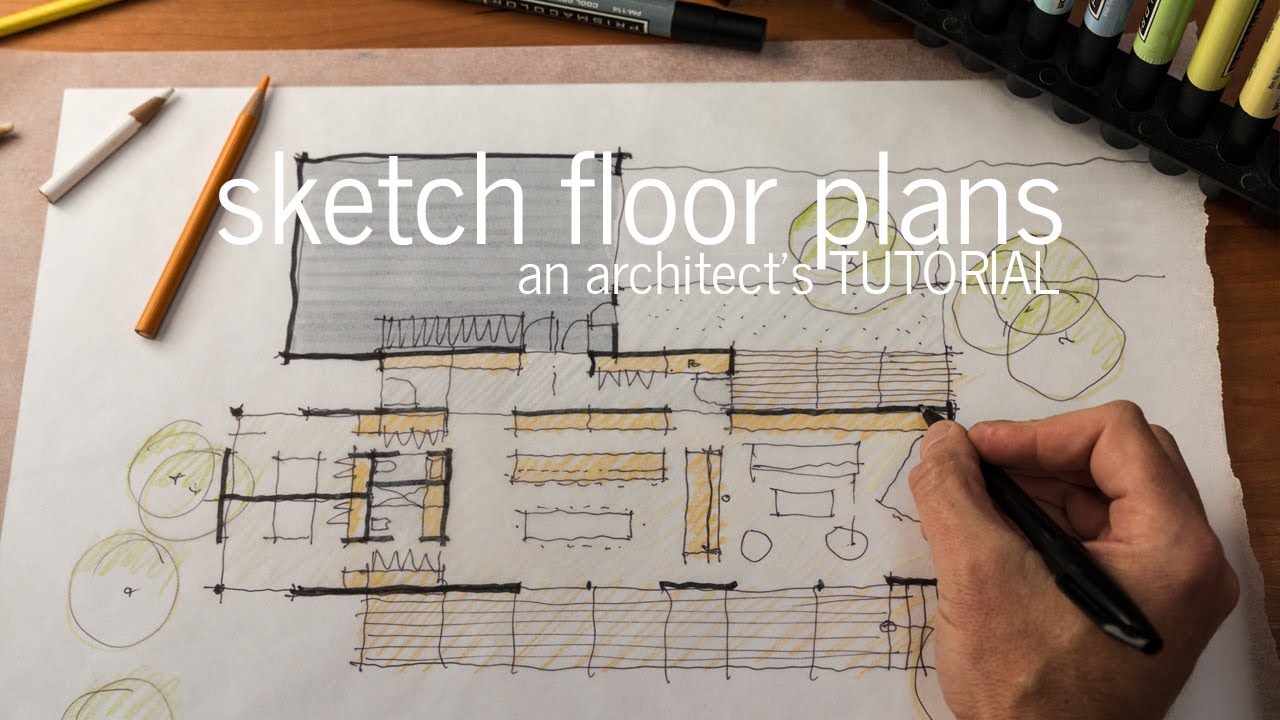
Transform raw measurements into a professional-looking plan with this streamlined workflow.
Sketch the Perimeter Accurately
Lightly draw outer walls using your graph paper grid. For an L-shaped house:
1. Count grid squares matching your scaled measurements (e.g., 24 squares at ¼”=1′ = 6-foot wall)
2. Connect corners with straight ruler lines
3. Erase and re-draw until diagonal measurements match
Add Openings Without Errors
Do not draw doors/windows as separate elements—modify walls:
– Doors: Erase 30″ (standard width) of wall line, then draw 90° swing arc
– Windows: Erase opening width, add two parallel lines 2″ apart showing frame depth
Warning: Drawing doors as “add-ons” creates impossible spatial conflicts later.
Build Layers for Clarity
Work sequentially to avoid chaos:
1. Thicken wall lines to 0.5mm for solid boundaries
2. Add interior partitions with door swing clearances (30″ minimum)
3. Insert fixed elements: kitchen islands, fireplaces, stairs
4. Test furniture: Draw simplified rectangles (bed=6’x7′, sofa=8’x3′)
5. Verify circulation: Ensure 36″ pathways between furniture
Digital Floor Plan Software Compared
Digital tools eliminate scaling math while adding 3D visualization—but choosing wrong wastes hours. These three dominate for good reason.
Top Software Options for Beginners
RoomSketcher: Best for real estate
– Instant 3D walkthroughs from 2D plans
– Drag-and-drop furniture library with realistic dimensions
– Exports branded PDFs for listings (52% higher CTR proven)
Floor Plan Creator: Precision powerhouse
– Numerical dimension entry (type “12’6” instead of guessing)
– Mobile-to-desktop sync for on-site measuring
– Subscription: $79.95/year (basic), $79.95/month (full features)
SmartDraw: Template-driven speed
– Pre-built house plans for quick customization
– One-click furniture staging
– Web-based sharing with clients
Universal Digital Workflow
- Lock units/scale before drawing (software defaults often wrong)
- Draw exterior walls with realistic thickness (6″ for exterior, 4.5″ interior)
- Partition rooms checking door swing arcs against furniture
- Place fixtures using built-in symbol libraries
- Switch to 3D to spot spatial issues (e.g., kitchen island blocking traffic)
- Annotate with room labels and dimensions
Fix These Common Floor Plan Errors Immediately
Even professionals miss these—learn to spot them before construction starts.
Circulation Pathway Failures
Problem: Furniture creates bottlenecks where people must turn sideways.
Fix: Maintain 24″ minimum between furniture edges, 36-42″ for primary walkways. Test by cutting paper furniture templates and moving them physically.
Scaling Disasters
Problem: Rooms feel cramped despite “correct” dimensions.
Fix: Print plan at actual scale, stand on it holding a tape measure. If you can’t walk the space without stepping on lines, scale is wrong.
Door Swing Conflicts
Problem: Bathroom door hits sink cabinet when opened.
Fix: In digital tools, enable “door swing overlay.” Ensure 12″ clearance past door edge when fully open. Hand-drawers: use compass to trace swing arcs.
Export and Present Floor Plans for Maximum Impact
Your floor plan serves different audiences—tailor exports accordingly.
Professional Export Formats
- Permits/Contractors: Scaled PDF with dimensions, north arrow, room labels
- Real Estate Listings: High-res JPG + 3D walkthrough link (RoomSketcher generates in 1 click)
- Client Presentations: Interactive 3D model with “daylight simulation” showing sun paths
- Future Renovations: DWG/DXF files for architect collaboration
Marketing gold: Listings with floor plans get 52% more clicks. Pair your plan with a 3D photo showing kitchen-to-living room flow—buyers visualize living there instantly.
Maintain and Update Plans Long-Term
Floor plans become obsolete fast without version control. Avoid “which plan is current?” chaos.
Version Control Best Practices
- File naming: “MainFloor_v2024-06-15_R2” (date + revision)
- Cloud sync: Auto-backup to prevent data loss during remodels
- Layer discipline: Keep electrical, plumbing, and furniture on separate layers
- Quarterly reviews: Update after furniture changes or minor renovations
Quick Reference Checklist
☐ All walls measured at floor level (not baseboards)
☐ Scale locked before drawing begins
☐ Wall thickness included in room dimensions
☐ Minimum 36″ circulation paths verified
☐ 3D view checked for spatial realism
☐ Exports prepared for intended audience (PDF for contractors, JPG for listings)
Mastering how to draw home floor plans starts with measuring one room this weekend. Grab graph paper and a tape measure—sketch your living room using ¼”=1′ scale. Notice how including wall thickness changes usable space. Within hours, you’ll spot layout flaws invisible in photos. When ready, try RoomSketcher’s free trial to transform that sketch into a 3D walkthrough. Each accurate line you draw builds confidence for bigger projects, turning vague dreams into buildable realities. Your perfect space starts with a single measured wall—start there today.


