
More than 80% of household waste can actually be recycled, yet most families recycle less than 35% of what they toss out. The difference isn’t lack of caring—it’s not knowing how to set up an effective system that works for your specific home and local rules. Whether you’re starting from scratch or frustrated with your current setup, this guide will transform your daily routine into an efficient recycling operation that actually makes a difference for the planet and your wallet. By the time you finish reading, you’ll have a customized blueprint for how to recycle at home successfully—no more guessing games or contaminated bins.
Identify What Actually Goes in Your Bin
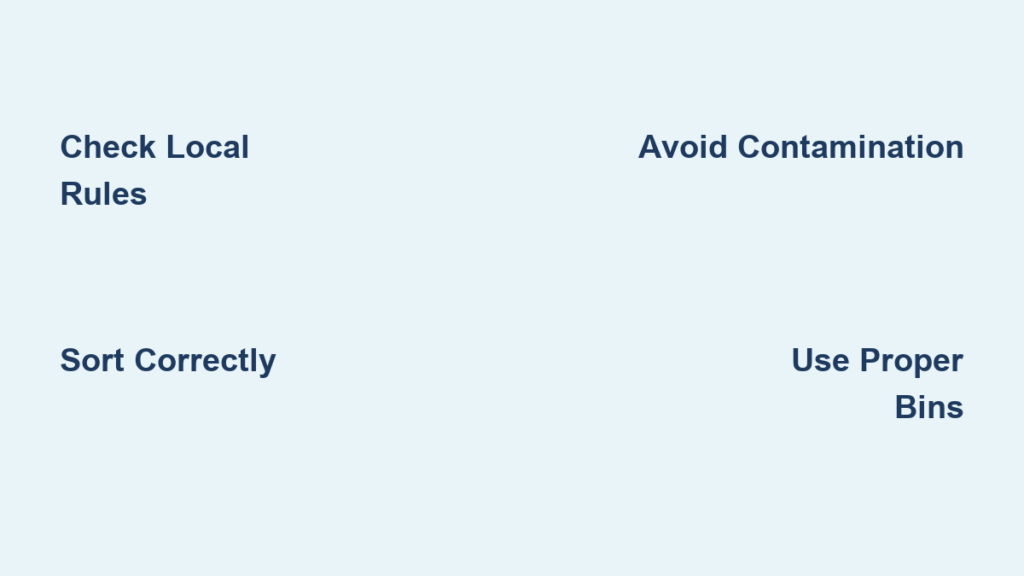
Paper and Cardboard Recycling Rules That Work
Paper makes up nearly a quarter of all household trash, but 68% of it gets successfully recycled when sorted correctly. Your daily newspaper, magazines, and mail can all go straight into recycling—even envelopes with plastic windows. Flatten cardboard boxes to save space and avoid tangling machinery. Pizza boxes are recyclable too, but scrape off food scraps first until they’re “spatula-clean.” Cereal boxes, shoe boxes, and egg cartons all qualify as cardboard recyclables. Be cautious with shredded paper—it’s accepted in only some programs—while metallic gift wrap often gets rejected. Hardcover books require cover removal before recycling, but paperbacks go in whole.
Always Recycle These Paper Items:
– Newspapers and magazines (no need to remove staples)
– Cardboard shipping boxes (flattened to maximize space)
– Paper takeout containers (rinsed thoroughly)
– Mail and catalogs (including glossy paper)
Check Local Rules For:
– Shredded paper (bag separately if accepted)
– Hardcover book covers (recycle paper portion only)
– Gift wrap (avoid metallic or glitter varieties)
Plastic Container Guidelines That Prevent Contamination

Only 8.7% of plastic waste gets recycled, mainly because people throw the wrong types into their bins. Focus on bottles, jugs, tubs, and cups—these are your safest bets. Water bottles, soda containers, and milk jugs (with caps left on) are universally accepted. Yogurt tubs and clear plastic cups go in too, but always rinse food residue. Never include plastic shopping bags—they tangle sorting equipment and must go to grocery store collection points. Styrofoam containers and plastic utensils belong in the trash, not your bin. Compostable plastics look recyclable but actually contaminate entire batches—dispose of these separately.
Curbside-Ready Plastics:
– Bottles with necks (water, soda, shampoo)
– Food tubs (yogurt, butter, cottage cheese)
– Clear plastic cups and clamshells
Never in Curbside Recycling:
– Plastic bags and wrappers (take to retail drop-offs)
– Styrofoam and polystyrene #6 containers
– Plastic cutlery, straws, and stirrers
Glass and Metal Recycling That Makes a Difference
Glass food containers and metal cans have excellent recycling rates when handled properly. Glass can be recycled forever without quality loss, and aluminum cans become new cans within 60 days. Mix all glass colors together in your bin—most programs accept this. Remove metal caps from glass bottles to prevent safety hazards during processing. Never include broken glass—it injures workers and damages equipment. For metals, leave aluminum cans uncrushed in single-stream systems (crushing makes them hard to detect), but rinse food residue from steel cans. Aluminum foil is recyclable when balled up into a fist-sized chunk.
Build Your Home Recycling System That Sticks
:strip_icc()/pull-out-divided-trash-recycling-station-a382a266-31f90f191c3b4a9792a6d60941c6d445.jpg)
Map Your Local Rules Before Sorting Anything
Before buying bins or sorting anything, spend 10 minutes checking your local recycling program’s website. Rules vary dramatically between cities—even neighboring towns might accept different plastics. Use tools like Earth911 or your municipal waste authority’s locator to verify exactly what you can recycle. Key questions to answer: Which plastic numbers does your program accept? Do you need to separate paper from containers? Is glass collected curbside or at drop-off sites? Are there special days for electronics or hazardous waste? When in doubt, contact your local solid waste agency—never guess.
Critical Verification Steps:
1. Check your program’s accepted materials list
2. Confirm plastic resin codes accepted (typically #1 and #2)
3. Verify if glass requires separate collection
4. Note special disposal dates for electronics
Choose Strategic Storage Spots for Daily Success
Most failed recycling attempts happen because the system isn’t convenient. Place containers where waste naturally occurs, not where they “look nice.” Keep a recycling bin under your kitchen sink for daily containers and packaging. Add a small paper bin in your home office for mail and documents. In bathrooms, use a tiny container for toilet paper tubes and product packaging. Store large cardboard bins in your garage for overflow. Pro tip: Use identical containers in each room to create muscle memory—when every bin looks the same, sorting becomes automatic and effortless.
Master the Collection Schedule to Avoid Missed Pickups
Missed pickup days derail even the best intentions. Set phone alerts for collection days and create backup plans for holidays or weather delays. Mark collection days on your family calendar in a visible spot. Set phone reminders for the night before pickup. Keep a “cheat sheet” on your fridge showing exactly what materials are accepted—include photos of common problem items. Plan monthly trips for items needing special disposal like batteries or electronics. This simple scheduling prevents full bins that lead to contamination.
Handle Tricky Items Without Compromising Your System
Battery Disposal Made Simple and Safe
Batteries cause 64% of waste facility fires when tossed in regular recycling. Keep them out of curbside bins entirely, but don’t let them pile up in drawers either. Create a dedicated battery storage container—tape terminals together to prevent sparks and store in a clear plastic tub. Drop off at hardware stores (Home Depot, Lowe’s) or municipal hazardous waste events. Alkaline batteries can often go in regular trash now, but rechargeables and lithium-ion types require special handling. Never throw batteries in your home recycling bin—they’re a major fire hazard.
Electronics and Hazardous Waste Handling Protocol
These items need specialized handling but shouldn’t create decision paralysis. Create a “special disposal box” in your garage or closet, then make quarterly trips to appropriate facilities. Store old phones, cables, burnt-out CFL bulbs, empty paint cans, and expired medications here. Use Earth911’s locator to find nearby e-waste drop-offs. For CFLs and other hazardous bulbs, check if hardware stores accept them—many do. Never put electronics in regular recycling; they require dedicated e-waste processing to recover valuable metals safely.
Prevent Common Recycling Errors That Wreck Your Efforts
Top 5 Contamination Mistakes to Eliminate Now

Even well-intentioned families make these errors daily, contaminating entire batches of recyclables. Plastic bags are the #1 problem—they tangle sorting machinery and must go to grocery store collection points (never bag recyclables in your bin). Broken glass creates safety hazards and belongs in trash. Food-soaked containers clog equipment; quick-rinse everything to “spatula-clean” standard. Hoses, wires, or clothing cause “tangles” that shut down processing lines. Bagged recyclables prevent proper sorting—always keep items loose in your bin. These mistakes force entire truckloads to landfill.
Quick 10-Second Contamination Check Before Tossing
Before adding anything questionable to your bin, run through this essential test: Is it on your local “accepted” list? Is it empty and reasonably clean? Could it tangle or damage equipment? Would you want to sort this by hand? If you answer “no” to any question, it belongs in the trash. When in doubt, leave it out—contaminated recycling does more harm than good. This simple checkpoint prevents “wishcycling” that undermines your entire effort.
Maximize Your Recycling Impact Beyond the Basics
Track Your Waste Reduction Progress Visibly
Most families see 40-60% waste reduction within 30 days of implementing a proper system. Measure your success to stay motivated: Count trash bags used weekly (aim for 50% reduction), note how often you empty recycling vs. trash bins, calculate money saved on trash bag purchases, and track special disposal trips (which should decrease as you learn the system). Post these metrics on your fridge—seeing tangible results reinforces good habits and shows your family’s real environmental impact.
Teach Kids the System Through Engagement
Children who learn recycling habits early maintain them for life. Make it a game rather than a chore: Color-code bins for different materials (blue for paper, green for containers), create sticker charts for correct sorting, let kids be “recycling inspectors” for visiting relatives, and celebrate monthly recycling weights together. Explain how aluminum cans become new bikes or playground equipment—connecting actions to outcomes makes it meaningful. When kids own the system, contamination drops dramatically.
Maintain Your Recycling System for Long-Term Success
Quarterly System Review for Continuous Improvement
Recycling programs change, and your system should evolve too. Every three months, spend 15 minutes optimizing your setup: Check for local program updates (new accepted materials or rules), replace worn containers or faded labels, adjust bin locations based on actual usage patterns, and plan upcoming special disposal needs. This small investment prevents system breakdowns and keeps your how to recycle at home routine effective for years.
Advanced Tips for Zero-Waste Progression
Once basic recycling becomes automatic, level up: Precycle by choosing products with minimal packaging at purchase—opt for concentrates, refills, or bulk options. Join Freecycle networks to donate usable items before recycling. Start composting food scraps to eliminate even more trash. Switch to bulk buying for frequently used items like grains and cleaning supplies. These strategies move you from basic recycling toward true waste reduction—where recycling becomes the last resort, not the first option.
Your how to recycle at home journey starts with one simple action: Place a recycling bin beside your kitchen trash can today. Begin with the universal “always recyclable” items—paper, cardboard, plastic bottles, and metal cans—and master this before adding trickier materials. Within six weeks, this becomes automatic habit, cutting your household trash nearly in half while building sustainable skills your family will use forever. The planet doesn’t need perfect recyclers—it needs consistent ones. Start small, stay consistent, and watch your impact grow.


