

That coffee spill on your favorite leather handbag doesn’t have to spell disaster. Learning how to clean leather handbags at home properly can save you hundreds in professional cleaning fees while extending your bag’s life for years. Most leather damage happens from incorrect cleaning attempts—using baby wipes that dry out leather or water that causes rings on finished surfaces. This guide reveals the exact methods fashion insiders use to maintain luxury bags, from quick spot treatments to complete restoration of heavily soiled pieces. You’ll discover how to identify your leather type correctly and apply the precise cleaning technique that won’t damage your investment.
Identify Your Leather Type Before Cleaning

Quick Water Test for Leather Identification
Don’t reach for any cleaner until you’ve determined your bag’s leather type. Drop a single drop of water on a hidden area like the bottom corner and watch for 30 seconds:
– Water beads up: Finished leather (most common for designer bags)
– Water absorbs immediately: Unfinished or naked leather
– Fuzzy texture remains dry: Suede or nubuck
– Mirror-like reflection: Patent leather
Critical mistake to avoid: Using water-based cleaners on suede causes permanent damage. If you’re unsure, check inside pockets for care labels with symbols indicating cleaning methods. No label? Treat it as unfinished leather until confirmed otherwise.
Must-Have Supplies for Home Leather Cleaning
Basic Cleaning Toolkit
Skip expensive specialty products and gather these affordable essentials:
– 3-4 lint-free microfiber cloths (coffee filters work in a pinch)
– Distilled water (prevents mineral deposits from tap water)
– pH-neutral castile soap or baby shampoo
– White vinegar for stubborn stains
– Baking soda for oil absorption
– Cotton swabs for precision cleaning
– Soft-bristled brush for gentle scrubbing
– Leather conditioner matched to your bag’s type
Pro tip: Keep a travel-sized emergency kit in your bag containing pre-moistened leather wipes and a small microfiber cloth for immediate stain response.
Daily Handbag Maintenance That Prevents Deep Cleaning
The 5-Minute Evening Routine
Most deep cleaning needs disappear with consistent daily care:
1. Empty your bag completely and shake out debris
2. Wipe exterior with dry microfiber cloth using circular motions
3. Use barely damp cloth (wring until almost dry) for visible spots
4. Leave bag open overnight in well-ventilated area
Time-saving hack: This simple routine prevents 90% of stains from setting permanently. Make it part of your nightly wind-down ritual.
Deep Cleaning Finished Leather Without Damage
Three-Step Cleaning Process
Finished leather (where water beads up) requires careful handling to avoid residue buildup:
Prepare the solution: Mix exactly 1-2 drops of mild soap with one cup distilled water. More soap creates residue harder to remove than the original dirt.
Clean in sections: Work on 6-inch areas to prevent water spots:
1. Dampen cloth in solution, wring until barely moist
2. Clean using gentle circular motions
3. Immediately follow with dry cloth
4. Focus extra attention on handles and corners
Condition properly: Apply pea-sized amount of conditioner while leather is still slightly damp. This locks in moisture and prevents cracking—never skip this critical step.
Eliminate Specific Stains with Targeted Methods
Oil and Grease Removal That Works
Fresh stains: Blot immediately with paper towel (never rub)
Set-in stains:
1. Cover stain with baking soda overnight
2. Brush away powder in morning
3. Repeat 2-3 times for stubborn spots
Water Stain Fix (Counterintuitive Method)
Contrary to instinct, add more water:
1. Lightly dampen entire panel to prevent rings
2. Stuff with paper towels to maintain shape
3. Air dry 24-48 hours away from direct heat
4. Condition thoroughly after drying
Ink Stain Emergency Protocol
For fresh ink on finished leather:
1. Dip cotton swab in rubbing alcohol
2. Dab gently from outside of stain inward
3. Stop immediately if color transfers
4. Condition area once dry
Warning: If ink has penetrated deeply or the bag is valuable, skip DIY methods and consult a professional.
Suede and Nubuck Cleaning Without Ruining Texture
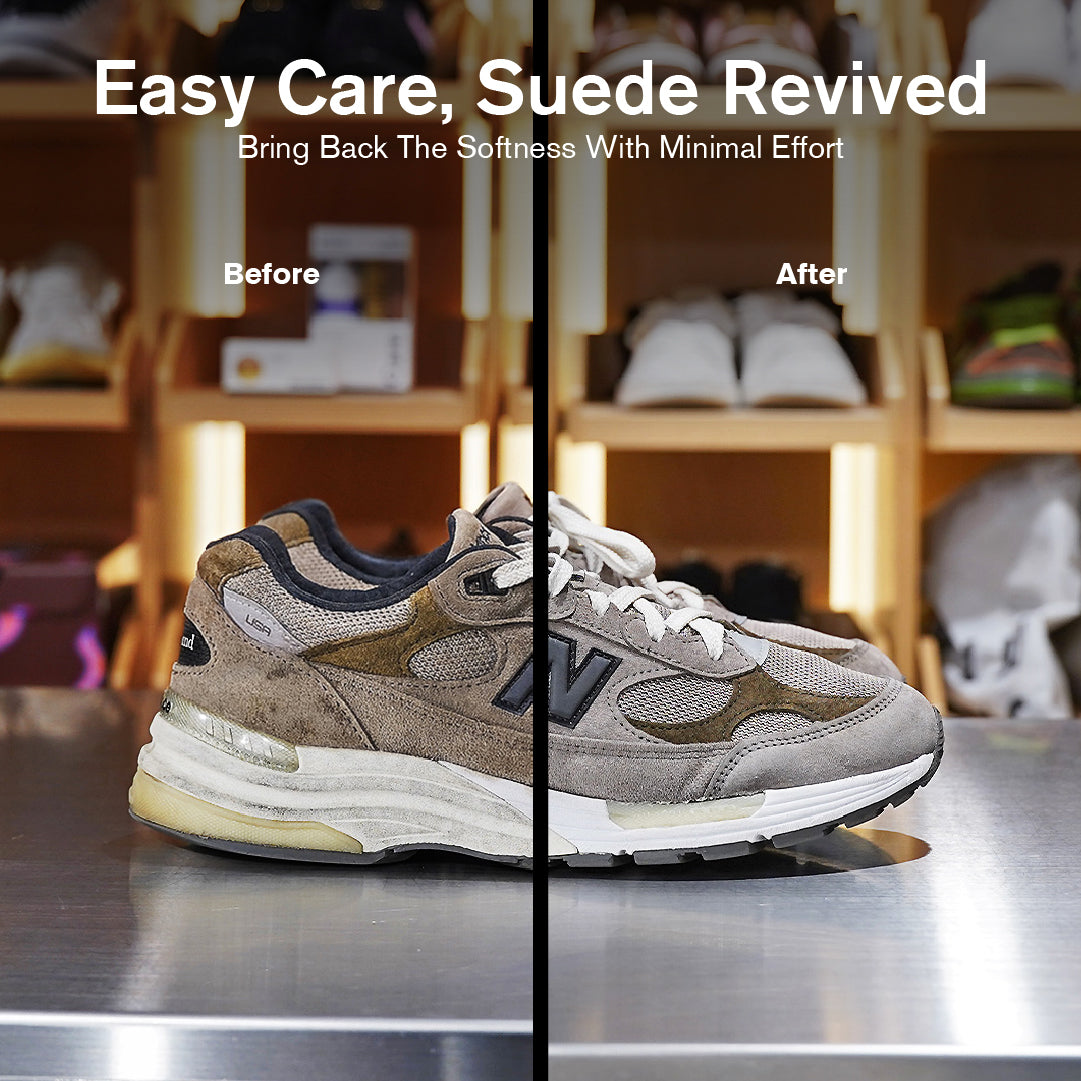
Dry Cleaning Only Approach
Water destroys suede’s delicate nap. Instead:
1. Use suede brush in single direction to lift fibers
2. Tackle scuffs with specialized suede eraser
3. Absorb oil with cornstarch overnight, then brush away
4. Restore texture with gentle brushing
Critical rule: Never use liquid cleaners on suede—damage is irreversible. If your suede bag gets wet, stuff with paper towels and let dry naturally before brushing.
Patent Leather Shine Restoration Techniques
Remove Scuffs Without Damage
- Clean with damp cloth and mild soap solution
- Apply tiny amount of mineral oil with soft cloth
- Buff with microfiber for mirror finish
- Avoid petroleum jelly near stitching (attracts dirt)
Pro tip: Store patent leather bags in soft cotton bags to prevent scuffs—never stack them directly against other items.
Interior Deep Cleaning for Complete Revival
Fabric Linings
- Vacuum with brush attachment first
- Spot clean with fabric cleaner using cotton swab
- Deodorize with baking soda overnight, then vacuum out
- Air dry completely before use
Leather Interiors
Treat like exterior leather but use 50% less product to prevent over-conditioning and discoloration.
Proper Drying Methods That Maintain Shape
Shape-Preserving Technique
- Stuff bag with acid-free paper (not newspaper – ink transfers)
- Avoid heat sources including sunlight and hair dryers
- Rotate bag every 12 hours for even drying
- Allow 24-48 hours complete drying time
Critical mistake: Never place leather near radiators or vents—rapid drying causes cracking and warping.
Condition and Protect for Long-Term Preservation
Choose the Right Conditioner
- Lanolin-based: Best for dry, cracked leather
- Beeswax formulas: Ideal for daily bags needing water resistance
- Color-specific: Match to original leather shade
- Silicone-free: Prevents buildup and discoloration
Application Technique
- Test on hidden area 24 hours prior
- Use sparingly – over-conditioning damages leather
- Work in using circular motions with soft cloth
- Buff with clean cloth after 30-minute absorption
Pro tip: Apply conditioner monthly for daily bags, quarterly for occasional use pieces.
Smart Storage Solutions That Prevent Damage
Daily Storage Protocol
- Store upright on shelf (never hang by straps)
- Use breathable cotton dust bag (never plastic)
- Maintain 45-55% humidity in storage area
- Stuff lightly with acid-free paper to maintain shape
Long-term Storage Checklist
- Clean and condition thoroughly first
- Overstuff with acid-free tissue paper
- Store in cotton pillowcase or fabric box
- Check and air out every 3-4 months
When to Call a Professional Instead
Red Flags Requiring Expert Care
Seek professional help for:
– Antique or heirloom pieces
– Severe ink, oil, or mold damage
– Exotic leathers (crocodile, snake)
– Bags worth $500+ with major issues
– Structural damage or tears
Cost reality: Basic cleaning runs $50-100, stain removal $75-150, full restoration $150-300+. Consider professional costs against bag’s value before attempting aggressive DIY cleaning.
Seasonal Care Adjustments for Year-Round Protection
Summer Protocol
- Increase conditioning frequency (heat and sunscreen dry leather)
- Store in air-conditioned space
- Apply UV-protectant spray for daily bags
- Clean sunscreen transfers immediately
Winter Protection
- Shield from salt and snow exposure
- Condition more often (indoor heating dries leather)
- Allow complete drying after moisture exposure
- Store away from heating vents
Critical mistake to avoid: Never use baby wipes (contain alcohol that dries leather), paper towels (scratch surface), or plastic bags for storage (trap moisture).
Master these techniques and your leather handbags will maintain their beauty for decades. Start with the least aggressive method first—you can always escalate cleaning intensity, but you can’t undo damage from overly harsh treatment. Remember: consistent gentle care prevents the need for aggressive restoration later.


