
You’ve decided to sell your house, but weeks pass without serious offers. Here’s the hard truth: professionally staged homes sell 73% faster and command up to 10% higher prices than non-staged properties. While your neighbor’s house sits stagnant, properly staged properties create bidding wars. This guide reveals the exact process professional stagers use—without the $8,000 price tag. Follow these proven techniques to transform your lived-in space into a buyer’s dream home that sells quickly and for top dollar.
Start with a Professional-Grade Home Assessment
Grab your phone and photograph every room from three angles. These images reveal what daily living hides: cramped spaces, dated fixtures, and clutter you’ve learned to ignore. This visual inventory becomes your roadmap for transformation. Research your buyer profile next—young professionals want sleek, low-maintenance spaces near transit, while families need defined play areas and abundant storage.
Budget strategically using the 1-3% rule. For a $400,000 home, allocate $4,000-$12,000 total: 40% for essential repairs, 30% for cosmetic updates, 20% for staging furniture, and 10% for surprises. Focus 80% of your budget on high-impact areas: living room, master bedroom, kitchen, and primary bathroom. This targeted approach delivers maximum return on your investment.
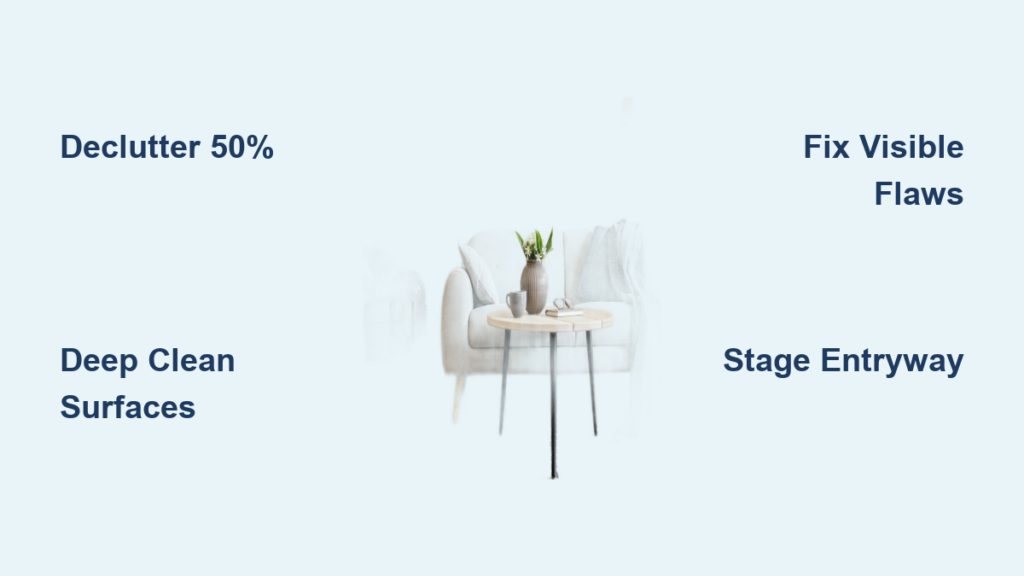
Remove 50% of Visible Items Immediately
Begin decluttering with a three-category system: Keep (daily necessities), Store (sentimental items), and Donate/Sell (everything else). Target removing half of all visible belongings to create magazine-worthy spaces. Rent a 10×20 storage unit for average homes—this keeps your most personal items accessible yet out of sight during showings.
Furniture requires the same ruthless editing. Remove 30-50% of existing pieces to improve flow and perceived size. That oversized sectional dominating your living room? Gone. The mismatched bedroom set? Stored. Create breathing room with just 3-5 carefully chosen pieces per room, maintaining 36-inch walkways for easy movement. This strategic reduction makes rooms feel spacious and inviting.
Deep Clean Every Surface Like a Pro
Professional-level cleaning isn’t optional—it’s mandatory. Start top-to-bottom: ceiling fans, walls, baseboards, then floors. Steam-clean carpets until moisture reads below 12% to prevent mold. Wash windows inside and out, including tracks and screens—no surface escapes scrutiny.
Kitchens demand special attention. Degrease every surface using appropriate solutions—range hoods, cabinet exteriors, and backsplashes. Clean inside all appliances until they sparkle: remove oven racks for self-cleaning cycles, pull refrigerator shelves for thorough washing, and disassemble dishwasher filters. Polish stainless steel with mineral oil for fingerprint resistance.
Bathrooms must achieve hospital standards. Remove mineral deposits from fixtures using overnight vinegar soaks. Re-caulk any discolored or gap-filled areas. Bleach-clean grout lines, then reseal them. Replace shower curtains, mats, and towels with pristine white sets. Every metal fixture should reflect like a mirror—buyers notice these details.
Fix All Visible Flaws Before Listing
Address safety issues immediately—loose railings, uneven flooring, electrical problems, and plumbing leaks. These defects kill deals faster than any other factor. Patch wall holes larger than two inches, replace cracked tiles, and touch up peeling paint. Test every system: HVAC, smoke detectors, garage doors, and irrigation.
Fresh paint transforms spaces for minimal investment. Choose warm whites like Sherwin Williams Shoji White throughout main areas—colors that photograph well and appeal universally. Calculate needs accurately: one gallon covers 350-400 square feet per coat, always plan for two coats plus primer on color changes.
Update hardware and fixtures strategically. Replace dated brass or frosted glass light fixtures with modern LED options. Swap cabinet pulls for consistent brushed nickel throughout. Install new white switch plates and outlet covers. These $20 upgrades create $2,000 impressions.
Transform Your Entryway Within Eight Seconds
Buyers decide within eight seconds of arrival—make those moments count. Power wash everything—siding, driveways, walkways, decks—using appropriate pressure settings. Clean gutters thoroughly and touch up exterior paint on trim, doors, and shutters. Replace any damaged shingles or siding panels.
Landscaping requires precision maintenance. Mow lawns to 2.5-3 inches for optimal appearance. Install fresh mulch beds 2-3 inches deep. Plant seasonal color strategically—pansies for fall, tulips for spring. Prune shrubs below window levels and remove all dead branches.
Paint the front door deep red, navy blue, or classic black using premium exterior paint. Add appropriately-sized welcome mats and symmetrical planters with seasonal arrangements. Replace house numbers with modern 5-8 inch versions. Install warm 2700K LED bulbs in all exterior fixtures—this creates welcoming ambiance.
Stage Key Rooms with Strategic Details
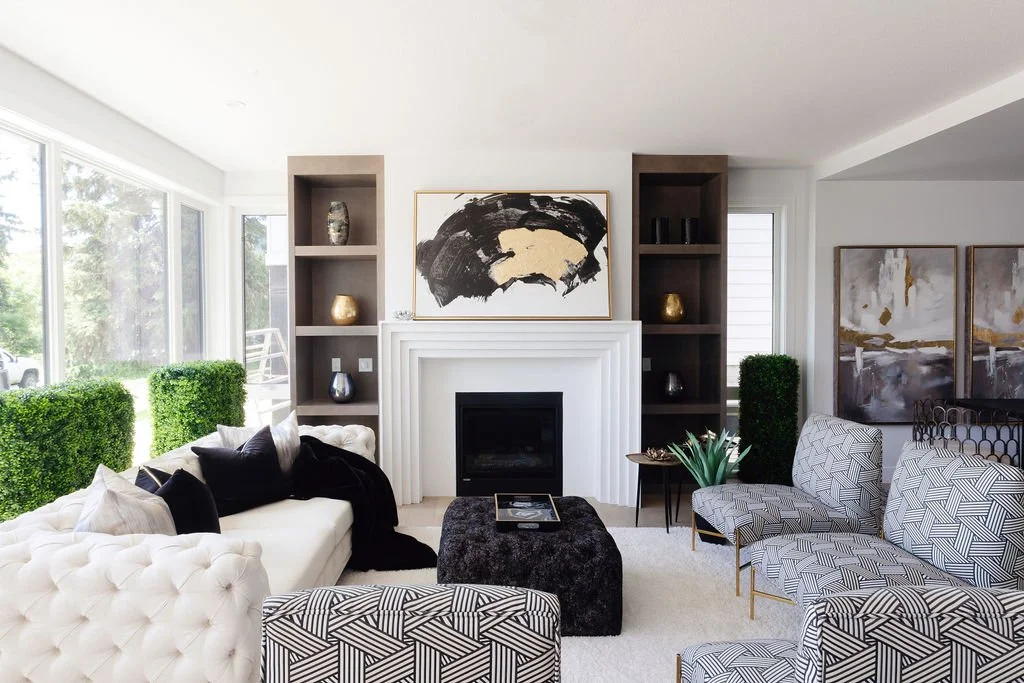
Living Room Conversation Areas
Create seating for 4-6 people using appropriately scaled furniture. Position your largest piece facing the room’s best feature—fireplace, view, or architectural detail. Add a coffee table 14-18 inches from seating with minimal styling: three design books, small plant, decorative bowl. Layer lighting with two table lamps and one floor lamp totaling 300 watts minimum.
Kitchen Countertop Strategy
Clear every countertop except three staged items: wooden cutting board, potted herb plant, cookbook stand. Set the dining table for four using white plates, stainless flatware, neutral cloth napkins. Stage breakfast bars with 2-3 coordinating stools. Remove refrigerator magnets, dish towels, and rugs to maximize perceived space.
Master Bedroom Appeal
Use queen-size beds with neutral bedding: white duvet, two euro shams, textured throw. Nightstands should match with 28-32 inch lamps and minimal accessories—one book, small plant, alarm clock. Clear dressers except for 3-5 decorative items using the rule of thirds. Remove 50% of closet contents to suggest abundant storage.
Implement Lighting and Color Psychology

Achieve three lighting types per room: ambient overhead, task reading, and accent decorative. Use 2700-3000K warm LED bulbs throughout—calculate needs by multiplying room square footage by 1.5 for total required wattage. Install dimmers where possible for flexibility.
Combine three to four textures per room for visual depth: smooth glass, soft linens, rough woven baskets, shiny metals. Layer rugs properly—living rooms need 8×10 or 9×12 rugs placing all furniture legs on top. Dining rooms require 8-foot rounds or rectangles allowing 24-inch chair pullout space.
Choose Your Staging Approach Wisely
DIY staging works for occupied homes with decent existing furniture and budgets under $2,000. You’ll need basic design sense, 20-40 hours initially, plus 2-3 hours weekly maintenance. Professional services provide expertise, rental inventory, and ongoing maintenance for $2,000-$8,000, typically returning 5-10x investment.
Consider hybrid approaches: pay $300-$500 for professional consultation, then execute recommendations yourself. Use expert guidance for paint colors, furniture placement, and key purchases under $1,000. Schedule monthly $100-$150 check-ins for adjustments and maintenance guidance.
Avoid These Costly Staging Mistakes
Over-personalization kills deals. Skip bold colors, unique art, or themed rooms. Test reactions by inviting diverse friends to preview before listing. Maintain the 30-40% empty space rule, limiting surfaces to 3-5 items maximum. Use odd-numbered groupings for natural appeal.
Odors derail sales faster than any visual issue. Eliminate cooking, pet, and smoke smells using ozone treatments when necessary. Maintain air circulation daily. Avoid strong artificial fragrances that suggest you’re hiding problems—neutral scents from subtle essential oil diffusers work best.
Follow This 5-Week Staging Timeline
Week 1-2: Complete assessment, schedule contractors for repairs. Week 3: Deep clean and paint. Week 4: Arrange furniture delivery and placement. Week 5: Final styling and photography. Always allow 2-3 day buffers for unexpected delays.
For occupied homes, phase decluttering over 2-3 weeks to minimize disruption. Use PODS delivered to your property for convenience. Schedule intensive work during business hours. Create “show-ready” kits for each room containing only essential items.
Your staged home isn’t just another listing—it’s a buyer’s future realized in three dimensions. Execute these steps precisely, and your sold sign will appear while neighbors wonder why their homes linger on the market. The investment—whether $2,000 DIY or $8,000 professional—typically returns $20,000-$80,000 in final sale price. Stage it right, and you’ll join the 73% of sellers who move on faster with more money in hand.


