
Tired of expensive spa bills but craving that post-facial glow? You’re not alone. The global at-home skincare market has exploded as more people discover they can achieve professional results in their own bathrooms. A proper how to do facial at home routine takes just 30-60 minutes, costs a fraction of salon prices, and can transform your skin when done consistently. This guide walks you through every step to master the art of DIY facials, from identifying your skin type to troubleshooting common mistakes—all with products you likely already own.
Essential Tools and Products Checklist
Before touching your face, gather everything within arm’s reach. Nothing kills relaxation like hunting for a missing washcloth mid-mask.
Must-Have Items:
– Cleanser (oil-based for makeup removal, water-based for second cleanse)
– Exfoliant (physical scrub or chemical AHA/BHA)
– Facial steamer or large bowl for hot water
– 2-3 soft washcloths (white cotton prevents dye transfer)
– Face mask suited to your skin type
– Toner or facial mist
– Serum or treatment product
– Moisturizer
– Eye cream
Product Selection by Skin Type
Normal skin: Balanced formulas without extremes
Dry skin: Creamy textures, hyaluronic acid, ceramides
Oily skin: Foaming cleansers, clay masks, niacinamide
Combination: Multi-masking approach (different products for T-zone vs cheeks)
Sensitive: Fragrance-free, hypoallergenic, minimal ingredients
Critical mistake to avoid: Using the same products regardless of your skin type. Your dry cheeks need hydration while your oily T-zone requires oil control—customize accordingly.
Identify Your Skin Type in 60 Seconds
Getting this wrong derails your entire how to do facial at home process. Here’s the foolproof bathroom test:
The Bare-Face Method:
1. Wash with gentle cleanser
2. Wait 60 minutes (no products)
3. Examine in natural light
What to Look For:
– Shiny everywhere: Oily
– Tight and flaky: Dry
– Oily T-zone, normal cheeks: Combination
– Red, reactive patches: Sensitive
– Comfortable, no extremes: Normal
Quick Product Swap Guide
If your skin feels:
– Tight after cleansing → Switch to cream-based products
– Greasy within hours → Choose gel formulas
– Burns with new products → Patch test everything
– Changes with seasons → Adjust quarterly
Step-by-Step At-Home Facial Process

Deep Double Cleanse (5-7 minutes)
First Cleanse – Oil Breakdown:
Massage cleansing oil into dry skin for 60 seconds. Focus on makeup-heavy areas like eyes and lips. Watch mascara dissolve as you work it in. Rinse with lukewarm water.
Second Cleanse – Water-Based Purification:
Apply foaming or cream cleanser to damp skin. Use circular motions for 90 seconds, hitting often-missed spots: hairline, jawline, nose creases. Rinse until water runs clear.
Pro Tip: Cleanse for the full time. Most people rush this step, leaving residue that blocks product absorption—your entire how to do facial at home routine depends on a clean canvas.
Gentle Exfoliation (3-5 minutes)
Physical vs Chemical – Choose Your Fighter:
Physical Scrubs:
– Use fine particles only (sugar scrubs tear skin)
– Light pressure – let the product do the work
– Avoid eye area and active breakouts
– Rinse thoroughly – residue causes irritation
Chemical Exfoliants:
– AHA for dry skin (lactic, glycolic)
– BHA for oily skin (salicylic acid)
– Start with 5% concentration
– Wait time matters – follow product instructions exactly
Red Flag: If your face burns or turns lobster-red, you’ve overdone it. Skip exfoliation next week and focus on barrier repair.
Steam Treatment (5-10 minutes)
The Proper Steam Setup:
1. Boil water, then let cool 2 minutes
2. Add drops of lavender oil (calming) or tea tree (acne)
3. Position face 6-8 inches above bowl
4. Drape towel over head like a tent
5. Take breaks every 2 minutes to prevent overheating
Steam Duration by Skin Type:
– Sensitive: 3-5 minutes maximum
– Normal: 5-7 minutes
– Oily/Acne-prone: 7-10 minutes
Alternative: No steamer? Fill your sink with hot water instead. Same effect, less equipment.
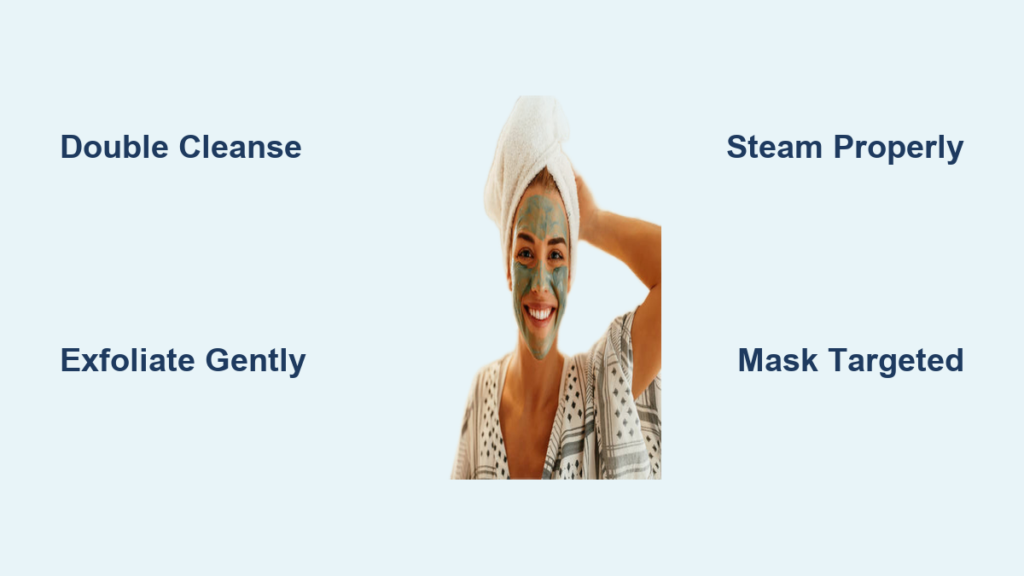
Targeted Mask Application (10-15 minutes)
Mask Selection Matrix:
| Skin Concern | Mask Type | Active Ingredients |
|---|---|---|
| Oily/Acne | Clay | Kaolin, bentonite, sulfur |
| Dry/Dehydrated | Cream | Hyaluronic acid, ceramides |
| Dull Skin | Brightening | Vitamin C, niacinamide |
| Sensitive | Soothing | Aloe, centella asiatica |
Application Technique:
– Use silicone brush for even coverage
– Avoid eye and lip areas completely
– Multi-mask combination skin (clay on T-zone, hydrating on cheeks)
– Don’t let clay masks crack – mist with water when dry
Timing Hack: Set phone timer for exact duration. Leaving masks on too long causes irritation, too short equals wasted product.
Toning and Serum Layering (3-5 minutes)
Toner Application Methods:
– Cotton pad: Swipe gently, focusing on residue removal
– Hands: Pat directly into skin for hydration
– Mist: Spray and press for sensitive skin
Layering Order (Thinnest to Thickest):
1. Water-based serums (hyaluronic acid, niacinamide)
2. Treatment serums (vitamin C, retinol)
3. Oil-based serums (rosehip, marula)
Application Technique:
– 2-3 drops warmed between palms
– Press, don’t rub – pat into damp skin
– Wait 30 seconds between layers
– Focus on problem areas (dark spots, fine lines)
Troubleshooting Common Facial Mistakes
Redness or Irritation Response
Immediate Action Plan:
1. Cool compress for 5-10 minutes
2. Apply aloe vera or centella asiatica
3. Skip actives for 48 hours minimum
4. Use healing balm (CeraVe, Aquaphor)
Prevention Strategies:
– Patch test new products 24 hours before
– Reduce steam time for sensitive skin
– Avoid mixing multiple acids in one session
– Start with lower concentrations
Over-Exfoliation Recovery
Warning Signs to Watch:
– Tight, shiny skin that feels plastic
– Increased sensitivity to products you normally use
– Flaking or peeling beyond normal
– Burning sensation when applying moisturizer
Recovery Protocol:
– Stop all exfoliants for 1-2 weeks
– Focus on barrier repair with ceramides
– Use healing ointments at night
– Reintroduce slowly – once weekly maximum
Budget Breakdown: From $50 to $500

Starter Kit ($50-100)
- CeraVe cleanser – $12
- The Ordinary exfoliant – $8
- Que Bella face masks – $3 each
- Neutrogena moisturizer – $15
- Thayer’s toner – $10
Money-Saving Hacks:
– Buy during sales (Sephora April/October, Ulta 21 days)
– Split products with friends/family
– DIY masks using honey, yogurt, oatmeal
– Use samples before committing to full sizes
Creating Your Personal Routine
Quick Assessment Questions
Answer honestly to build your perfect how to do facial at home routine:
1. How much time weekly? (20, 40, or 60 minutes)
2. Primary concern? (acne, aging, hydration, sensitivity)
3. Budget comfort zone? ($50, $100, $200+)
4. Experience level? (beginner, intermediate, advanced)
5. Skin reactions history? (sensitive vs resilient)
Routine Templates
Busy Professional (20 minutes):
– Double cleanse (3 min)
– Quick steam (3 min)
– Hydrating mask (10 min)
– Moisturizer (2 min)
– Eye cream (2 min)
Self-Care Sunday (60 minutes):
– Full routine with extended massage
– Multiple mask layers
– Tool incorporation
– Relaxation music and candles
Post-Facial Care Rules
The First 48 Hours
Absolutely Avoid:
– Makeup application (minimum 4-6 hours)
– Direct sunlight without SPF 30+
– Additional actives (acids, retinol, vitamin C)
– Touching your face unnecessarily
– Heavy workouts (sweat irritates fresh skin)
Hydration Focus:
– Drink extra water – aim for 8-10 glasses
– Humidifier on while sleeping
– Skip alcohol and salty foods
– Use hydrating mist throughout day
Mastering how to do facial at home transforms your skin and your wallet. Start with the basics, track your results, and gradually incorporate advanced techniques as your confidence grows. Remember: consistency beats complexity. A simple routine performed regularly will outperform an elaborate one done sporadically. Your skin will thank you with that coveted healthy glow—no spa appointment required.


