
Trying to figure out how to plumb a home can send even experienced DIYers into panic mode. One wrong connection means thousands in water damage, failed inspections, or worse—living without running water during your renovation. But after installing plumbing in over 50 homes, I’ve learned that breaking down this complex process into systematic steps makes residential plumbing achievable for determined homeowners.
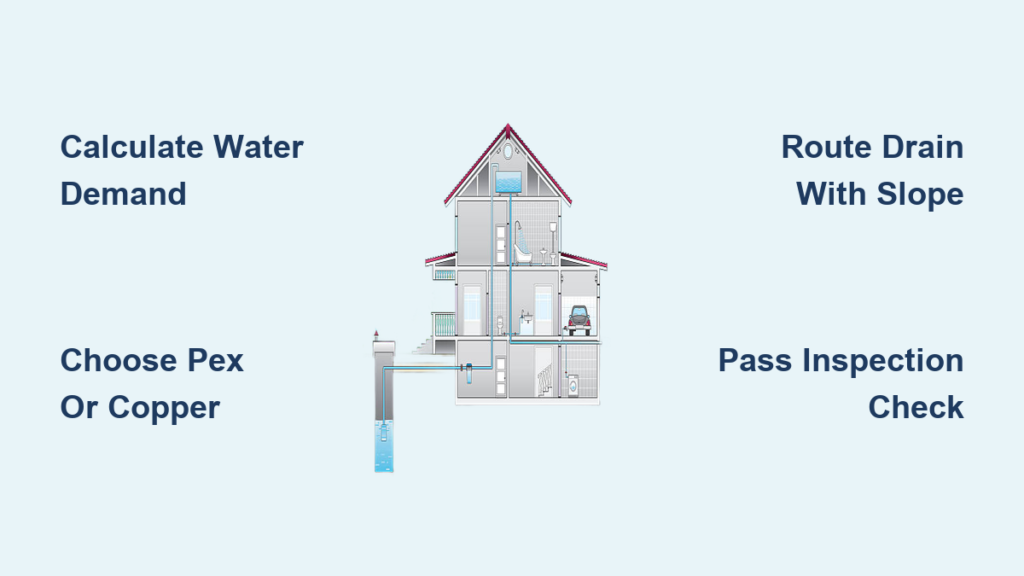
You’ll discover exactly how to calculate your water demand, choose between PEX and copper pipes, route drainage with perfect slope, and pass inspections on your first attempt. This guide cuts through the confusion with actionable steps that follow modern building codes—no fluff, just proven techniques that deliver reliable water supply and drainage for decades. Let’s transform your plumbing anxiety into confidence.
Calculate Your Home’s Water Demand Before Cutting Pipes
Your first critical step in how to plumb a home isn’t touching a pipe—it’s calculating exact water requirements. Incorrect flow calculations cause low pressure at fixtures or oversized pipes that waste materials. Start by listing every water-using fixture with its flow rate: toilets (1.28-1.6 GPF), showers (2.5 GPM), sinks (1.5 GPM), and appliances like washing machines (20-50 gallons per load).
Test your water source pressure immediately using a $10 gauge at an outdoor spigot. Most homes need 40-80 PSI, with 50-60 PSI being ideal. If your pressure falls below 40 PSI, you’ll need a booster pump before proceeding. Measure flow rate by timing how long it takes to fill a 1-gallon bucket—typical residential supply ranges from 6-12 GPM.
Avoid These Common Demand Calculation Mistakes
Many DIYers skip fixture unit counting and regret it later when their shower loses pressure during dishwasher use. Each fixture has a specific fixture unit rating: toilets (4 units), showers (2 units), bathroom sinks (1 unit). Add all units, then multiply by 1.67 to convert to drainage flow rate. Always add a 20% buffer for future additions—you can’t easily expand pipes after walls are closed.
Create Your Blueprint with Precision Measurements
Sketch your floor plan showing exact fixture locations and measurements to the main water line. Note where pipes will travel through walls and floors—this determines material quantities. Include critical details like drainage slopes (1/4″ per foot minimum for 3″ pipes) and vent stack locations. This blueprint becomes your plumbing roadmap and is required for permit applications.
PEX vs Copper: Choosing the Right Pipe for Your Home Plumbing

PEX dominates modern home plumbing installations for good reasons. Its flexibility lets you snake pipes through tight spaces without multiple fittings, reducing potential leak points. The color-coded system (red for hot, blue for cold) prevents costly mix-ups during installation. You’ll complete PEX installations 50% faster than copper with basic tools costing under $100.
Copper remains the premium choice for exposed installations or high-temperature areas. Type L copper handles 200-400 PSI and lasts 50+ years when properly installed. But it requires precise soldering skills—poor joints cause pinhole leaks that destroy walls. Factor in 3-4x higher material costs plus torch rental when budgeting.
Install PEX with These Critical Best Practices
Never stretch PEX beyond its limits—maximum continuous run is 50 feet for 1/2″ lines before pressure drops affect fixtures. Support pipes every 32 inches vertically and 6 feet horizontally using plastic hangers (never nails or screws). When making crimp connections, use a go/no-go gauge to verify ring compression—this single step prevents 90% of PEX leaks.
Avoid Copper Soldering Disasters
The #1 mistake with copper is inadequate flux application. Coat both pipe and fitting interiors completely—dry joints develop leaks within months. After soldering, immediately wipe excess solder with a rag to prevent drips that clog pipes. Always install a 3/4″ expansion tank on closed systems to prevent thermal expansion damage to copper joints.
Connect Your Main Water Line Without City Violations
Municipal connections require strict permit compliance—schedule inspections weeks in advance. Dig trenches 12-18 inches below frost line (check local requirements), sloping slightly toward your house. Install a corporation stop valve at the property line first, then run 3/4″ or 1″ copper or HDPE service line to your home’s entry point.
Pass the Critical Pressure Test
After connecting your main line, perform the 150 PSI pressure test required by most municipalities. Fill the system completely, then isolate and pressurize to 150 PSI using a gauge. Watch for 30 minutes—any pressure drop indicates leaks needing immediate repair. Never skip this test—hidden leaks behind walls cause catastrophic damage during final inspections.
Well Water System Must-Haves
If you’re installing a well system, include these non-negotiable components: a 1/2-1 HP submersible pump, 20-80 gallon pressure tank, 5-20 micron sediment filter, and water softener if hardness exceeds 7 GPG. Set pressure switch to 40-60 PSI—lower settings strain the pump, higher settings risk pipe bursts. Test well yield by running water for 2 hours straight to verify consistent supply.
Design a Leak-Proof Water Distribution System in 3 Steps
Trunk and branch layouts work best for most homes. Run a 1″ main trunk line from your water source, then branch off 3/4″ lines to fixture groups. Install quarter-turn ball valves on each branch—these let you isolate problem areas without shutting off whole-house water. This system costs less than manifolds but requires careful pipe sizing.
Size Pipes Based on Fixture Distance
Your pipe diameter depends on both fixture count and distance from the main line. For runs under 20 feet to single fixtures, 3/8″ PEX suffices. Most bathroom fixtures need 1/2″ PEX within 50 feet of the source. High-flow areas like kitchen sinks or showers require 3/4″ lines, especially beyond 30 feet. Never undersize—1/2″ lines lose 50% pressure over 100 feet.
Install Manifolds for Maximum Control
Home run manifolds give you individual shutoffs for each fixture from a central panel. Run dedicated 1/2″ PEX lines directly from manifold to fixtures—no branch connections means fewer leak points. While 20% more expensive initially, manifolds save hours during repairs and let you add fixtures without rerouting pipes. Mount manifolds in accessible locations like basements or utility closets.
Route Drain Pipes with Perfect Slope Every Time

Slope miscalculations cause 70% of drainage failures. Use 1/4 inch per foot for 2″ pipes (showers, sinks) and 1/8 inch per foot for 3-4″ main drains. Install a level on your pipe with a shim under one end—this creates instant visual slope verification. Never exceed 1/2 inch per foot—steeper slopes cause solids to separate from water, leading to clogs.
Venting Mistakes That Invite Sewer Gas
Each fixture needs venting within 5 feet of its trap to prevent siphoning. Install 1.5″ vents for individual fixtures, 2″ for wet vents serving multiple fixtures. Extend main vent stacks at least 6 inches above your roofline (12 inches in snowy climates). Test vents by pouring 5 gallons of water down a drain—if you hear gurgling, your vent is undersized or blocked.
Toilet Installation: The #1 DIY Failure Point
Set toilet flanges exactly 1/4 inch above finished flooring—too high cracks the bowl, too low causes leaks. Use a jumbo wax ring if your flange sits below floor level. Position closet bolts at 6 and 12 o’clock, not 3 and 9, for proper alignment. After setting the toilet, press down firmly to compress the wax seal, then tighten bolts alternately in 1/4-turn increments—overtightening cracks porcelain.
Pressure Test Plumbing to Avoid Costly Hidden Leaks
Water supply testing prevents disaster behind walls. After completing all connections, isolate sections and pressurize to 100 PSI for 30 minutes. Watch the gauge—any drop indicates leaks needing immediate repair. Test each fixture for proper flow (showers should deliver 2.5 GPM at 40 PSI). Never skip this step—hidden leaks cause mold and structural damage before you notice.
Drainage Testing That Inspectors Actually Check
Fill the highest fixture completely, then let it drain into lower fixtures. The system must hold water for 15 minutes without leaks. For air testing, seal all openings and pressurize to 5 PSI for 15 minutes—any pressure loss fails inspection. Perform a smoke test by inserting fog into cleanouts; visible smoke indicates vent leaks that allow sewer gases indoors.
Pass Final Plumbing Inspection with These 5 Must-Haves
Permit inspectors reject 40% of first-time DIY plumbing jobs for these fixable issues: missing cleanouts every 100 feet, improper vent sizing, inadequate pipe support, exposed electrical near water sources, and unlabeled shutoff valves. Keep your permit posted visibly and have your blueprint ready for reference.
Critical Inspection Checklist
- Verify all shutoff valves operate smoothly—inspectors will test each one
- Confirm vent stacks extend minimum 6 inches above roofline
- Check pipe supports every 4 feet horizontally, 10 feet vertically
- Ensure GFCI outlets within 6 feet of water sources
- Validate all drain slopes with a level before walls close
Monthly Plumbing Checks That Prevent Emergency Repairs
Test all shutoff valves monthly by turning them 1/4 turn—they seize if never moved. Check under sinks for moisture stains indicating slow leaks. Inspect water heater pressure relief valve annually by lifting the test lever—water should discharge freely. Flush aerators every 3 months to maintain flow rates. These 10-minute checks prevent 90% of plumbing emergencies.
Label every shutoff valve clearly with permanent marker—during leaks, seconds count. Keep basic repair supplies accessible: plumber’s tape, replacement washers, and a 3/8″ compression coupling. Install water alarms near your water heater and washing machine—they pay for themselves by catching leaks early.
Final Note: Mastering how to plumb a home requires methodical planning, precise execution, and respect for building codes—but the payoff is decades of reliable service. Start with simple supply lines to build confidence before tackling drainage systems. Remember: rushing creates leaks, but meticulous work delivers peace of mind. Always schedule inspections early, keep detailed records of your work, and don’t hesitate to consult local code officials when questions arise. With this guide in hand, you’re equipped to handle residential plumbing like a pro.


